5 Ways to Organize Your Retail Backroom (Retail Clothing Storage Guide)
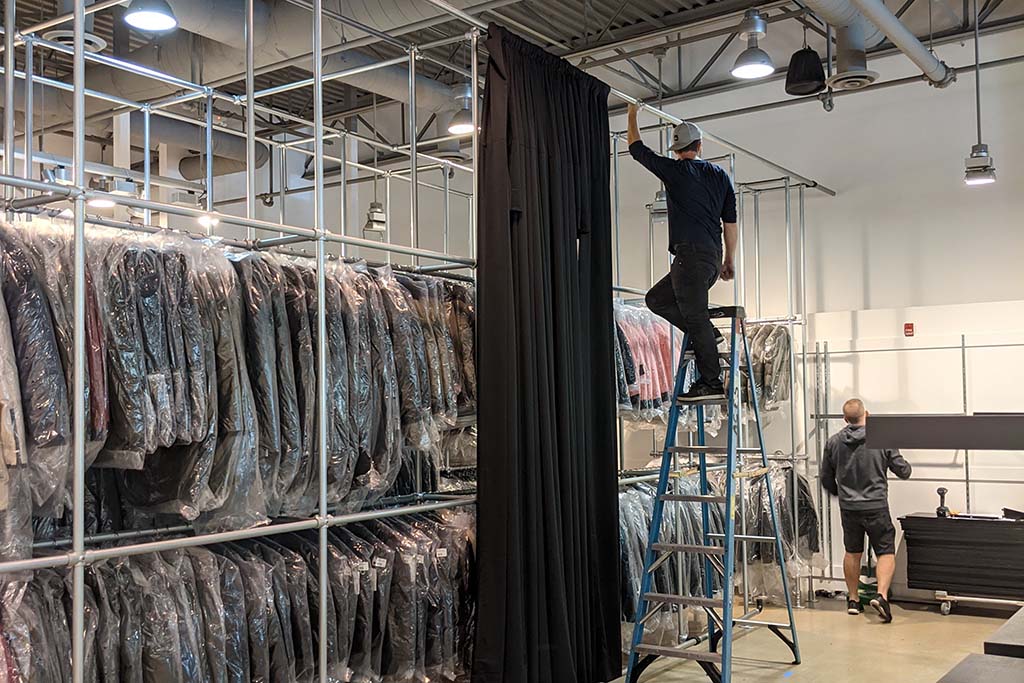
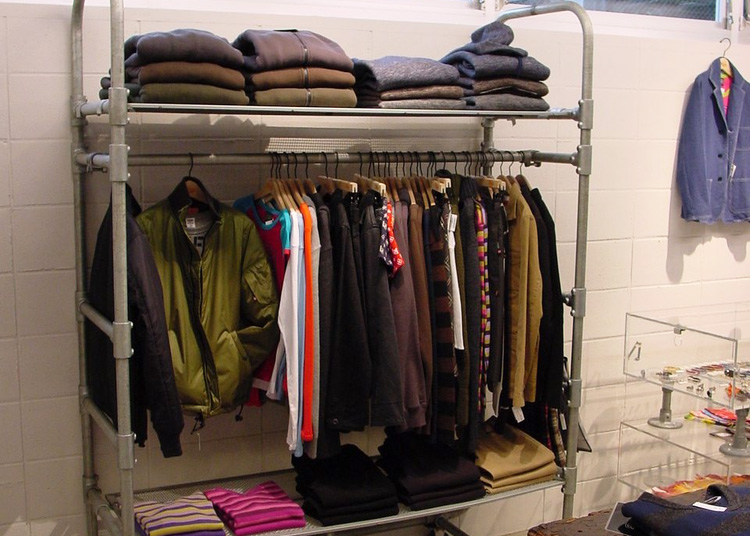
Pipe racking is quickly becoming a trendy style of racking in the retail industry. From larger department stores to small-town boutiques, it seems that everywhere you turn you will find the pipe and fittings style of clothing racks.
This look can be used on the floor in a retail store setting for an industrial look or used in your backroom to store your clothing no matter what space you have.
Why Use Pipe and Fittings for Clothing Storage?
Customization
You can have a custom system made specifically for your space.
You may not have a large area or a nice rectangular room. It doesn’t matter. The wide variety of Kee Klamp fittings can be designed to fit any angle, height, or width.
Adaptability
You can also make changes to the layout and design without having to start all over. You can modify the shape and size by adding or removing pipe and slip-on fittings.
This is helpful when you are changing out clothing lines or need to expand to fit more clothes.
Installation Ease
Kee Klamp clothing storage systems are easy to install. You can install the racks yourself with no need for specialized labor, saving you on the costs of hiring a contractor to do all the work.
Mobility
With some hard work and the right opportunity, your business will grow, and you may find yourself moving to a new location. The good news is that this system allows you to take your investment with you and can accommodate whatever new space design you move to.
How do I get started with pipe and fitting storage?
You can work with one of our experts to design a system that’s perfect for you. Or you can do this all on your own, which is one of the major benefits of Kee Klamp fittings.
Either way, the first thing that you want to do is to walk through the storage area and envision how you want your clothes to layout. Don’t worry about what is possible at this stage. Just dream. Once you have a picture in your head, start sketching it out.
Now it’s time to find out how to make these come together.
Collaboration
You can reach out to our projects team for assistance. Send us your sketches or photos showing the layout of your space to help us see your vision. Include dimensions, such as the length, width, and height of the room.
If you have examples of what you are thinking, then please share those with us so that we are better able to help you design the right solution.
Doing it this way allows our team to take the work off your plate and simplify the process by creating a list of materials that you’ll need.
Do It Yourself
You can design the system all on your own. Here’s a step-by-step guide on how to do that:
Step 1 - Consider what you are hanging
The dimensions and the volume of the material that you are storing will dictate the types and size of the racks that you will need.
Measure how wide and how tall the item is going to be when it is hung. Will everything be hung? If not, then will it be folded or stored in a bin? This will help you consider shelving versing hanging racks where appropriate.
It’s also important to think about how you plan on organizing the clothing. Make sure that you distribute weight among the racks as evenly as you can. This is more important if you use a freestanding double-wide rack in your storage space. If the weight is too heavily favored on one side, then the rack could tumble over.
Once you’ve worked this out, it’s time to look at your space.
Step 2 – Measure your space
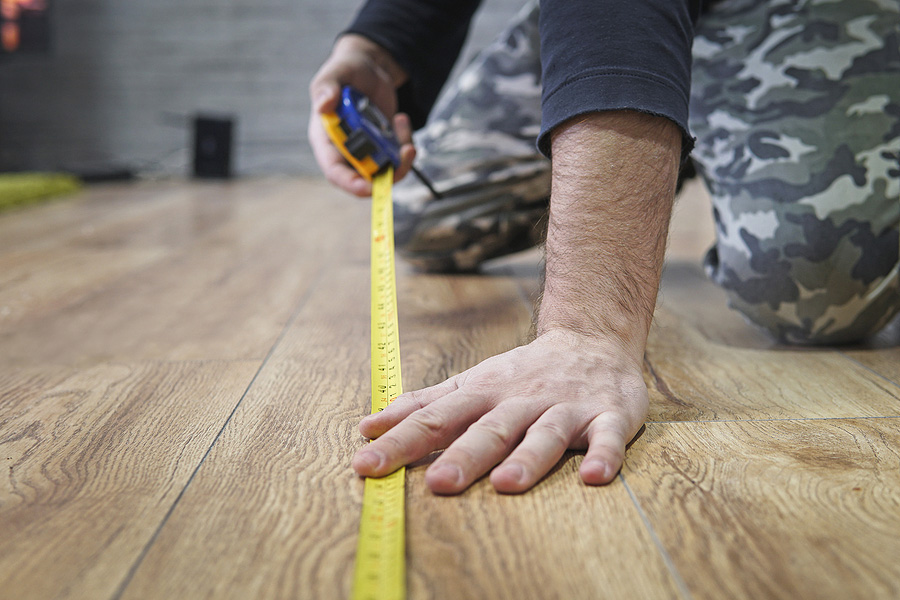
Measure the clear height, length, and width of your space. Make sure to include any extra corners or odd angles. Don’t forget windows, doorways, and anything on the wall that needs to be accessible.
These measurements, coupled with your clothing measurements will help you understand how to design the racks that you need.
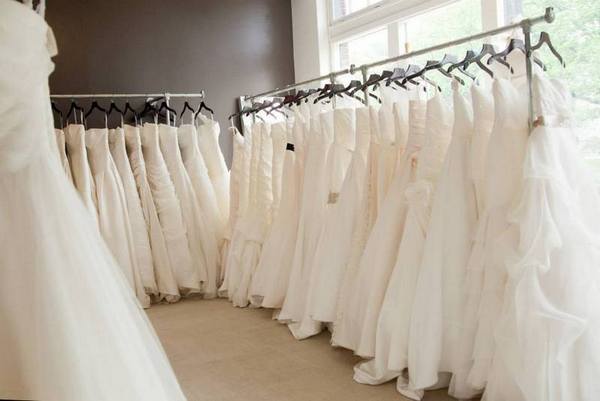
The height of your tiers is going to be based on the hanging height of your clothes. Polos tend to be around 30 inches or less in length and can easily accommodate multiple tiers in a 10-foot high room. However, wedding gowns are much longer and will normally only have a single tier.
The width of your clothing will help us understand how much space is available for aisles if you choose to have racks in the center of the room. This leads to the next step.
Step 3 – Choose the styles of racks you want
There are 3 questions to answer when choosing your racks.
- How will the rack support itself?
- How many tiers will the rack need?
- Will it be a single-wide or double-wide rack?
There are a few ways for the structure to support itself.
- Wall mounting racks is a very common option for our customers. Bolting into the wall will add rigidity and reduce the amount of material needed to provide a strong storage option. However, before you mount on your wall, you should know what’s in your wall. Screwing into plaster versus a stud will affect the strength of the rack. If you’re not careful, the weight of your clothes could cause the rack to pull out of the wall. This will damage your space and potentially cause harm to your workers or product.
- Floor-mounted racks will bolt into the floor. These are great options for filling the interior of your space and don’t require you to know what’s in the wall. However, you will most likely need a hammer drill and some handyman experience to install this.
- Free-standing racks remove the need for knowing your wall or having experience with floor mounting. They just sit on the floor where you need them. Free-standing racks do take up more space to provide the proper strength to hold your inventory. Adding castors (wheels) is perfect if you want to move a specific set of clothing from the back room into the front room. These also work well when you have a space you may need to get access to occasionally but can store something there until you do.
As you lay out where you’re clothing racks will go, consider how many tiers each rack will. Tiers refer to how many hanging rails will stack on top of each other. On average, a rack can be 8 feet tall or less. If you need more than this, then we advise you to work with one of our experts.
How much space you need in between the racks will help you determine the width available to you. This could be the difference between a double-wide rail and a single-wide rail. Calculate about 3 feet of clearance per rail.
- Wall mounts will be 18 inches from the wall. It can be tighter, based on the width of your clothes, but this is a good standard to start with. Typically, hangers are 17 inches wide, so add an additional 9 inches to the 18 inches for clearance needs.
- Double-wide systems should have the horizontal hanging rails 3 feet apart. Add an extra 1 foot on each side for a standard hanger width and you will need 5 feet of clearance for your double-wides.
Remember to calculate the width of the aisles that you need in between your racks. Check with your local code if there are requirements to follow. If you’re not sure, then 3 feet is a good clear width to use.
The last thing to do is to determine how many supports you are going to need. We recommend that you have a rack support every 6 feet for less.
Draw all of this out on a piece of paper to help you keep track. Label what racks go where and any other obstacles in the room you need to work around.
One of the benefits of Kee Klamp fittings system is that you can modify the system on-site without engineering. So, your wall mounts can turn into 15 inches from the wall and your support distances can become 5 feet as you install your racks.
Step 4 – Incorporate any needed shelving
Shelving can be added to your racking designs easily. Depending on how much you need to store folded or in bins, you could even design a whole rack for just shelving. Or, add it above your hanging racks for simple bin storage. All you need is a couple of rail support fittings to attach your preferred surface to.
Here are a lot of ways that you can add shelving to your storage if you need inspiration.
Step 5 – Order the necessary fittings and pipe
Now you know what types of racking you want, how much you need, and how you will support them. Ordering the right fittings can seem a little overwhelming. Use the examples in the links above to help you understand how and where to place fittings.
One decision that you need to make is what size to use. We’ve found that 1-inch schedule 40 steel pipe with an outer diameter of 1.315 inches is the best size for both strengths and for hangers to be able to grip to. This would be size 6 pipe and fittings on our website.
Here is a list of the more common fittings and why you would use them. The number in the parenthesis is the part number of the fitting.
- Wall Flange (61): This flange is great for attaching to walls, as the name suggests. It also works well for a footer if the base of your rack was going to just sit on the floor. If you want to mount to the ground, then we suggest our Standard Railing Flange (62).
- Single Socket Tee (10): This fitting will be used to connect two perpendicular pieces of pipe. This is how you will connect your rails to your posts for hanging or shelving structures.
- 90 Degree Elbow (15): These will be used to create the double-sided racks or turn the post into the wall at the top of the post.
- 90 Degree Side Outlet Tee (21): This fitting is how you will turn corners with your racks. The side outlet is where the post will fit through to had stability and strength to your corner. They also work great to add a support structure to our free-standing racks.
- Three Socket Cross (35): This fitting is perfect for your intermediate posts along a longer racking system.
Here is an example of a floor-mounted rack with two tiers and double-wide.
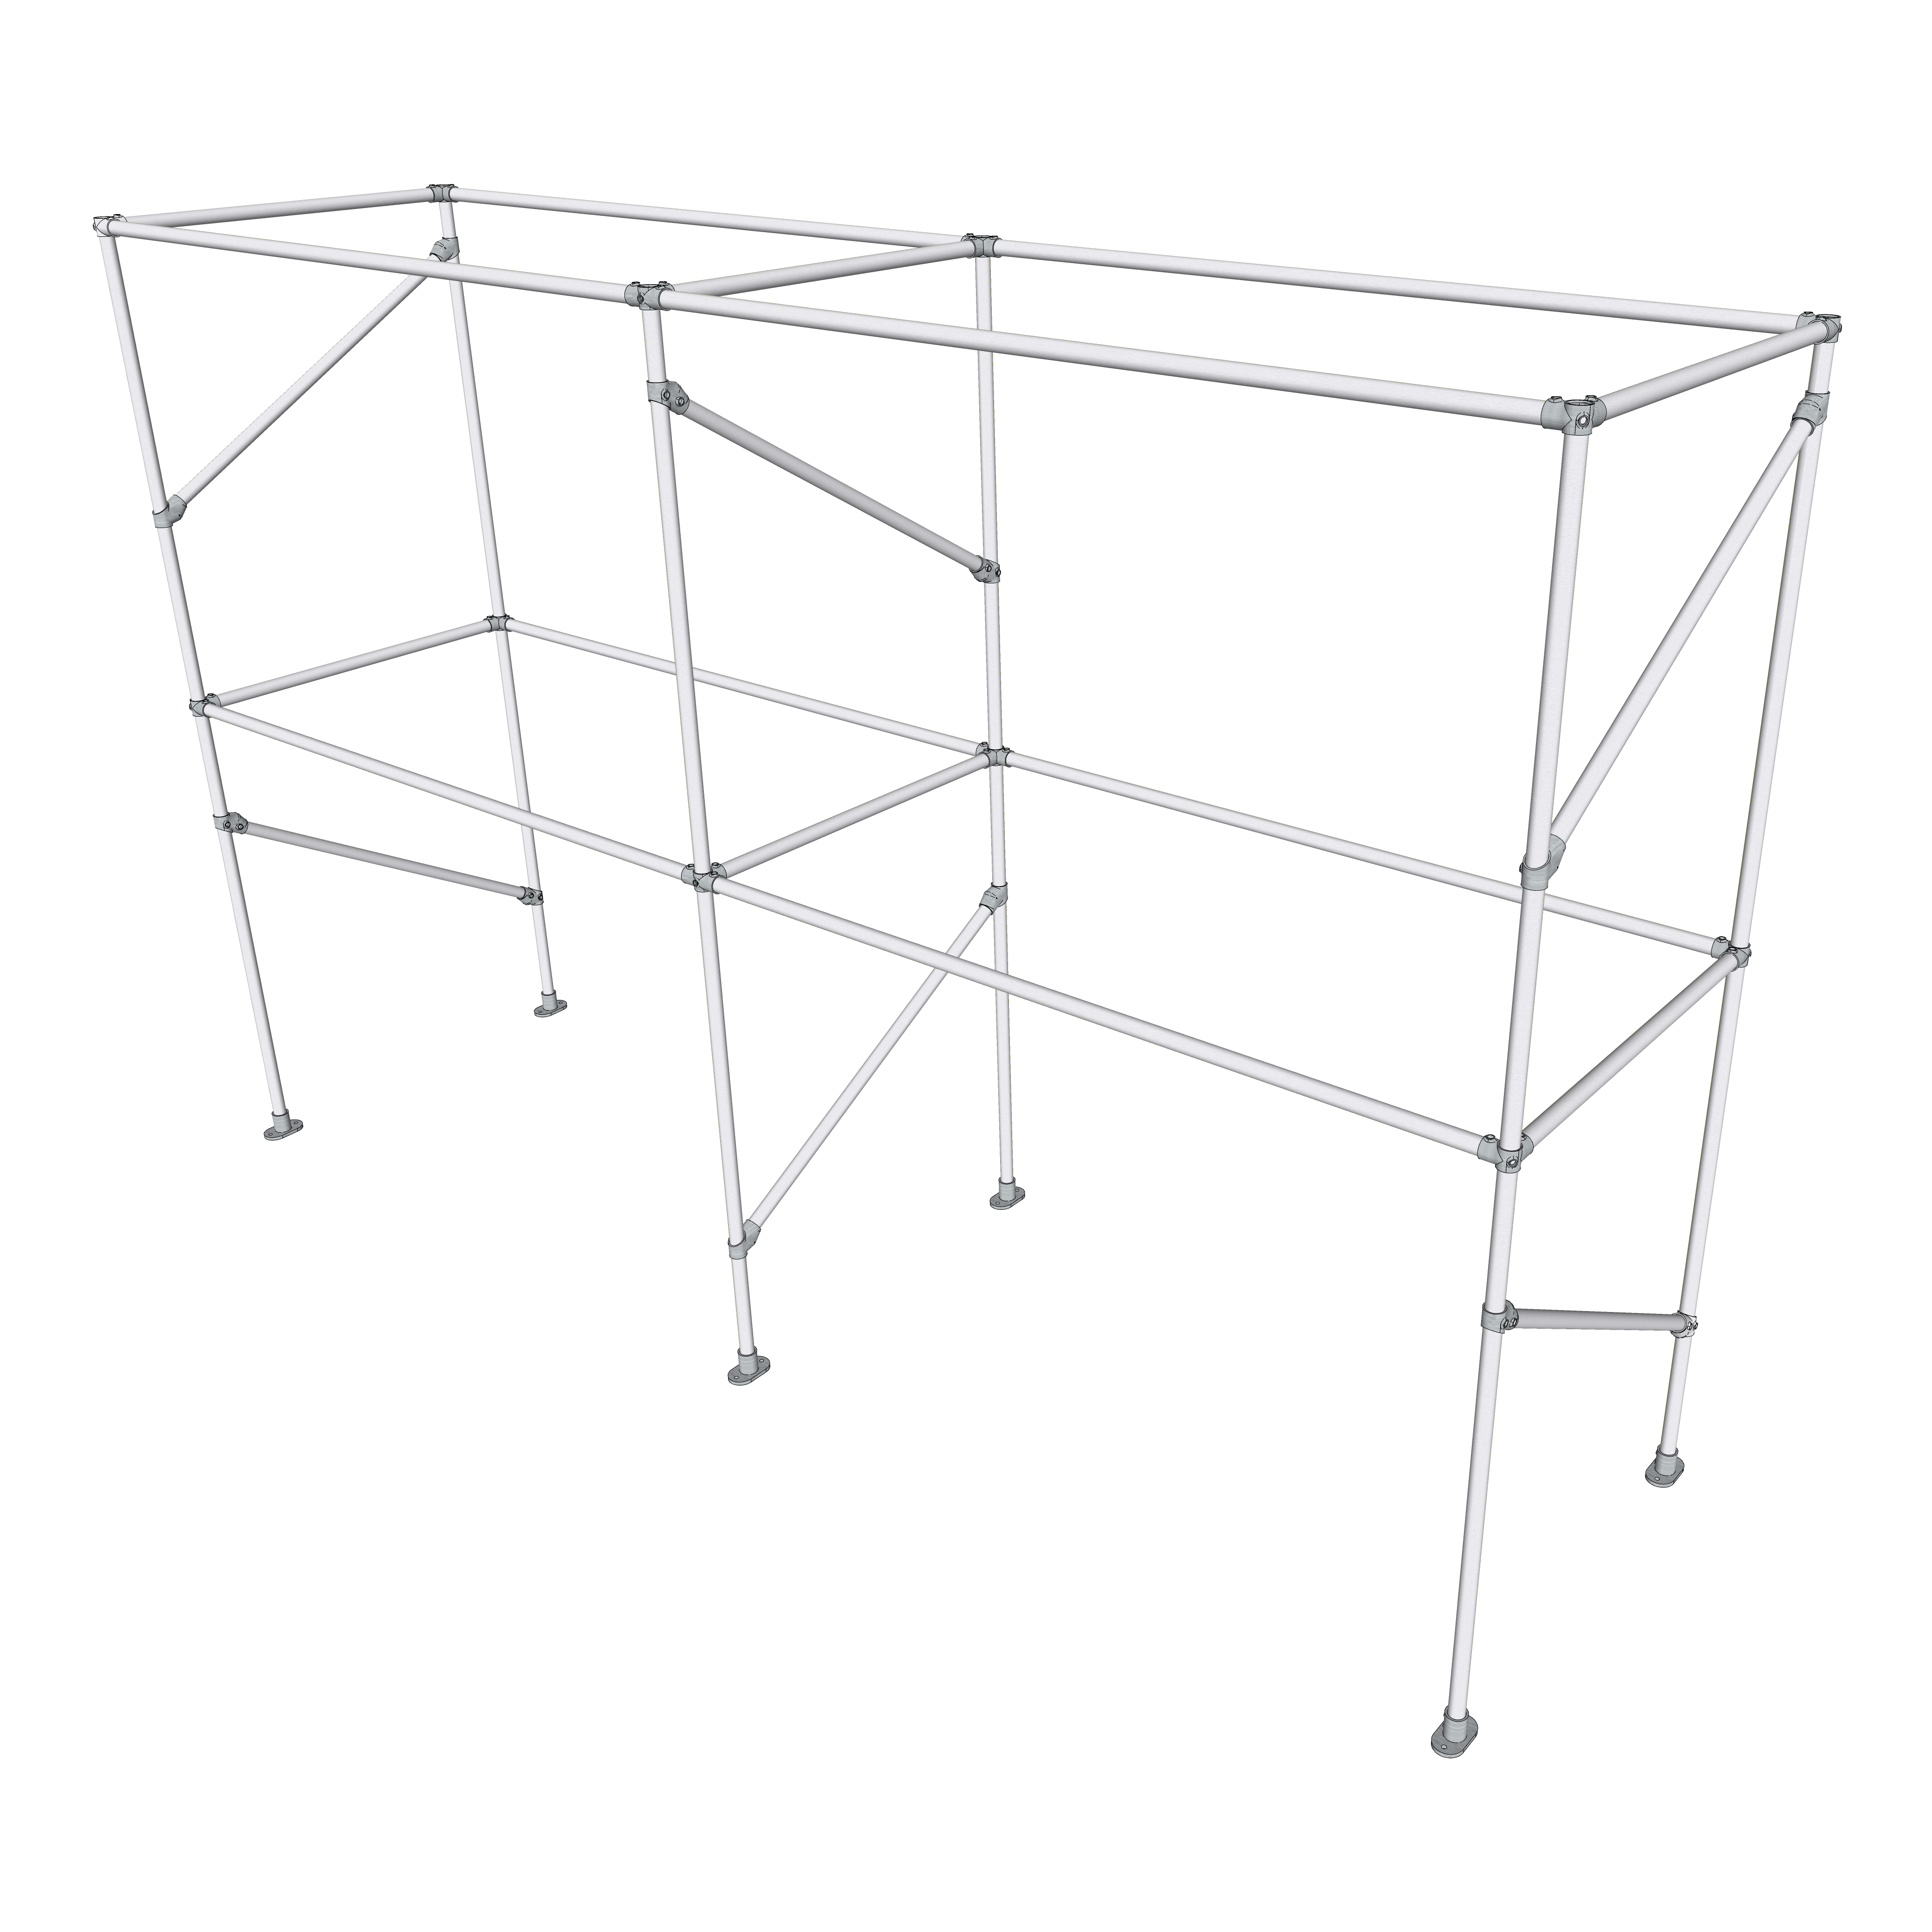
Specs:
- Length: 5' 6"
- Width: 3' 4"
- Height: 8'
Assembly:
- Allen key, mounting hardware, and drill to match the mounting hardware
What's included:
What's not:
Wrapping Up
There is a range of support available to you while you design the right storage option for your business. We can be completely hands-off, offer advice on your already designed solution, or help you design the system from beginning to installation.
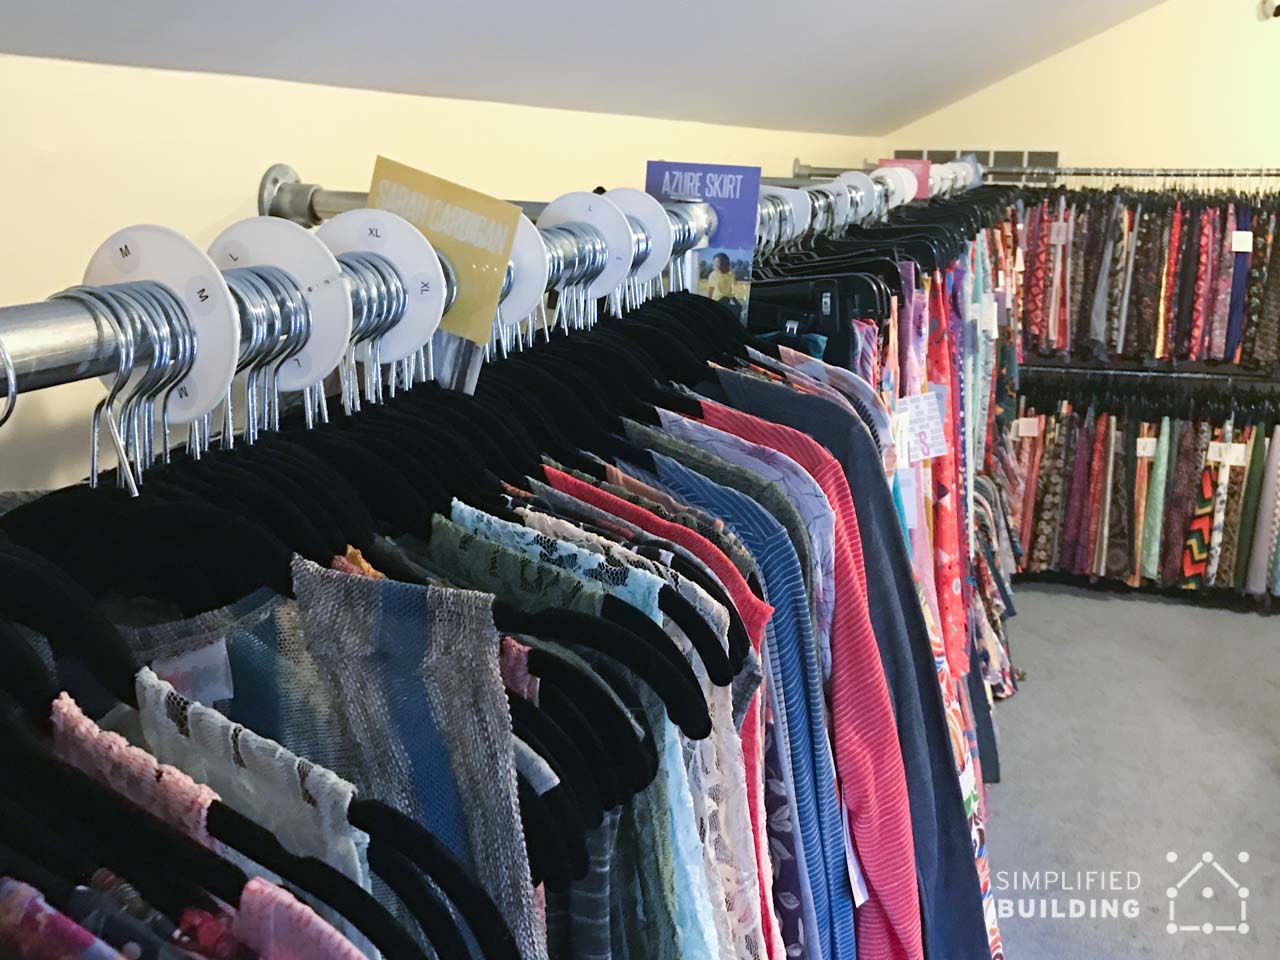
There are a lot of projects on our site if you need some inspiration. One of our customers needed wedding gown racks and another needed clothing racks for her fashion consulting service. Check them out for some inspiration.
If you’re still not confident on what to do next, don’t worry. We’ll help you get there. Whether you are opening a boutique or just adding a new location, we are here to help you.


