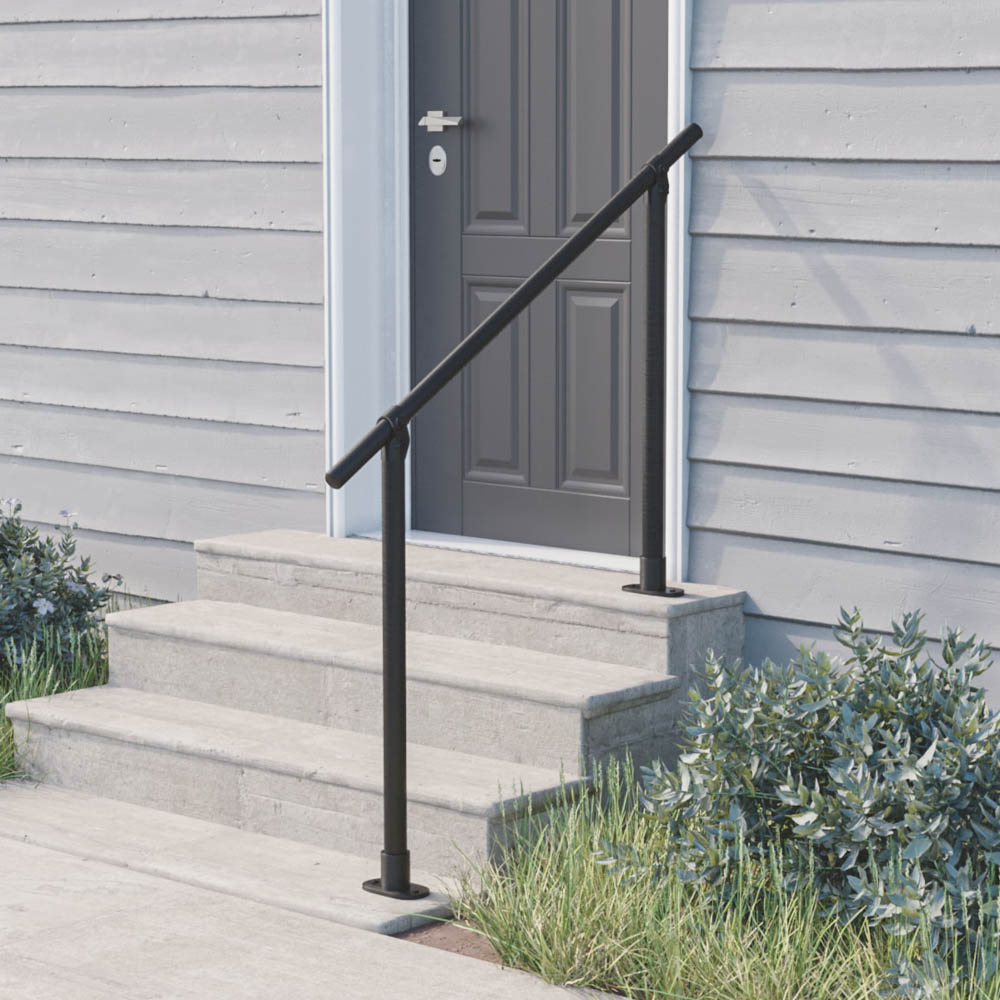
Glass Panel Balcony Railing - Simple, Elegant, and Safe
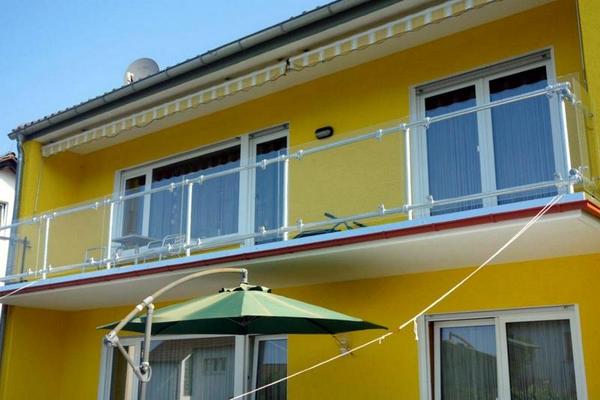
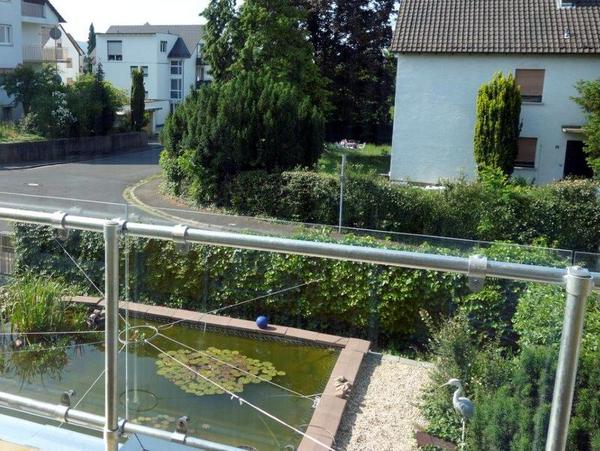
Give your home a distinctly European look with the addition of a glass panel balcony railing. Glass panels maximize visibility and safety. Yes, you'll be doing some additional window washing, but you don't need to sacrifice your view of the sake of safety and security.
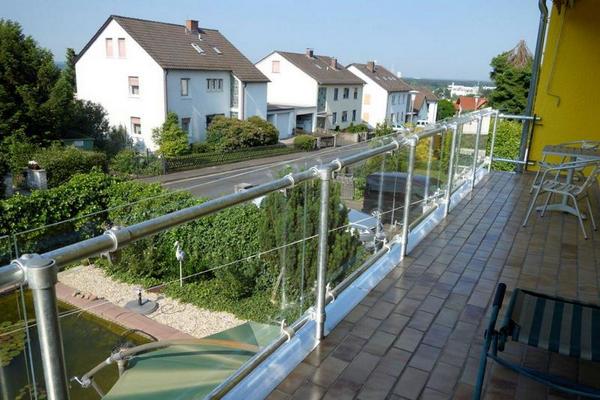
Building an elegant glass paneled railing isn't as complicated as you might think. Kee Klamp fittings make it easy for you to build pipe railing and attach the glass panels.
Start by designing the basic railing structure. You want to have support rails at the top and bottom to attach to the glass. Our projects team can help you decide what fittings you want to use in building a pipe rail. If you're the DIY type, then check out our pipe railing page and the general fittings page.
Once you've got the basic layout of the railing done, decide how many panels you're going to have. You'll want them to be equal in size whenever possible. This will make ordering the panels easier, create more visual symmetry and give you less headaches during installation.
The panels will be attached in the four corners using the P50 Offset Tab. This will keep the glass away from the railing and give you some flexibility in your connection point. You'll want the glass supplier to predrill the holes for you. Be sure to have an accurate idea of where the top and bottom rails will be.
This homeowner went all the way and finished off the set screws with plastic caps. In the end, they had a great looking custom balcony railing that was relatively easy to specify and build.
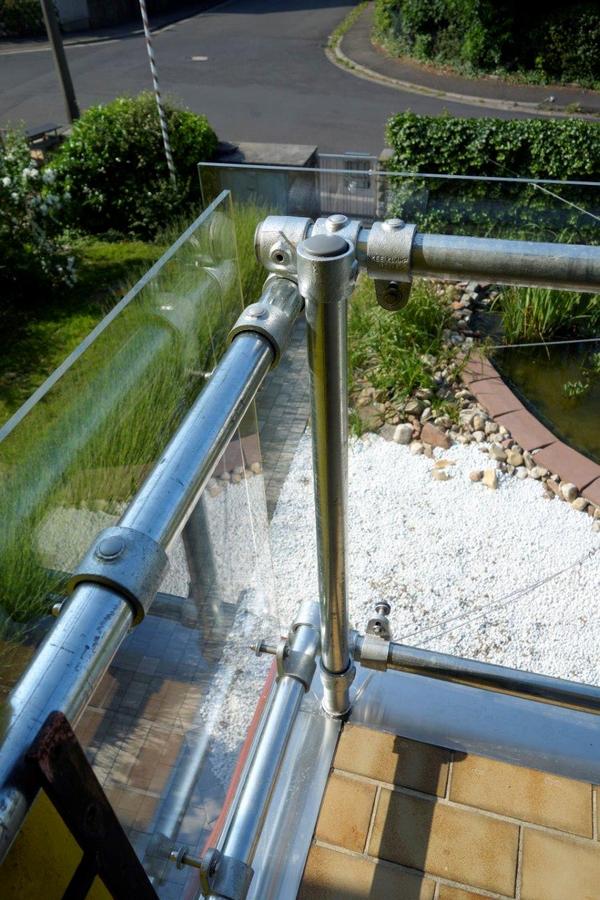
If you like this idea, but want some advice, tap into our projects team. They will be happy to lead you through the process and help you understand the parts you need to build your own glass paneled balcony railing.
We know that you'll love working with Kee Klamp fittings. They are simple, easy to use, and cut down on the overall installation costs. Check out some of the projects below for more ideas on what to build with Kee Klamp fittings.
