How to Build Industrial Style Curtain Rods
Recently, I decided to build a pair of curtain rods for my bedroom. The main goal was to block out the sun in my bedroom in the early morning so I could savor that extra hour of sleep. The blinds I have would still let in too much light and I needed a better solution. So I found some blackout curtains to keep the sun from shining through and to keep my bedroom pitch black.
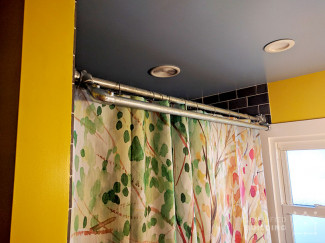
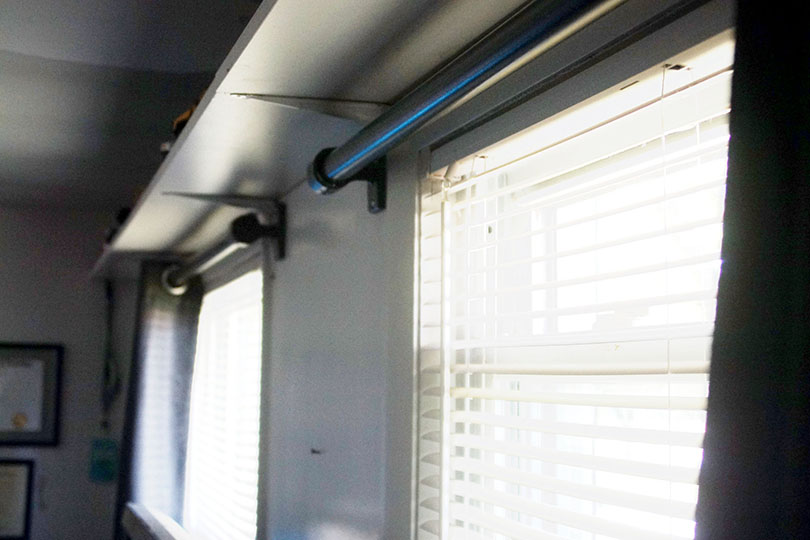
To hang the curtains up, I wanted to build curtain rods that looked good and looked like they belonged in a guy's room. The result are the industrial style curtain rods that you see today. They were built completely using Kee Klamp fittings and pipe and I'm going to walk you through everything I did to finish them. The design, painting the fittings and pipe and mounting the curtains rods to the wall. Let's get to it:
Curtain Rod Design
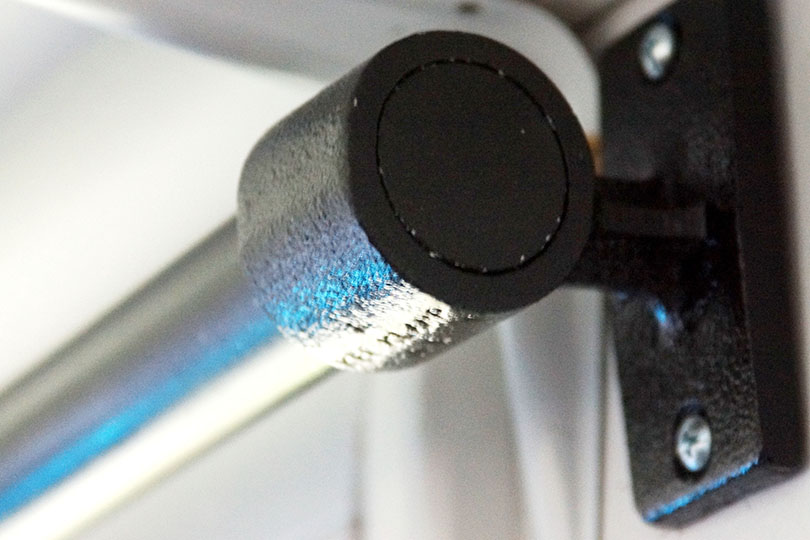
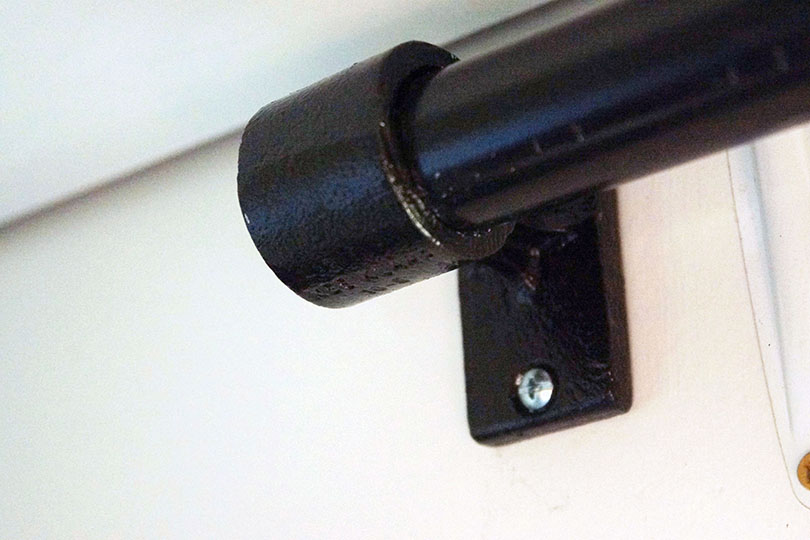
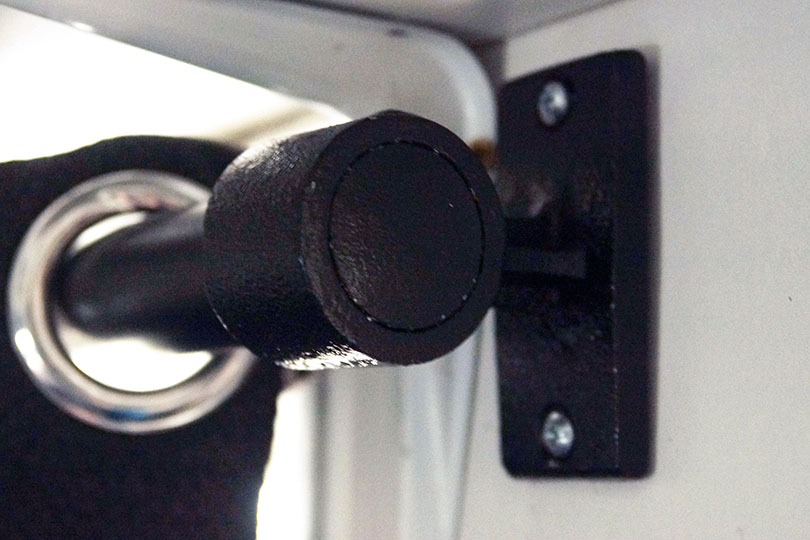
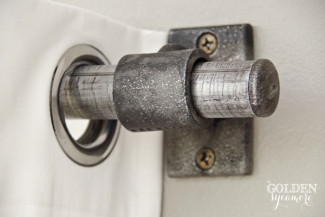
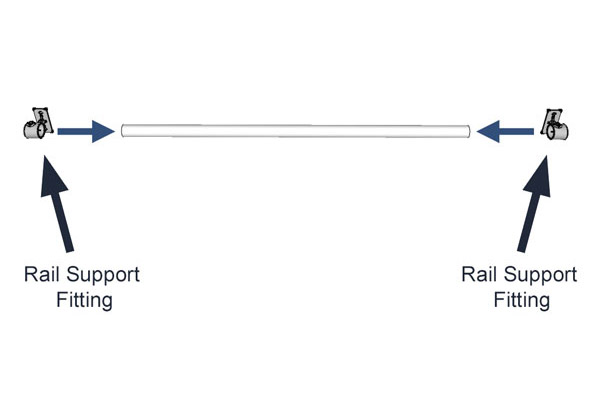
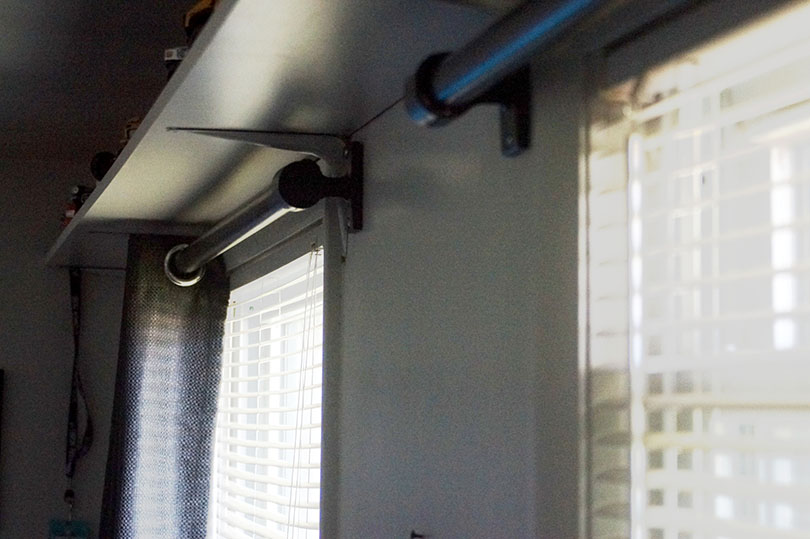
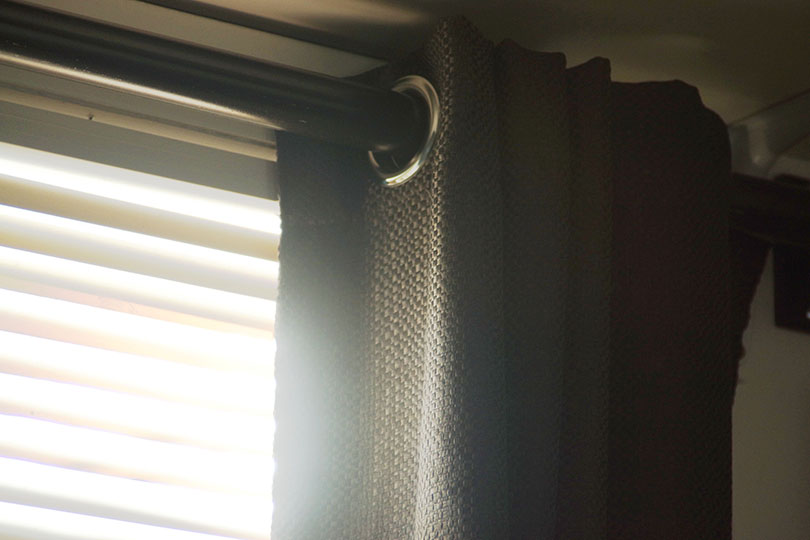
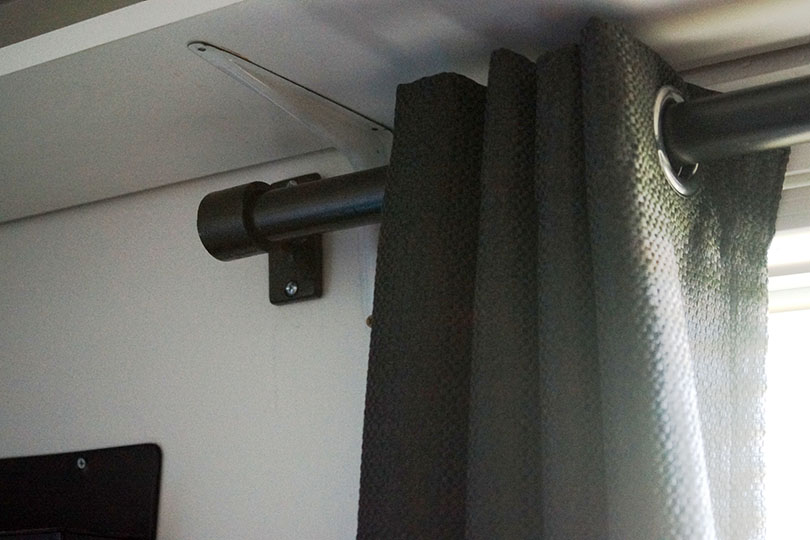
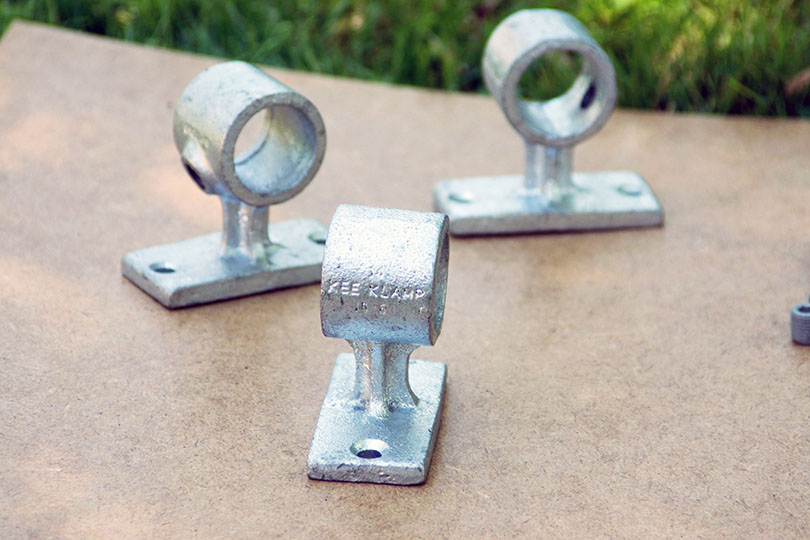
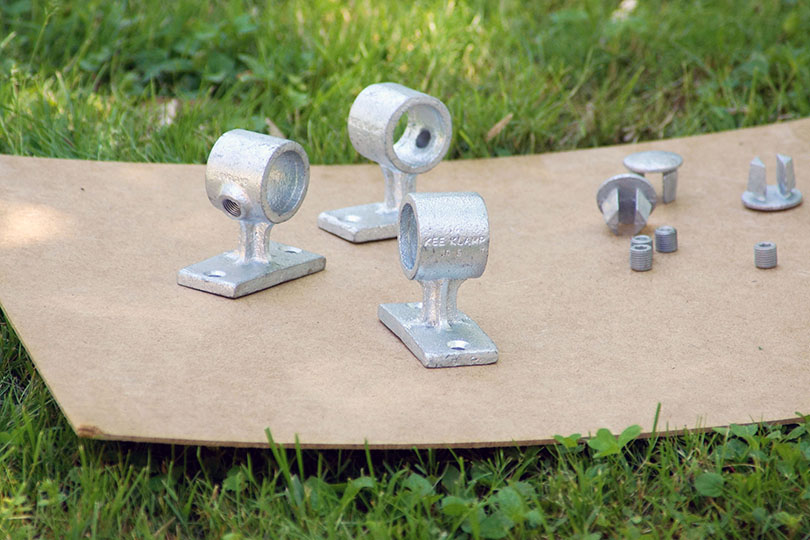
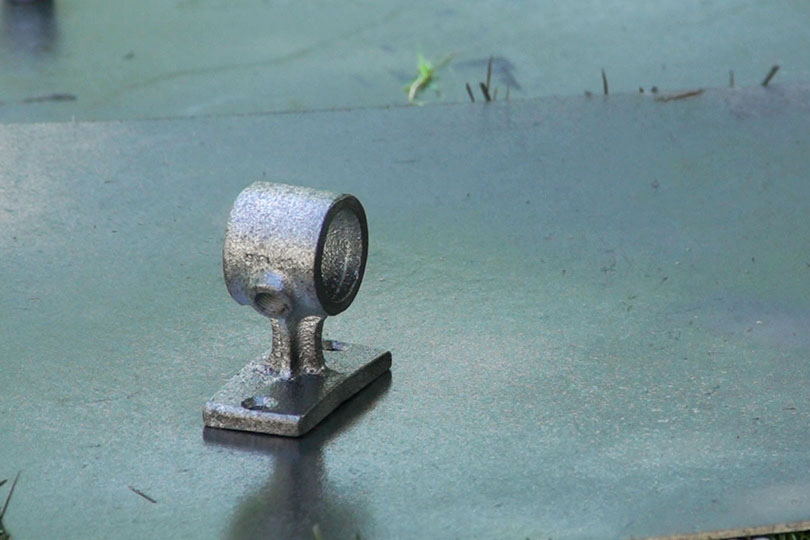
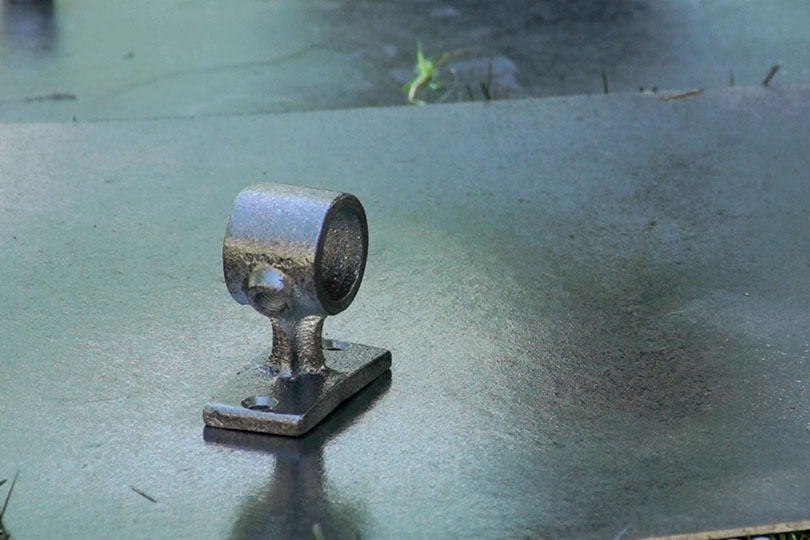
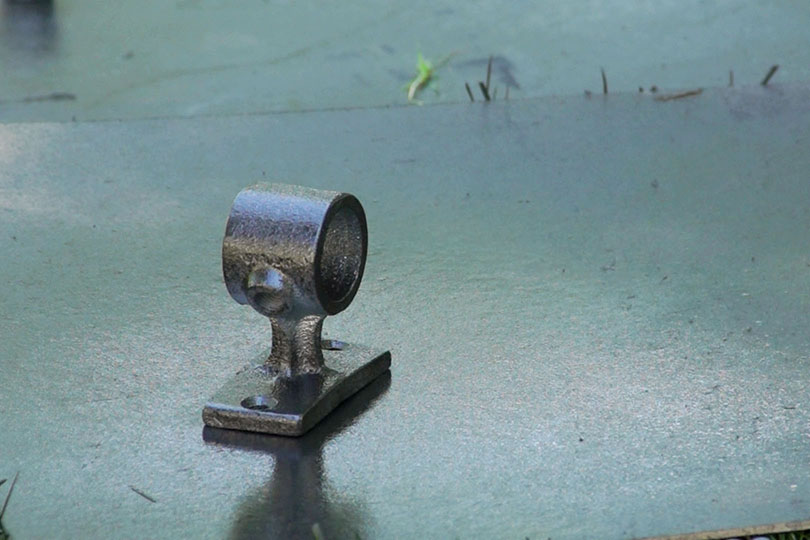
The design of the curtain rods is pretty simple. It only uses one type of fitting, the Rail Support. The Rail Support fittings slide onto each end of the pipe to act as the brackets for the curtain rod. These fittings have a base plate with mounting holes in it to mount the fitting to the wall. You can see in the image below more clearly how the curtain rod comes together.
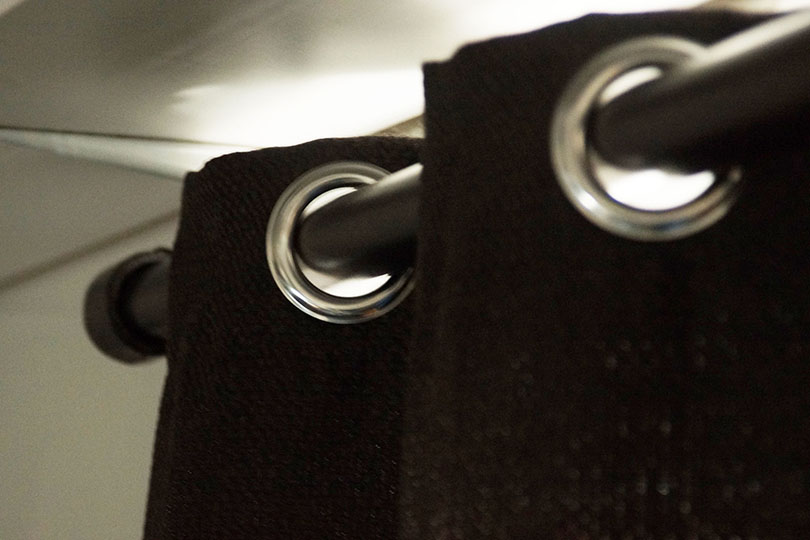
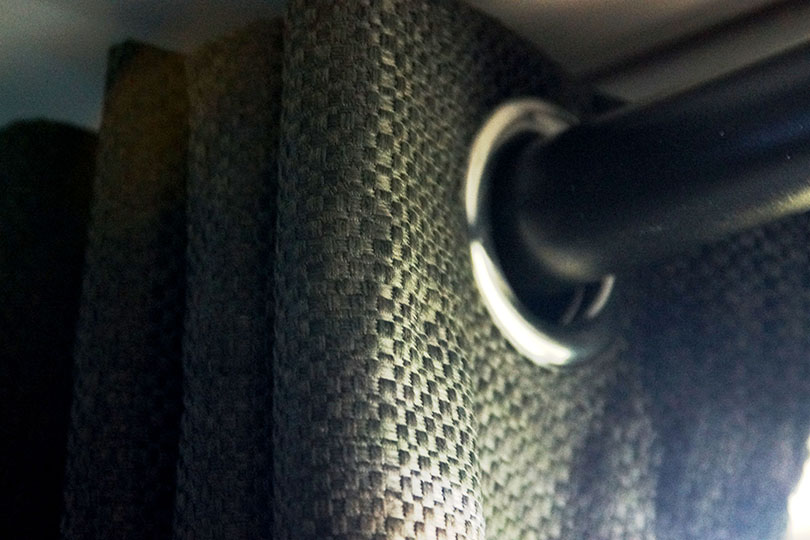
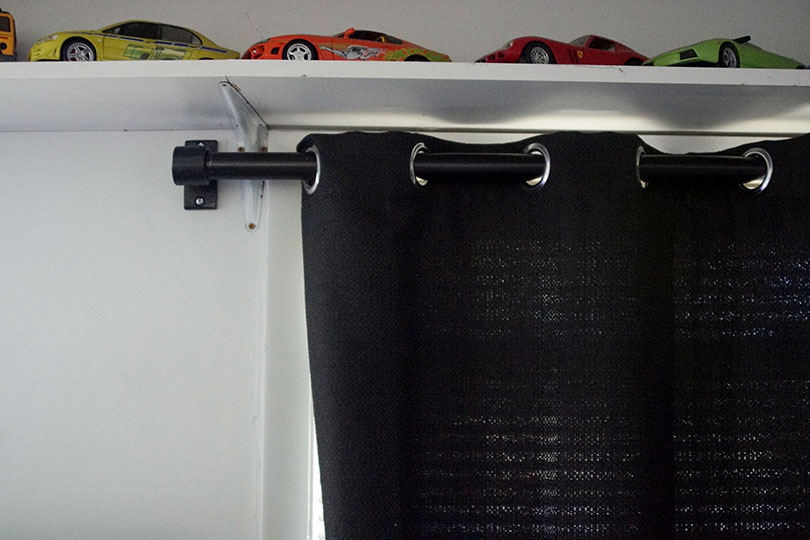
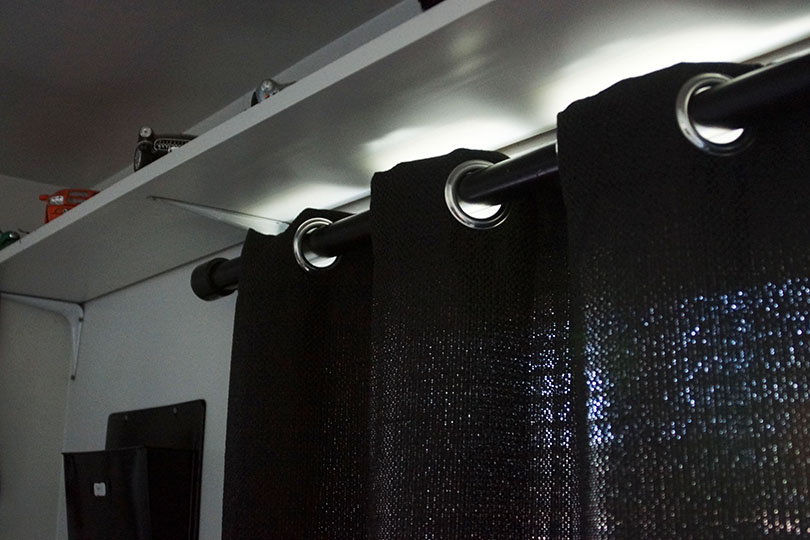
For the curtains themselves, I used the Eclipse Blackout Curtains in Charcoal. I'm very happy with how the curtain rods came out and how well the colors pair together. The charcoal colored curtain rods fit well with the black curtain rods.
Painting the Fittings and Pipe
Cleaning the Fittings and Pipe
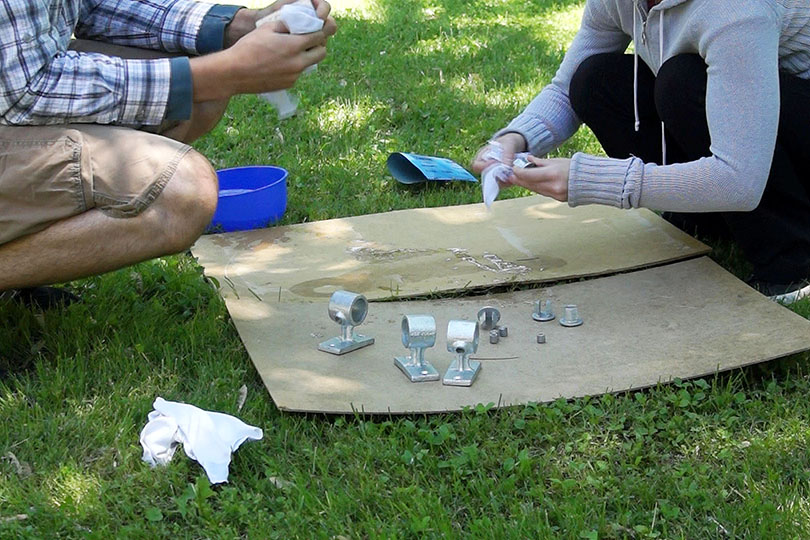
First, to make sure the paint took well to the metal, I wanted to give the fittings and pipe a good cleaning. So I enlisted the help of my girlfriend and we got to work.
Using soapy water, we cleaned each of the fittings and pipe individually using a cloth. This was to remove any grease or dirt, ensuring they were ready to paint.
Painting the Fittings
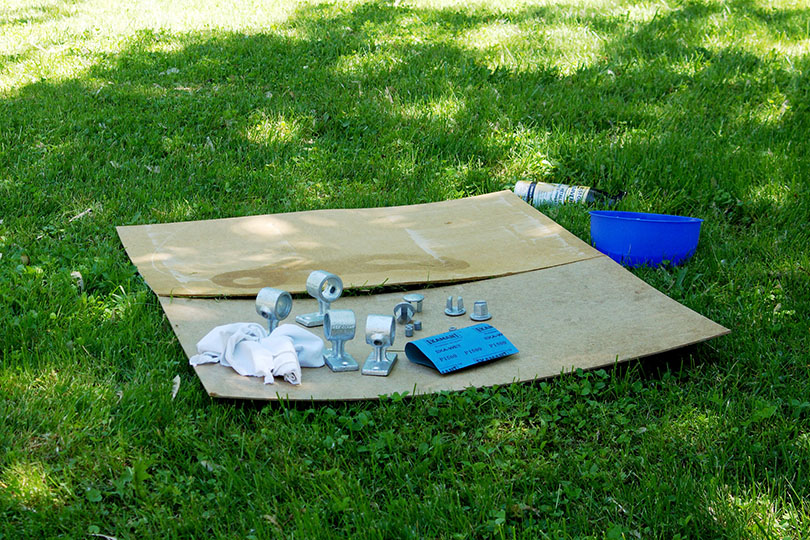
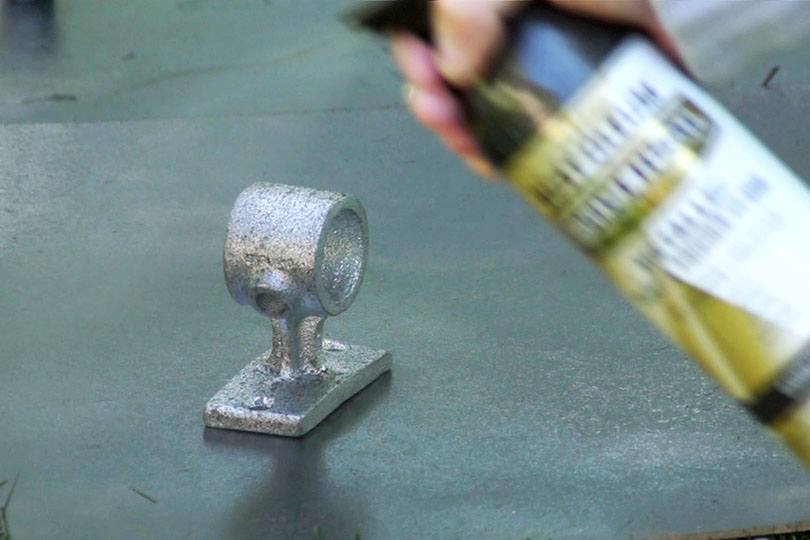
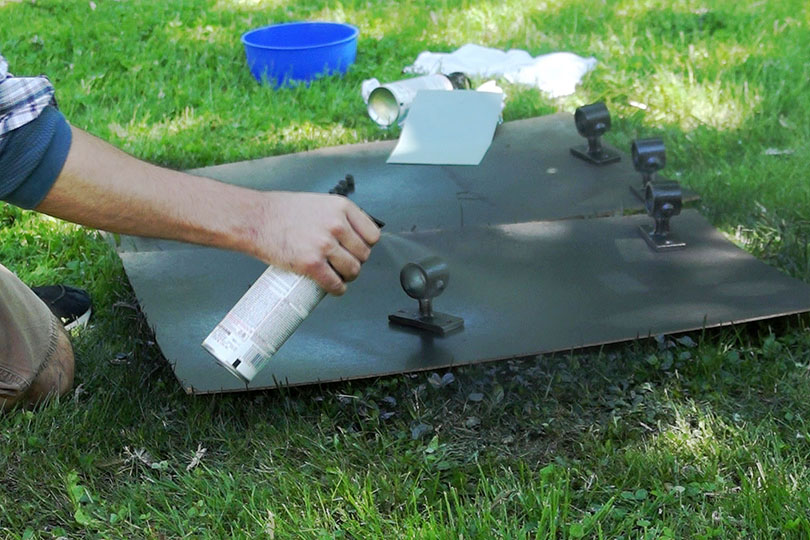
Once everything was properly cleaned, we moved onto to painting the fittings. We got a few MDF boards that we had laying around the house and placed them on the ground in our backyard. We laid the fittings across the boards and then got to painting.
To paint the fittings and pipe for the curtain rod, we used Rust-Oleum Universal Metallic Carbon Mist Paint and Primer in One. The paint is black but not quite as dark as jet black and it has a nearly grayish tint to it.
I will note right now, if I do this again, I will use a different spray paint. While this paint worked out fairly well, some paint has chipped off since from sliding the curtains across the pipe.
Anyways, to paint the fittings, we sprayed them about 8 inches away in even, back and forth motions. We painted each fitting in multiple light coats until it was completely painted.
Painting the Pipe
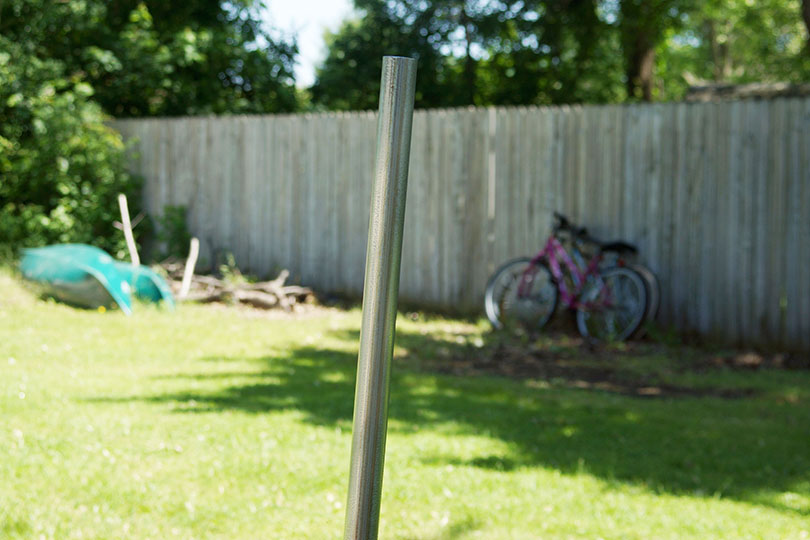
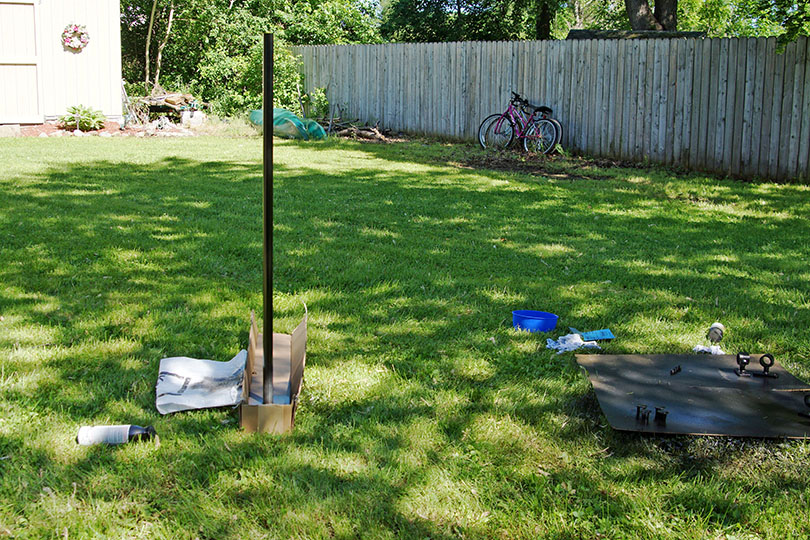
Next, we painted the pipe. To paint the pipe, we used the cardboard box that the pipe came in and laid it across the lawn. Then, I grabbed a length of pipe rebar and jammed it through the cardboard and into the ground.
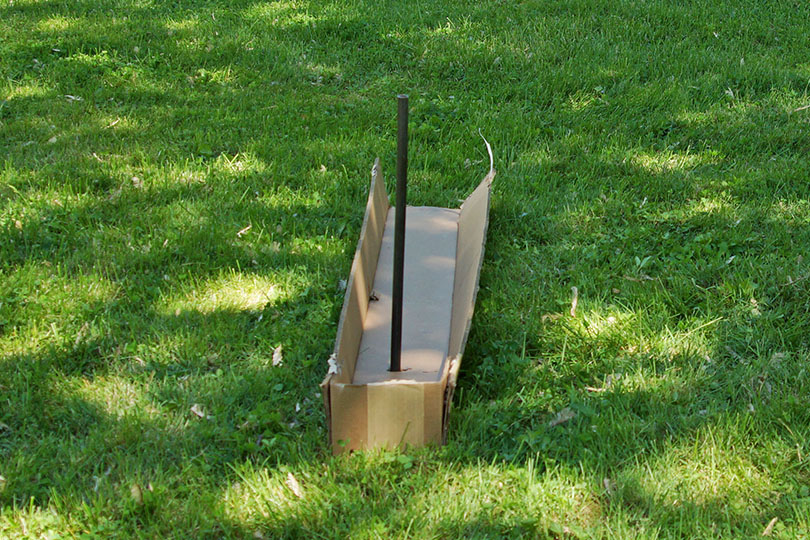
This allowed me to slide the pipe over the rebar and paint it from all directions.
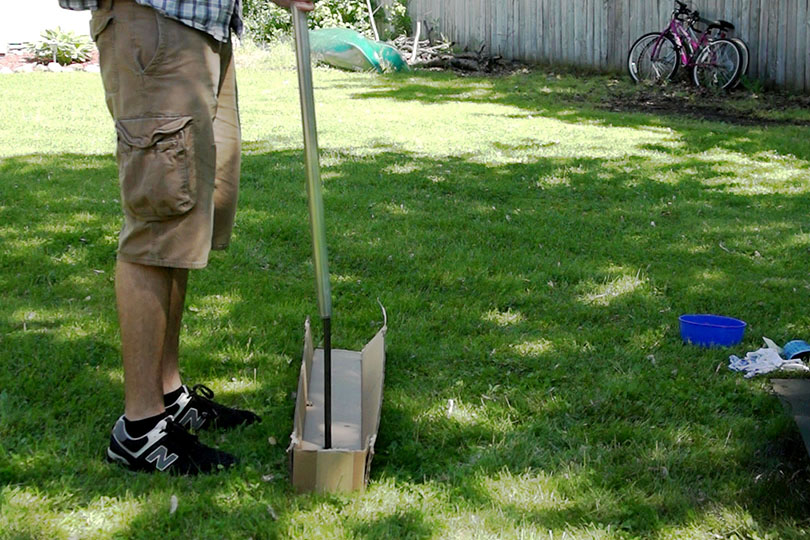
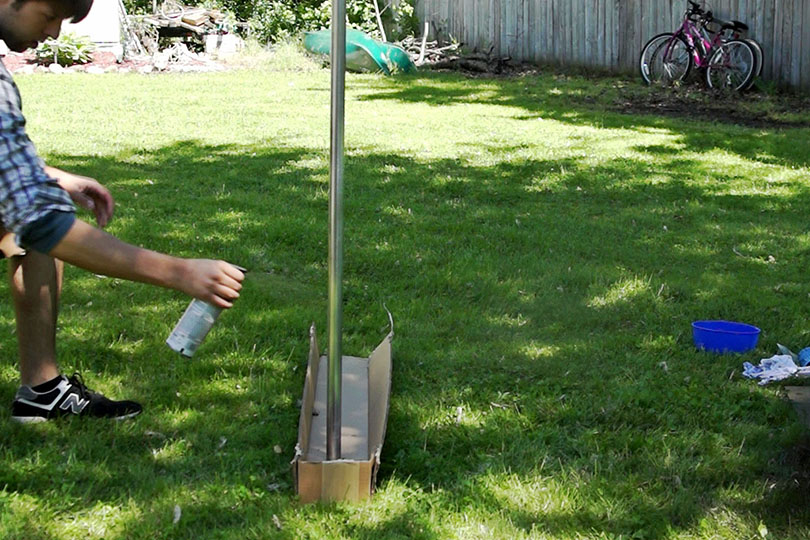
Again, I painted the pipe in multiple, light coats sweeping vertical in an even motion. I did this until the pipe was completely painted.
Assembling the Curtain Rod
Assembling the curtain rod is pretty straight forward. Although, there are multiple ways to do it. Which I did both.
The first is to assemble the curtain rod completely and then mount it the wall. The other is to mount the Rail Support fittings to the wall first and then slid the pipe through the slip-on joints in the Rail Support fittings.
I did each method, one for each of the curtains rods. However, I'm not really sure which I would recommend. Mounting the Rail Support fittings first was easier, however, when I slid the pipe through the fittings, I did scrap some of the paint off. This might not happen if a higher quality paint was used but it's something to be aware of.
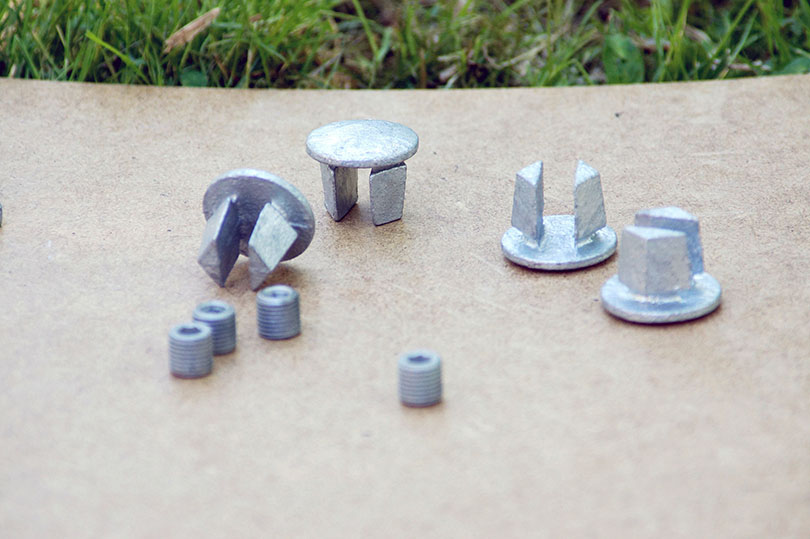
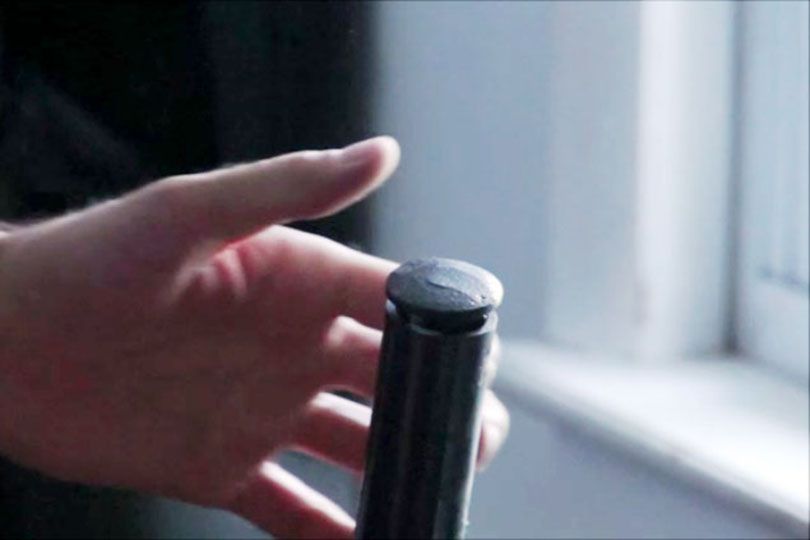
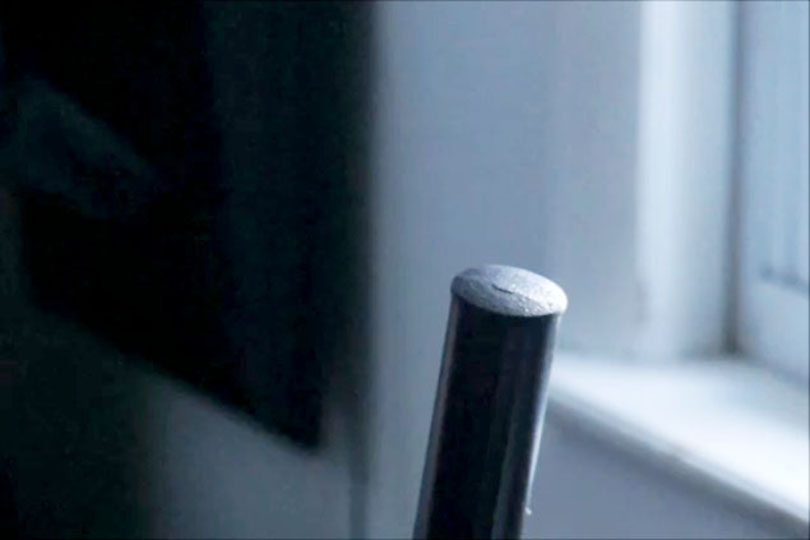
In any case, the Malleable Plugs, which cap off the exposed ends of pipe, should be put on before putting the curtain rod up.
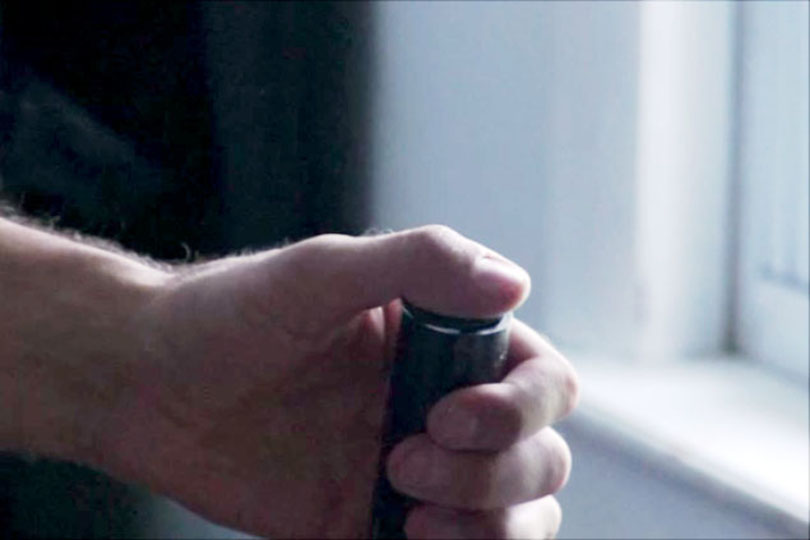
To attach the Malleable Plugs, I rested the pipe up against the desk in my bedroom, with it pointing nearly straight up. Then, I placed the plug into the exposed end of pipe.
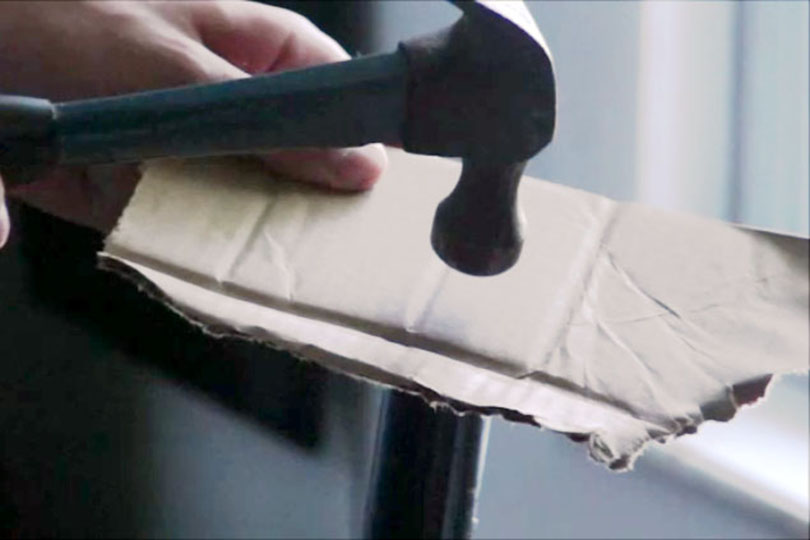
From there, I placed a piece of cardboard over the plug so I wouldn't damage it or scrap of any paint and proceeded to hammer it in.
Mounting the Curtain Rods to the Wall
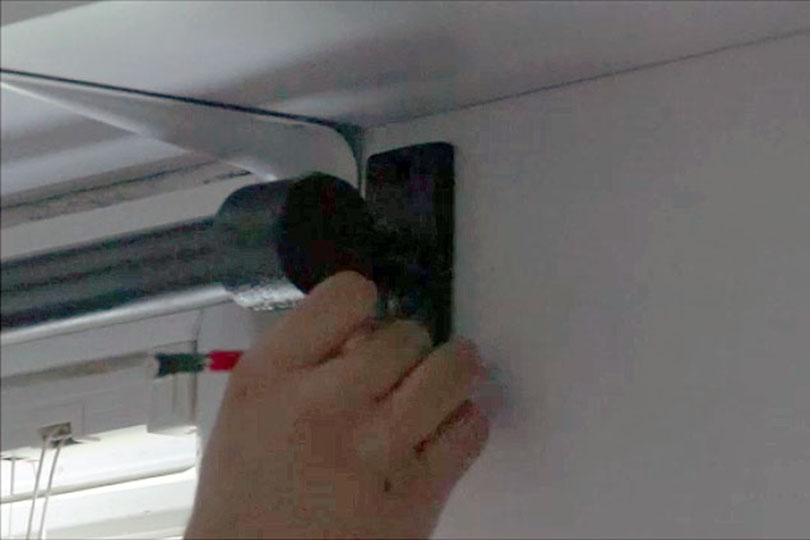
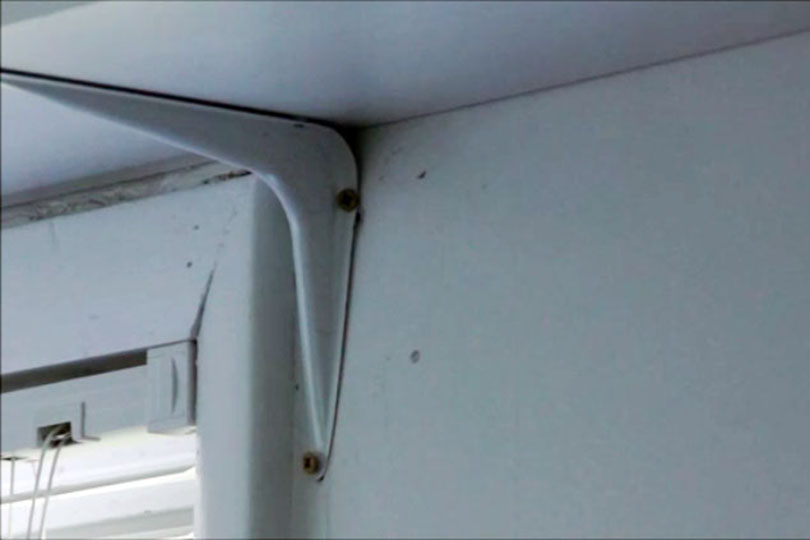
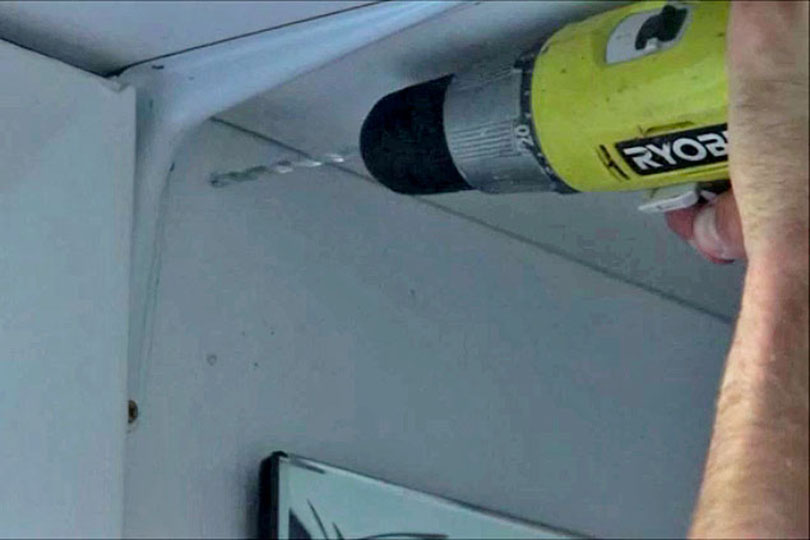
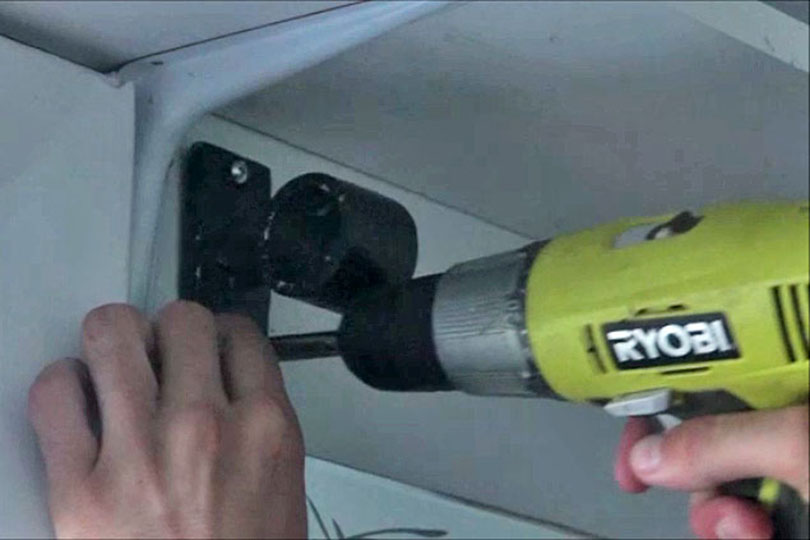
To mount the curtain rod to the wall, first I put the Rail Support fittings up to the wall and used a pencil to mark spots through the mounting holes in the Rail Support fittings.
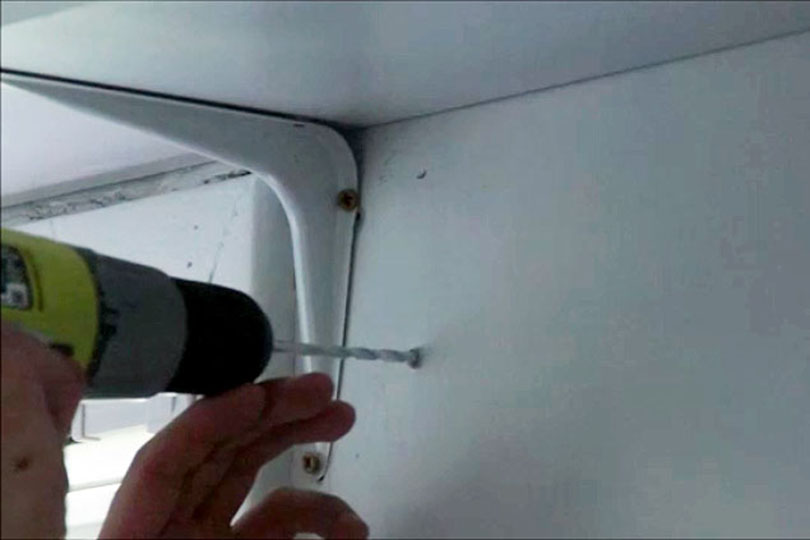
From there, I proceeded to drill holes into the wall. I picked up this drywall anchor pack from Home Depot which included two drill bits which I used to drill the holes. I used the 3/16" drill bit.
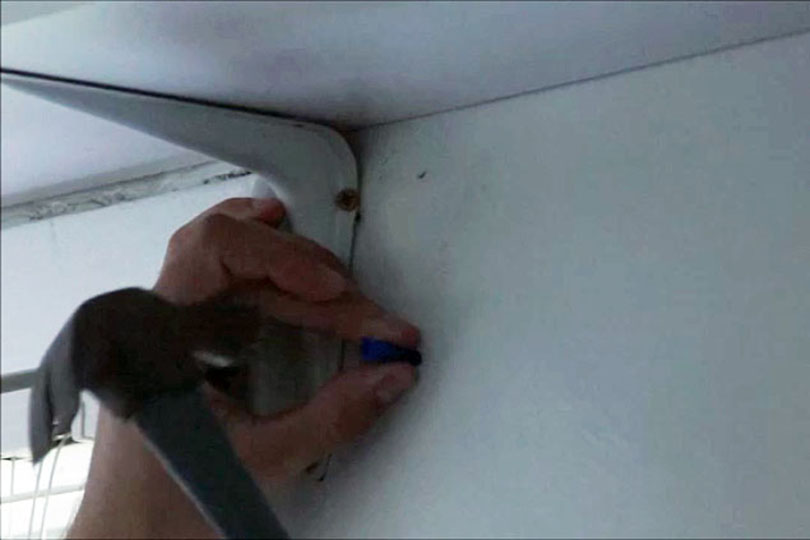
The pack also came with 4 different sets of drywall anchors and corresponding screws. I used the blue drywall anchors in the pack, which are the third largest in the pack. I'm not sure what weight load they are rated for but they felt like the appropriate size to use for the curtain rods and it has held up well since.
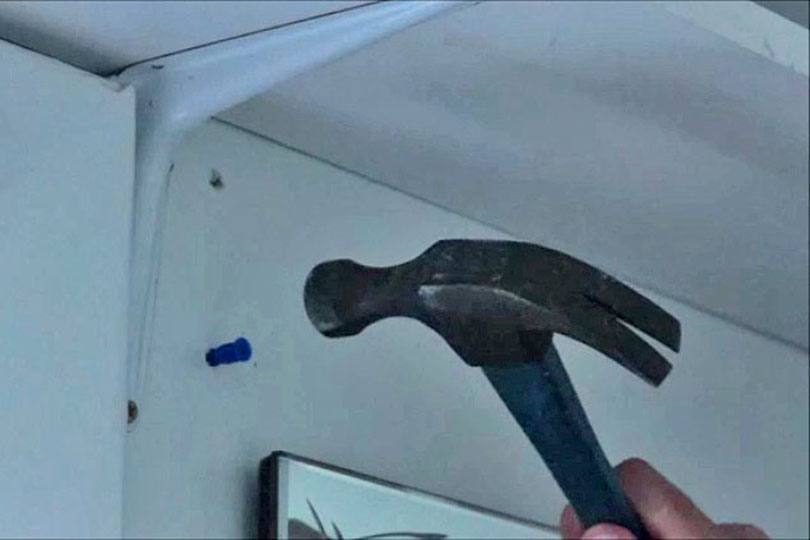
I slid the drywall anchors into the holes I just drilled and hammered them in.
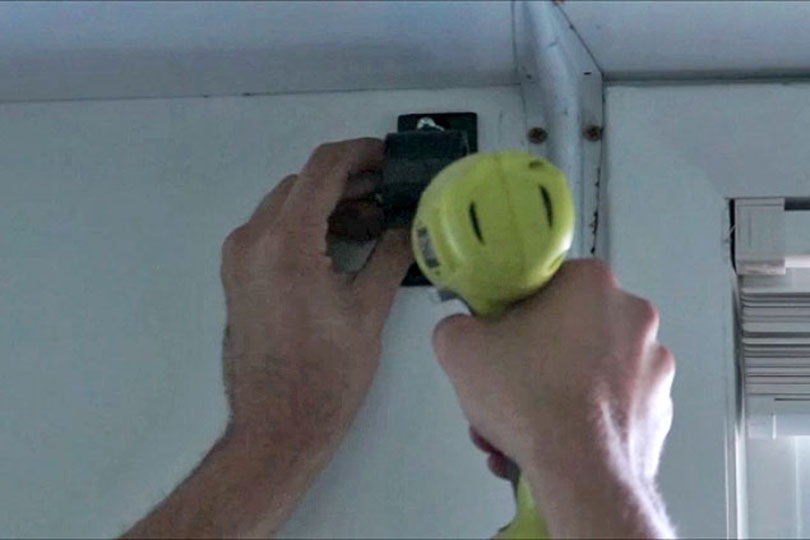
Next, I placed the Rail Support fittings over the drywall anchors and lined them up appropriately. Then using the corresponding screws, I mounted the fittings to the wall.
To attach the curtains, I just slide them over the pipe, realigned the pipe into the Rail Support fitting and tightened it back down to secure it.
That's it! The whole process was fairly simple and not really anymore of a hassle than if I went to the store and bought curtain rods to hang up. Plus, this curtain rod is definitely a lot beefier than anything at the store.