How to Build a Deck Railing (Step-by-Step Plans)
Think you have to hire a contractor to build a deck railing? Think again.
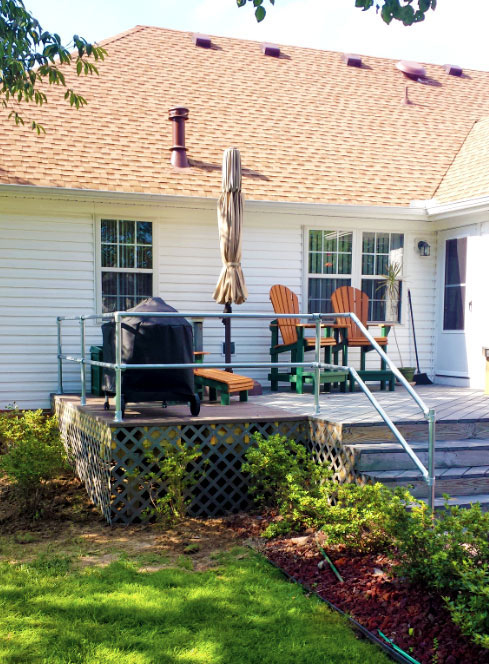
It is possible to build your own deck railing in just a few hours without hiring help. Take a look at the image above. Gary from Chesapeake, Virginia, but this custom deck using Kee Klamp fittings and 1 ½” piping. Did you notice what he didn’t use? A contractor.
Yes, Gary created this high-quality and secure railing without hiring a contractor. Below, we will discuss the steps you should follow to build your own deck railing. By following these instructions, you can construct your own deck railing in just a few hours.
Determine the Type of Railing You Need
Before you purchase any materials or start the installation process, you need to decide what type of deck railing you need. Your options include wall mounted, surface mounted, or wall and surface mounted railings.
You may decide to construct a custom railing using Kee Klamp fittings, or to make the process easier, Simplified Building has a few railing kits for each situation.
Let’s take a look at each type in more detail:
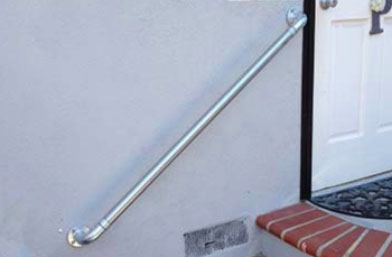
Wall Mounted Railings
Wall mounted railings attach directly to pre-existing walls. They might not be the right choice for a deck project. But, they are an option if they fit your needs.
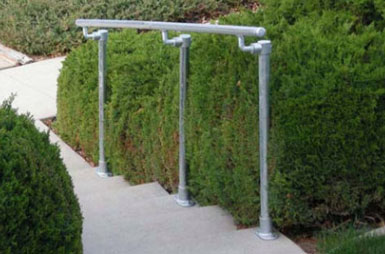
Surface Mounted Railings
Surface mounted railings attach into the ground or desired flooring, such as a deck. This is a common type of railing to use for decks.
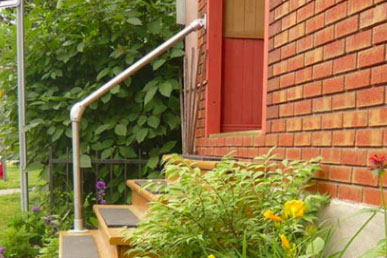
Wall and Surface Mounted Railings
The final option is a combination wall and surface mounted railing. In the image at the top of this article, you will see that this is the option Gary chose. The combination railing created a secure guard railing for Gary’s deck.
Ultimately, you need to decide the type of railing that is right for your project. Look at your deck and think about where you plan to attach the posts and railings. Once you have decided, you can move on to the installation steps.
It is important to note that not all handrails are ADA compliant. Click here to learn more about our ADA railing solutions.
Gather Your Supplies
Always be sure to measure your space before purchasing any supplies.
To determine the length of your deck railing, ask a friend to hold a tape measure three feet off the ground while you walk with the other end to the spot where you want the railing to stop. Most handrails are about three feet high, so this will also give you a mental image of where the handrail will go once you finish the project.
After you determine the measurements for your deck railing project, it’s time to gather the supplies you need.
You can design a custom deck railing, like Gary, and purchase pre-cut pipe online or buy pipe from your local plumbing supply store. Alternatively, you can purchase a complete railing kit to simplify the ordering process. These kits contain all of the hardware and tubing you need for your deck railing.
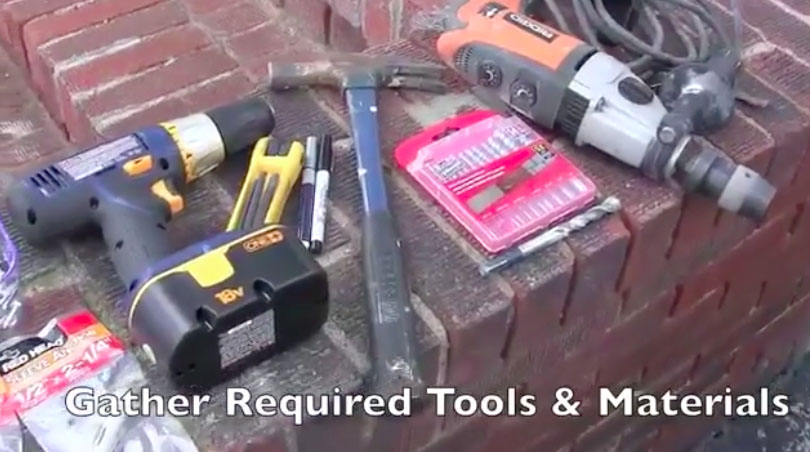
Depending on your specific project, you might need a variation of the supplies listed below. In general, to build a deck railing, you will need a:
- Drill
- Wrench
- Mallet
- Tape measurer
- Anchor bolts
- Pencil
- Vacuum
- Fittings
- Railing
- End caps
After you’ve decided on the type of railing you need, measured, and gathered your supplies, you are ready to build your deck railing.
DIY Deck Railing Installation
Installing a deck railing is easier than it may seem. By following these simple instructions, you can build your own deck railing in no time.
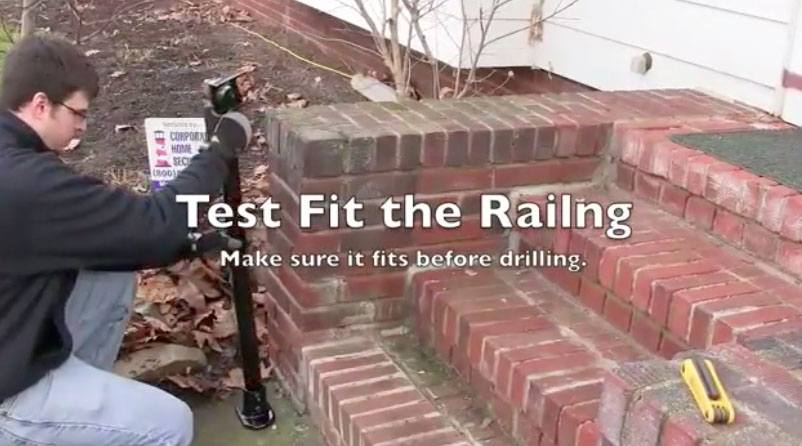
First, make sure the railing you purchased fits the intended space. Confirm that the railing posts easily slide into their fittings before drilling.
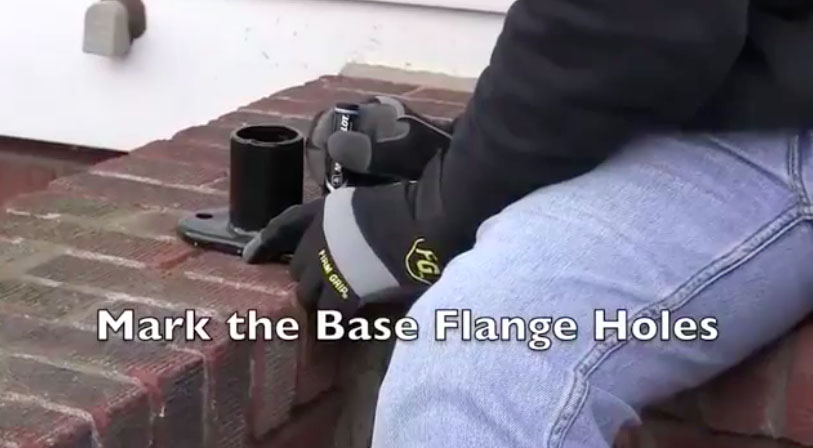
Then, mark the base flange holes. Make sure this is accurate so that you will drill in the correct place.
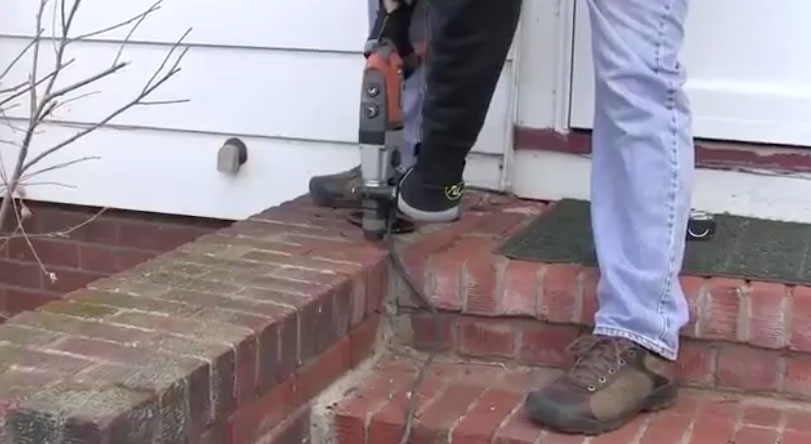
Once marked, you can drill pilot holes. When you’ve finished, switch to a larger drill bit and make anchor holes (if you’re adding a railing to a wood deck, you may be able to skip this step and drill holes immediately to width).
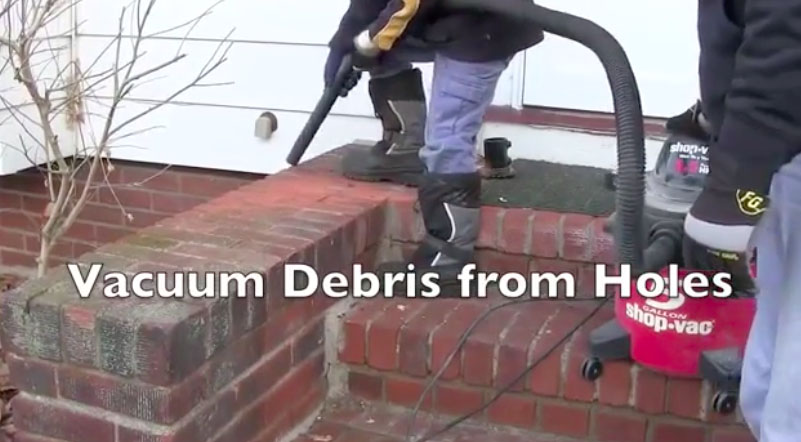
Before moving on, vacuum any debris out of the holes. This will make the installation process much easier.
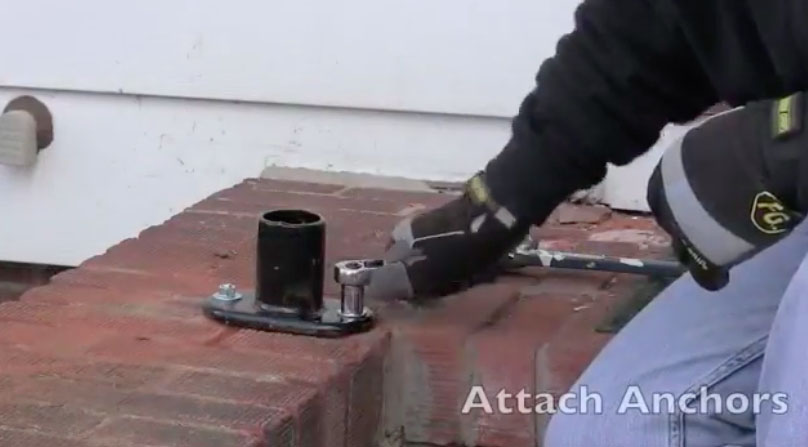
When you are ready, insert and attach the anchors. Use a wrench to tighten the anchors into place. Once these are secure you can attach the post. Then, adjust the top bracket. You should now test fit the handrail before installing the next post.
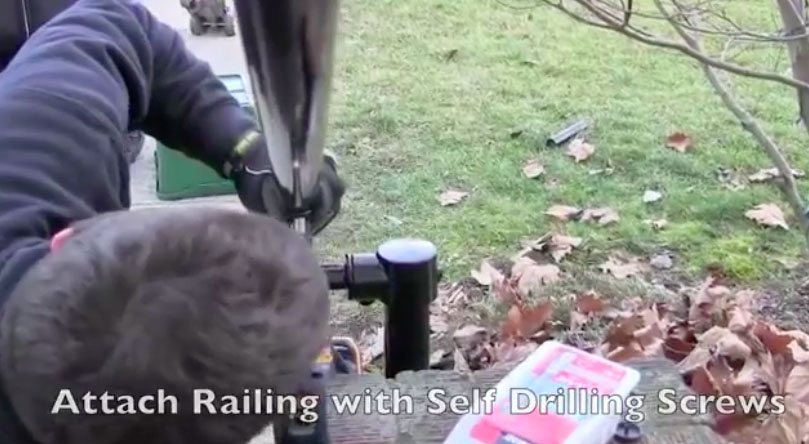
After test fitting, you can repeat the process to install the next post. Once both posts are installed, you can move on to the handrail. Measure and mark the holes on the grab rail. Then, use self-drilling screws to attach the grab rail to the posts.
Test the railing by lightly shaking it to make sure everything is sturdy and stays in place.
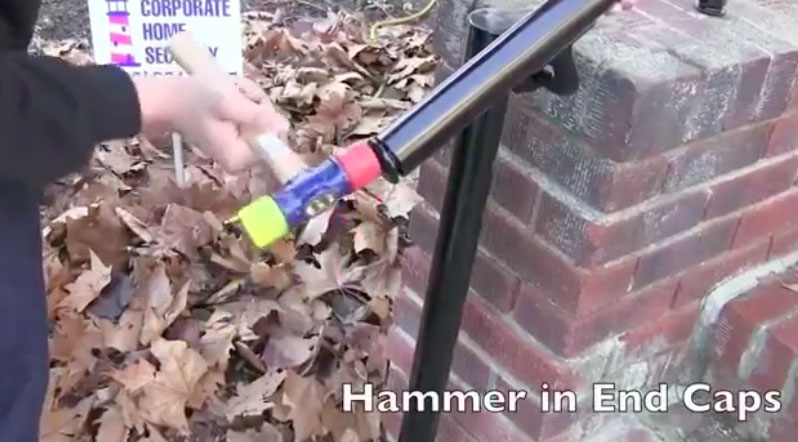
Continue this process until you have the deck railing completed. When you are ready to attach the end caps, gently hammer these into place with a mallet.
The size of the project is up to you. You may only need a simple handrail on a patio or you might want to build a large backyard deck railing. Either way, this simple process outlined above will help you create your very own deck railing.
Installation Tips
Before installing your deck railing, here are a few helpful tips you should keep in mind:
- Always double check that you’ve gathered all of your supplies before starting to install your railing.
- If you want to paint your railing, make sure you do this before installing the railing. You can paint pipe and fittings using spray paint or have them sprayed in a powder coat finish when you order your railing.
- Don’t forget to vacuum the drill holes to make the installation process smoother.
- Cover the endcaps with a towel or piece of fabric before hammering into place.
The Finished Product
If you are ready to build your deck railing, we are ready to help. Browse our selection of deck railing kits. Or, if you prefer to design your own project, check out our inventory of Kee Klamp fittings and pre-cut pipe.
Once you’ve successfully completed your deck railing project, give yourself a moment to admire your work. You built your very own deck railing without the time and hassle of hiring a contractor! Feel free to send us a picture of your finished product, just like Gary did, and get a free t-shirt in the process. We would love to see your new deck railing!
Have a Question? Contact Our Projects Team Today!
We are also happy to discuss any project questions you might have. Let us know your questions and a design team member will get back to you shortly.


