Stair Handrails: A DIY Guide to Building a Stair Railing
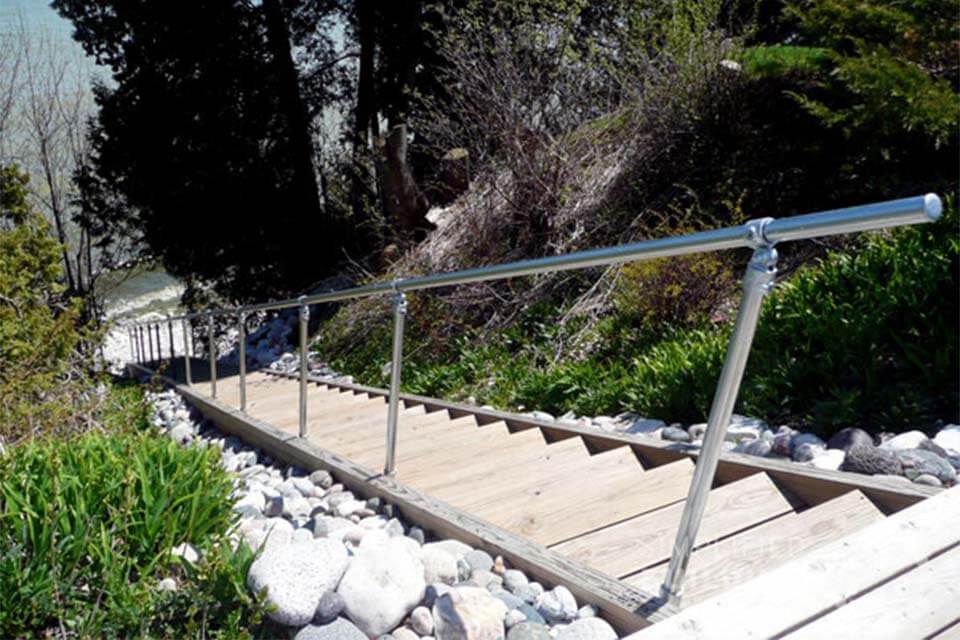
Whether it's for your house or someone else’s, outdoor stair handrails are needed to allow safe access to the home. Even if you personally don’t need it, someone who visits your house may benefit from the aid of a stair handrail.
Beyond the benefit it provides to others, you may be required to install a stair railing due to code or insurance requirements.
You may not want to hire a contractor to install a railing. This could be to save money or because you, like many others, like to do it yourself. It could be both.
Either way, the following will help you design, purchase, and install the stair handrail that you need.
Analyze the Location You are Installing the Handrail
The first thing that you want to do is check out the environment that you’ll be installing your railing. You are checking the structure that you're connecting to. Typically, this is brick, concrete, or wood. Check if the concrete is crumbling or if the mortar between your bricks is falling away. You don’t want to install a railing and then have it fail when someone uses it because the anchors pull out.
If the structure is compromised, then you’ll want to change where you attach the railing or fix the structure. I’d suggest connecting with a professional to fix the structure at this point unless you’re trained on how to do this.
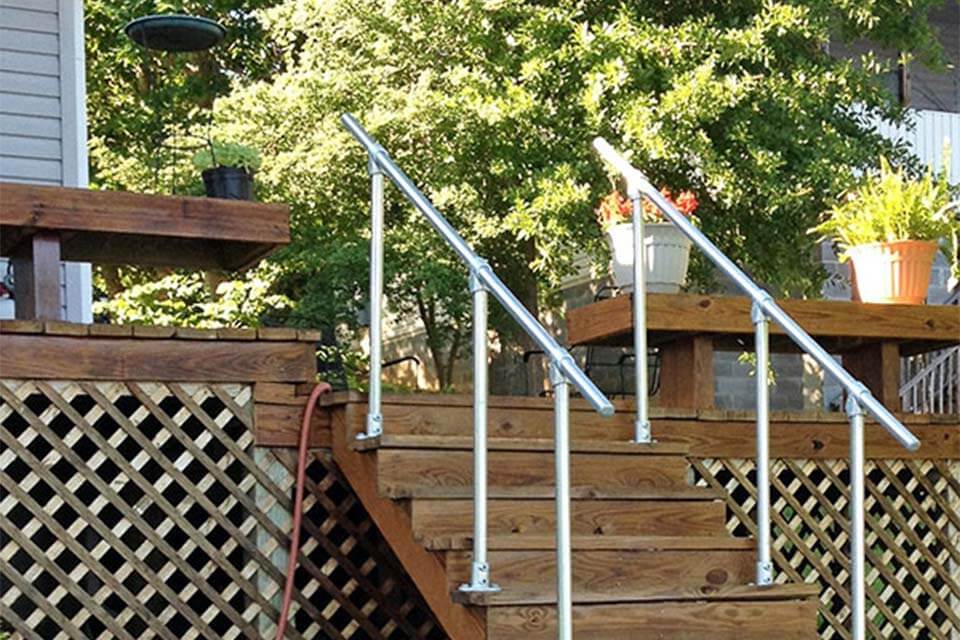
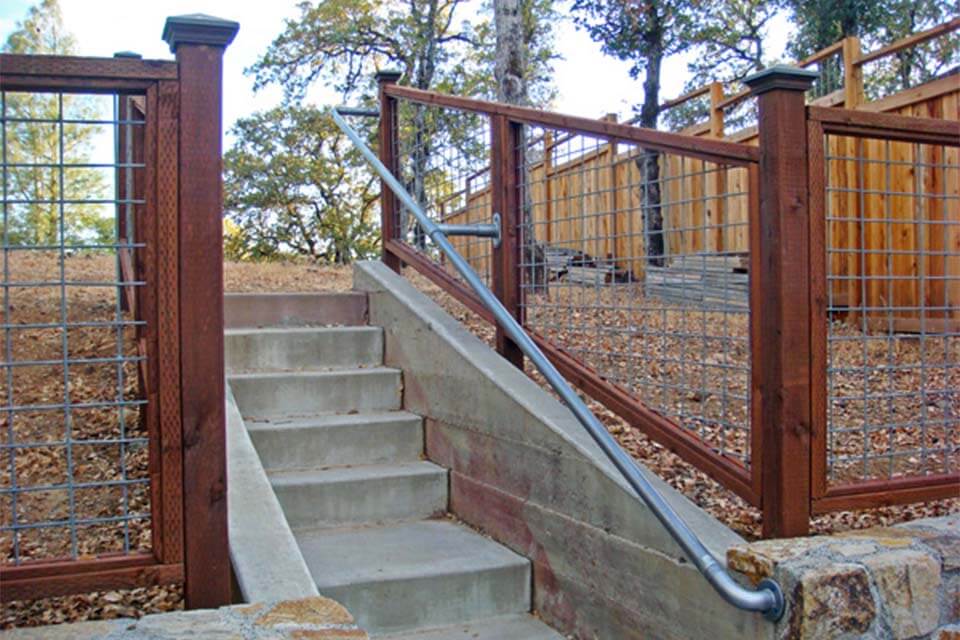
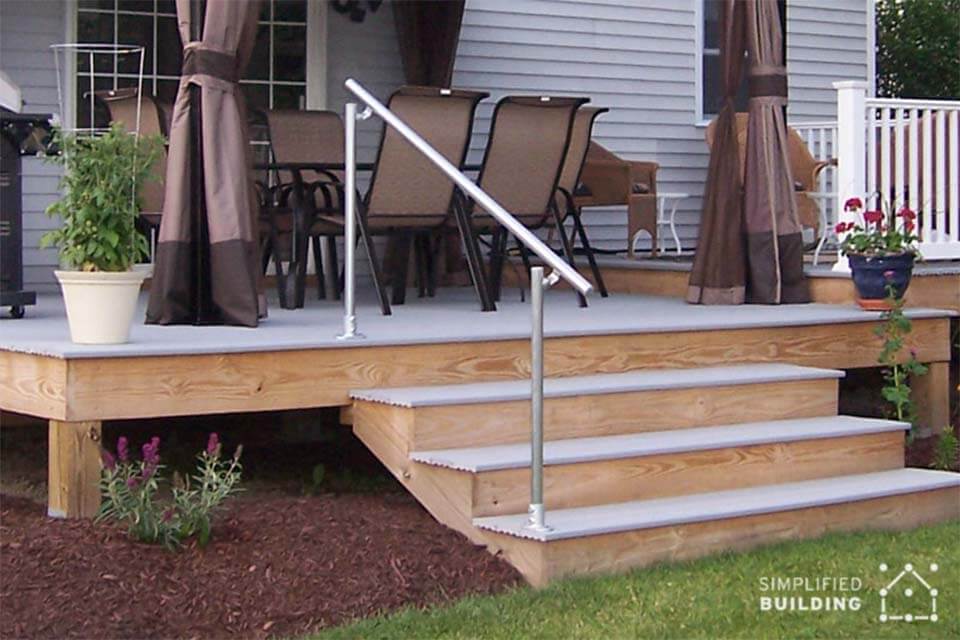
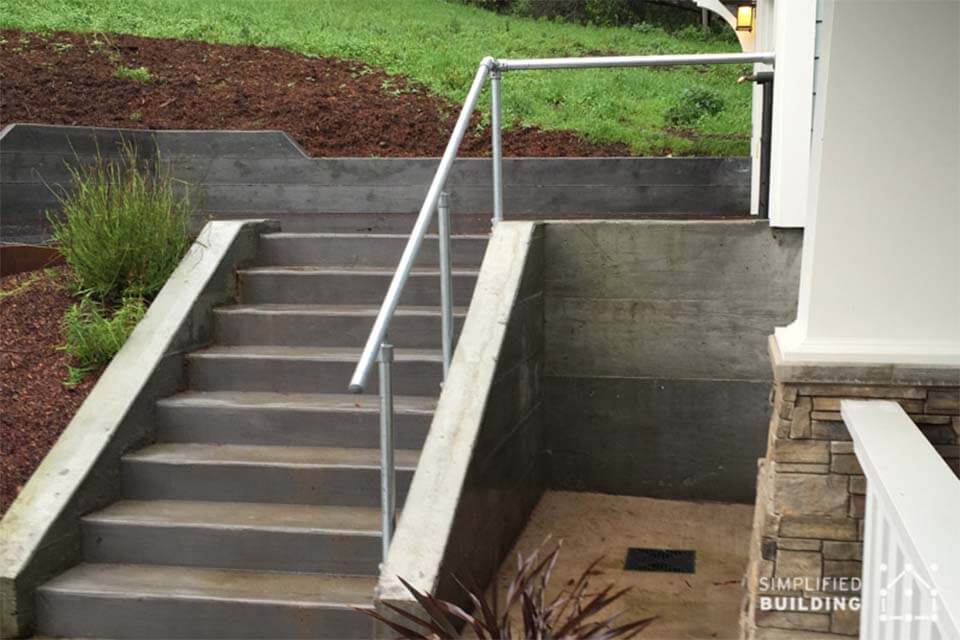
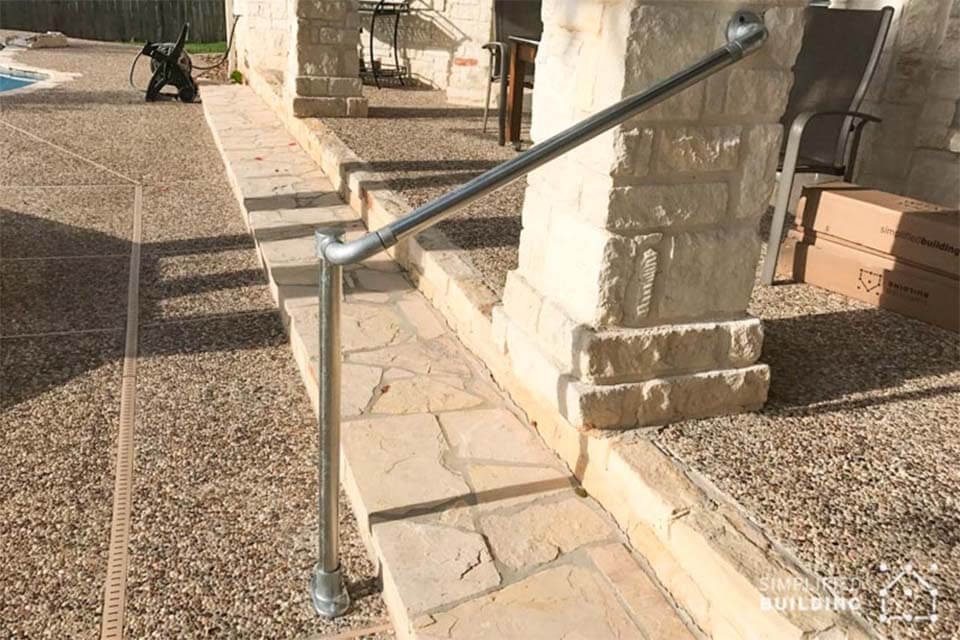
Knowing your structure will help you decide if you want to mount to the surface, like with a porch railing or deck railing. You may want to mount to the wall if you have an existing fence or retaining wall. You may even want a hybrid railing that can mount to the surface and a wall like you would see with an exterior cellar stair handrail.
What you are connecting to will determine the type of anchors that you'll need. You could use screws for wood or chemical anchors for concrete. Ensure that the anchors are the appropriate size for the flange that you’re using.
The simple rail kits that we offer include the anchors that you’ll need for concrete or wood.
How to Measure the Length Needed for a Stair Handrail
The next thing that you'll want to do is measure the length you need for your stair railing. There are a few ways that you can take this measurement: rise and run, with measuring tape, or with a stick and string.
The Rise and Run Stair Measuring Method
The first option requires math. If don’t fancy harkening back to high school geometry, then I won’t be offended if you skip to the next method.
To measure the rise and run, you need to first determine where your top and bottom posts will be installed. You may need intermediate posts, depending on the length of your railing, but you can ignore those for now as we’ll talk about that later. Measure the height difference between these two installation points to get the rise. The run will be the horizontal distance between the two.
Now it’s time for the Pythagorean theorem: a2 + b2 = c2. A is your rise and B is your run. Solve for C and, voila, you have your length. If you plan on having the rail extend past the end posts, then I would add an additional 6 inches to each side that will pass beyond the post.
Using a Tape Measure for Stair Handrail Lengths
The second way is just to get a tape measure. Grab a buddy to help you measure the distance between the top and bottom post locations. One person holds the measuring tape at the bottom of the stairs and the other at the top of the stairs holding the other end. Make sure both sides are the same distance from the surface you’re measuring between and, shazam! you’ve got it. Add an extra 6 inches to each side that you plan to extend past the post and you’re all set.
The Stick and String Handrail Measuring Method
If you don’t have a buddy on hand and don’t want to do the math, then grab a stick and some string. Tie the string to the stick and mount it next to where one of the posts will be installed. Pull the string to the other end, making sure both ends are at a similar height from the surface, and mark it with a marker. Then you can lay the string flat and measure that with a measuring tape, adding an additional 6 inches to each end that will extend past the end posts.
There you have it. Three different ways that you can get the measurements you need. Don’t forget to measure the flat surface of any landings you will be installing a handrail on as well.
How to Determine the Angle of my Stair Railing
Remember when you thought you’d never use what you learned in high school math? Well, look at you now!
The joy of the internet is that there are so many tools that do the work for you. Get the rise and run from the method above and plug them into a nifty right-angled triangle calculator to get the angle that you need.
If you don’t want to take the time to do that, then you can use an adjustable fitting like in our classic adjustable simple rail kit.
How to Determine the Number of Posts for Your Stair Railing
Most stairs will just need 2, one at the top and one at the bottom. However, we advise that your posts should not be spaced more than 6 feet apart. If you have a 7-foot railing, then you can still use 2 posts that are six feet apart and have the railing extend 6 inches in each direction past the end of the post. If the stair railing is longer than that, then you’ll want to add an intermediate post. Don’t forget to add any posts that you need for your landing, including corners if you need them.
Choosing the Right Material for Your Handrail
The next thing that you'll want to do is think about the materials you want to use. Most metal stair handrails are either galvanized steel or aluminum. Most of our customers use galvanized steel. It’s strong, will last a long time, and tend to have more fittings available.
However, if you are near the coast where salt water is a concern, then I would advise an aluminum railing. Galvanized steel will still work in that type of climate, just not as long.
Choosing the Right Aesthetic for Your Stair Railing
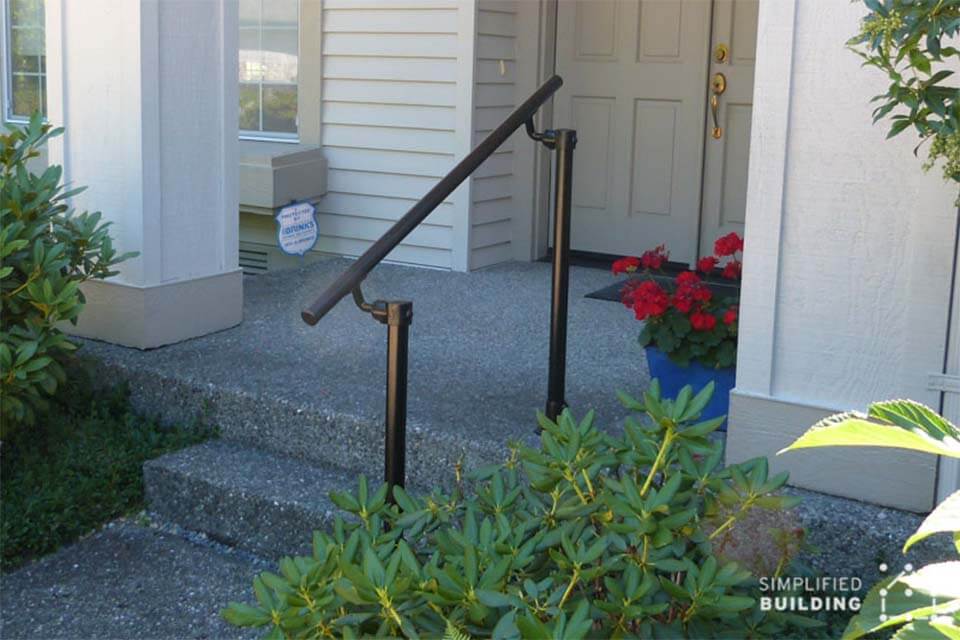
The way your railing looks may not matter to you, especially if you’re just trying to satisfy a code or insurance requirement. However, this is going to be used and seen by you, your family, and any visitors that you have. So, let’s talk about what you can do to affect the look of your railing.
A lot of our customers like the galvanized steel or aluminum finish for the railing. If that’s not you, then you can paint it. Simply head over to Sherwin Williams or a local big box store to find a paint that works on whatever material you choose for your railing. Paint the railing after it’s installed and you have yourself an attractive and helpful addition to your home.
If you’d rather not paint or prefer a more coated look, then we can powder-coat the railing for you. It does cost more, but can you put on price on good aesthetics? The answer is yes. Yes, you can. Either way, the preference is yours.
Another way you can affect the style of your metal stair railing is in the choice of fittings you use. If you like the rugged and rigid look, then use a 30-60 degree single socket tee. If you prefer a nice smooth railing, use a 555 top-fix rail assembly fitting.
Choosing the Right Parts for Your Handrail
Now it’s time to order the parts that you need for your stair handrail. We’ve made this simple for you by putting together the most common stair handrail kits that our customers use. These come with posts, flanges, and anchors. If you would prefer to do this on your own or need a custom design, then head over to our galvanized fittings or aluminum fittings page and follow the below instructions.
The first thing I do is to pick the flanges that I will use to mount the railing. The standard railing flange is what you will use for any surface-mounted posts. If you’re going to mount into the wall, then use the swivel flange if the rail ends into the wall or the wall-mounted handrail bracket if the rail is adjacent to the wall.
Once you’ve picked out your flanges, then you’ll need fittings to connect your rail to the post, if you are using a surface-mounted system. There are several options to choose from here and I would suggest looking at our kits to get ideas for what you would prefer. If you want a fitting that can hit almost any angle you need for a handrail, then I would suggest the single swivel socket.
Use the 90-degree elbow for standard corners or the swivel elbow for variable angles. The swivel elbow works well for the change in angle from stairs to a landing. If you are going for a completely smooth look on your railing, then check out our ADA handrail fittings, using the ADA handrail kits for ideas on how to put them together.
Important Note: If you need an ADA-compliant handrail, then check out our ADA handrail guide or connect with an expert to make sure this is handled correctly.
Once you’ve selected your fittings, then all you need to do is add your pipe. For posts, use a post that is 33-36 inches in height. Most local building codes require that handrails be 34 to 38 inches in height. Add the length of rail you need for the handrail. Remember that you can cut pipe that is too long, so give yourself a little extra leeway when you order.
If you need to tie two longer pieces of pipe together, then you can use a straight coupling or an internal couple if you want a smooth rail. Any pipe ends that are open will need a malleable plug so that a hornet’s nest doesn’t surprise you one day.
Installing Your Stair Railing
Now that you have your materials, it’s time to get them installed. If you choose to purchase one of our kits, then installation instructions will be sent along with it.
Here is a quick rundown on how to install your new pipe handrail.
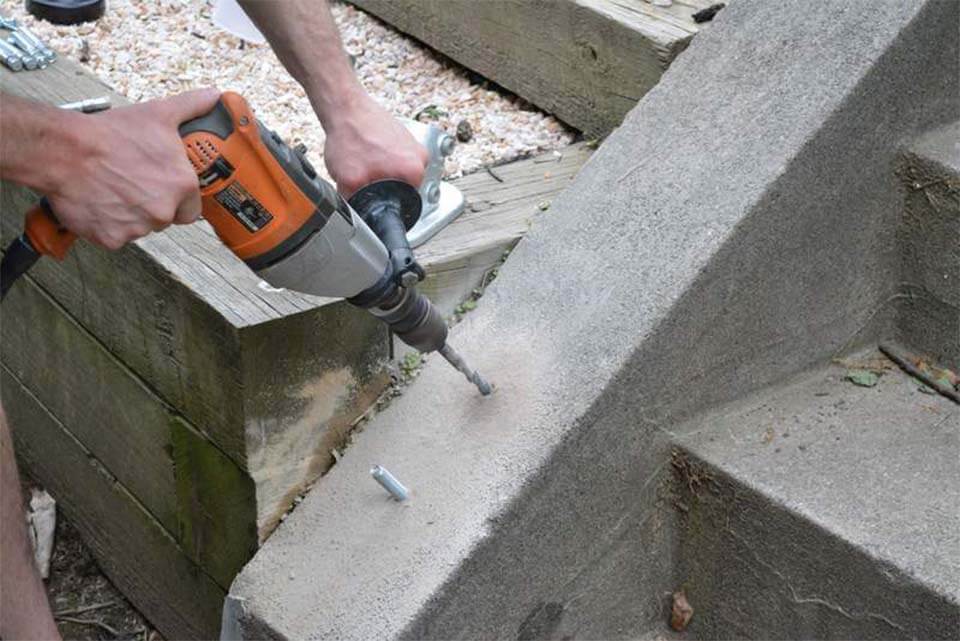
- Step 1: Gather all the tools that you need. You’ll want a drill, a hammer drill if mounting into concrete, Allen keys, a rubber mallet, and safety gear like eye protection.
- Step 2: Clean the surfaces that you will be connecting to.
- Step 3: Attach your flanges to the surface and/or the wall. Your drill(s) will be needed to create holes for the anchors.
- Step 4: Attach the post to the flanges for a surface-mounted or hybrid railing.
- Step 5: Attach the brackets to the post for the handrail.
- Step 6: Attach the handrail to the brackets or slide them through the fittings, depending on the style that you chose.
- Step 7: Tie any handrail pipes together with angled fittings or couplings as necessary.
- Step 8: Tighten down all of the set screws.
- Step 9: Install the pipe caps (malleable plugs) using the rubber mallet (or hammer with cardboard).
- Step 10: Clean up the mess
- Step 11: Pat yourself on the back for a job well done!
You did it! I knew you could. Great job. Well done. Keep up the good work. What will you DIY next?
Wrapping Up
Installing a handrail for yourself or for someone you care about is absolutely DIYable. If you need more help or would like a custom quote, then reach out to one of our experts. We are here to help you!
Send us pictures of your installed railing so that we too can rejoice at your hard work.


