Building a Multi-Tiered Kayak Rack
The year 2020 birthed new habits and activities for all of us.
Whether it was adopting new sanitation practices, homestead living, or spending more time outdoors, the year no one wanted yielded some positives. The overwhelming surge of people striving to be outdoors caused certain items to be difficult to purchase. One, namely, was kayaks.
As someone who enjoyed being outdoors and currently without any kayaks, I searched big box stores online to find any for sale. Surprisingly, I couldn’t find any because they were either out of stock or priced unreasonably high.
After searching Facebook Marketplace for weeks, I found one nearby that was available immediately. I jumped on the opportunity knowing that this wouldn’t be available for long and brought home my first kayak. And after some more searching, I had two (had to get one for the wife).
The Challenge in Storing Kayaks
With my two kayaks in hand, a new problem arose; where and how to store my kayaks.
I was putting the kayaks on the floor of my garage. This had its obvious flaws as it took up a considerable amount of interior space. A garage that is used to park a car, a lawn mower, a wheelbarrow, miscellaneous tools, firewood, and the occasional stray squirrel, was now getting too full.
It became difficult to navigate the garage to get in the car without tripping on a boat. I needed a solution to store the kayaks to free up space in my garage.
The Options
I had a couple of options to consider.
1) Hang the kayaks on the ceiling of the garage.
This was my original and most ideal solution. The problem arose that I had limited beams to mount a pulley system to. Since the garage was already kitted with a pulley system for the removable Jeep hardtop, I didn’t see a way to have two or three pulleys side-by-side with the space allowed. Time to investigate another option.
2) Hang the kayaks on the wall of the garage.
A secondary option was to create a shelf or sets of hooks of some sort and mount them to the wall of the garage. The downside is this would still take up space inside the garage and I had little trust in the 2x4 construction of the walls. Reinforcements would be needed and for the kayaks to be properly out of the way I’d be lifting them over my head for storage. This would not be preferred given the frequency of my kayak trips.
3) Find a way to store the kayaks outside while keeping them protected.
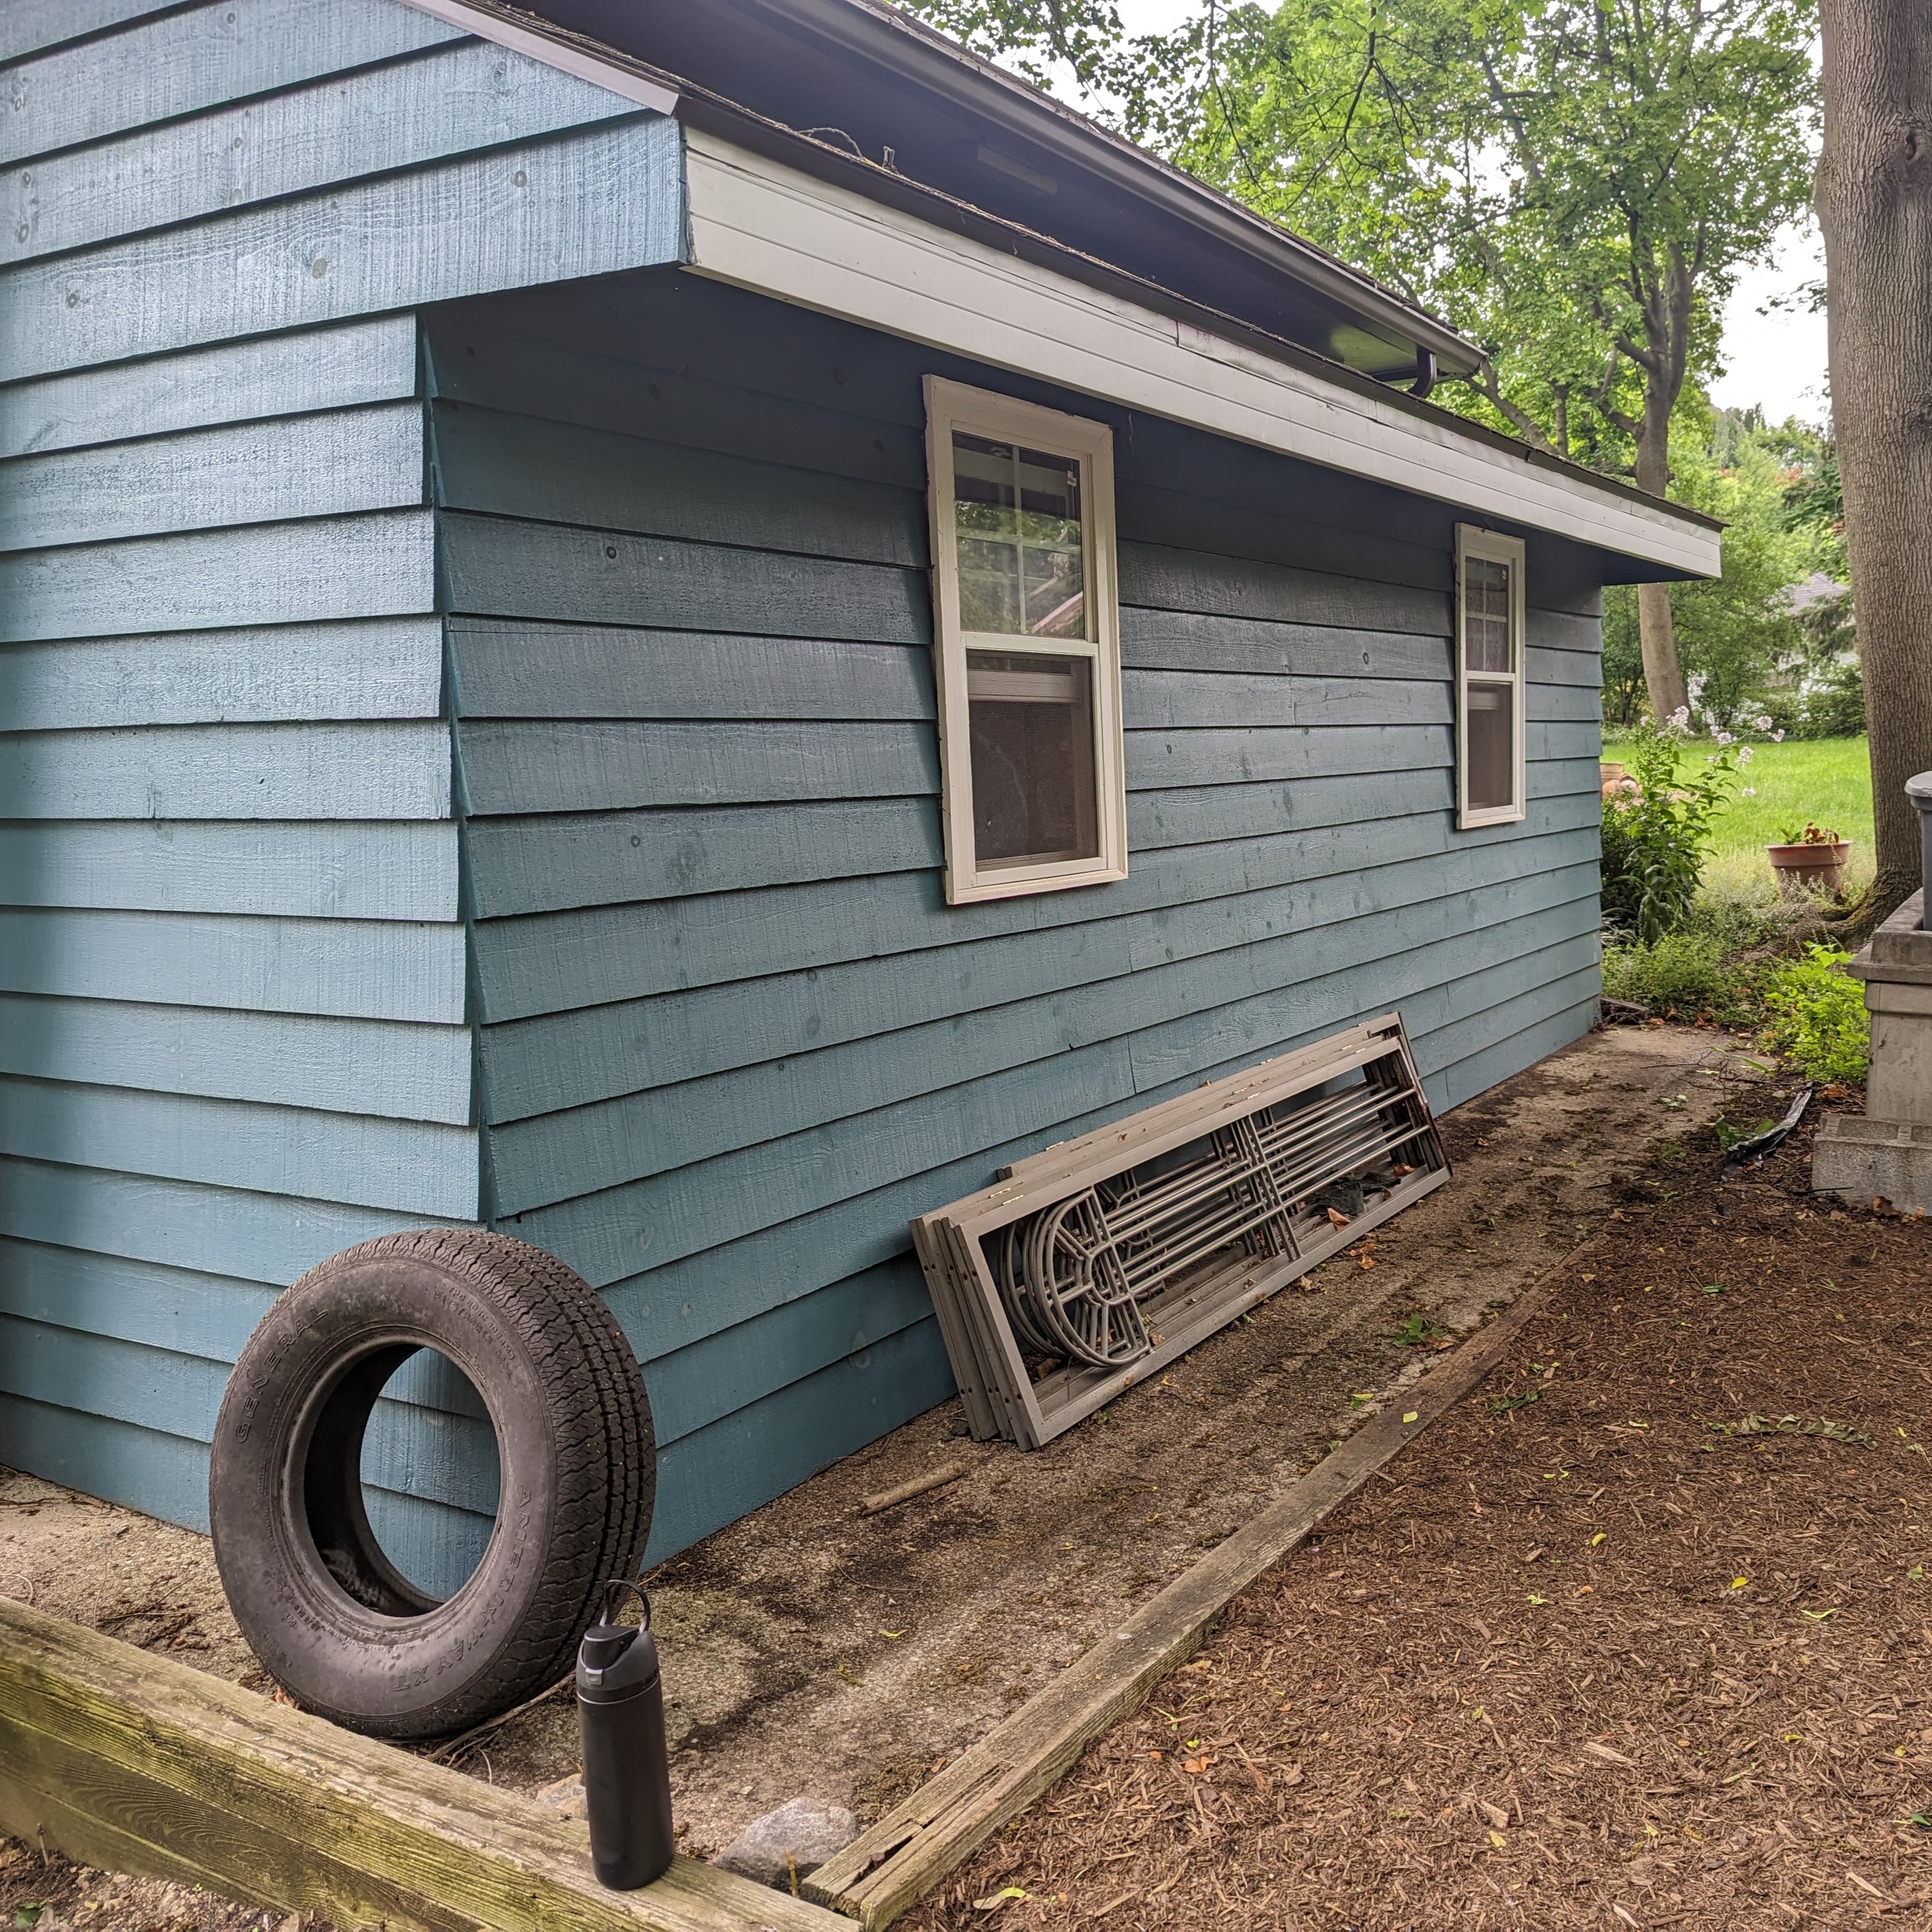
This was last on my list of ideas but proved to be the best option. It allowed the garage to be free of the kayaks altogether. It allowed easier access to the kayaks when needed. It didn’t require me to lift the kayaks over my head when storing them. And with my scenario, they would still be protected underneath a slight overhang. Perfect.
Must-Haves for Storing Kayaks
Now the task was to find a system that would allow me to easily create a strong, rigid, durable, and custom rack for storing my kayaks.
It needed to be strong enough to hold two 11’ kayaks on top of each other. These likely range in the 30-40 lb range each, meaning I couldn’t just throw any material at the job. They are large, heavy, and awkward to carry. This means I likely won't set these down very softly each time.
It needed to be rigid to accommodate the elements. There is typically wind, rain, snow, and at times a mix of all three in our area. If I was to keep these kayaks outside I needed confidence that the rack I stored them on would not move or tip over.
It needed to be durable to last the lifetime of the kayaks and future kayaks. I only wanted to build this racking system once. Wood tends to rot in the outdoor elements and I’m not a fan of welding something together only to have it fall prey to rust and corrosion.
It needed to be customizable to accommodate my exact space. I had a limited space available under the overhang. The concrete pad only went so far, and the height was fixed. I needed to design a double-tier kayak rack that would fit in a very specific spot.
I also wanted the option to build it in such a way that when I move I can bring the whole system with me. The once and for all kayak rack.
The Solution
Having worked with Kee Klamp for as long as I have, it was the obvious answer to all four concerns. The strength of structural pipe fittings, their rigidity when installed, the galvanization for corrosion resistance, and the complete ability to customize easily were the immediate benefits. Now it was time to start designing.
The first thing I needed to do was measure out my kayaks. I knew how long they were, it is typically labeled on the side or in the name itself. The question was how wide is each kayak. If this rack was to be able to hold these kayaks, the arms of the shelf needed to be long enough for their width.
With that sorted, I now needed to measure out the area in which the rack was to be installed. The base of the rack needed to fit onto the concrete pad available. It also needed to be tall enough for two kayaks, but not too tall to combat the overhang.
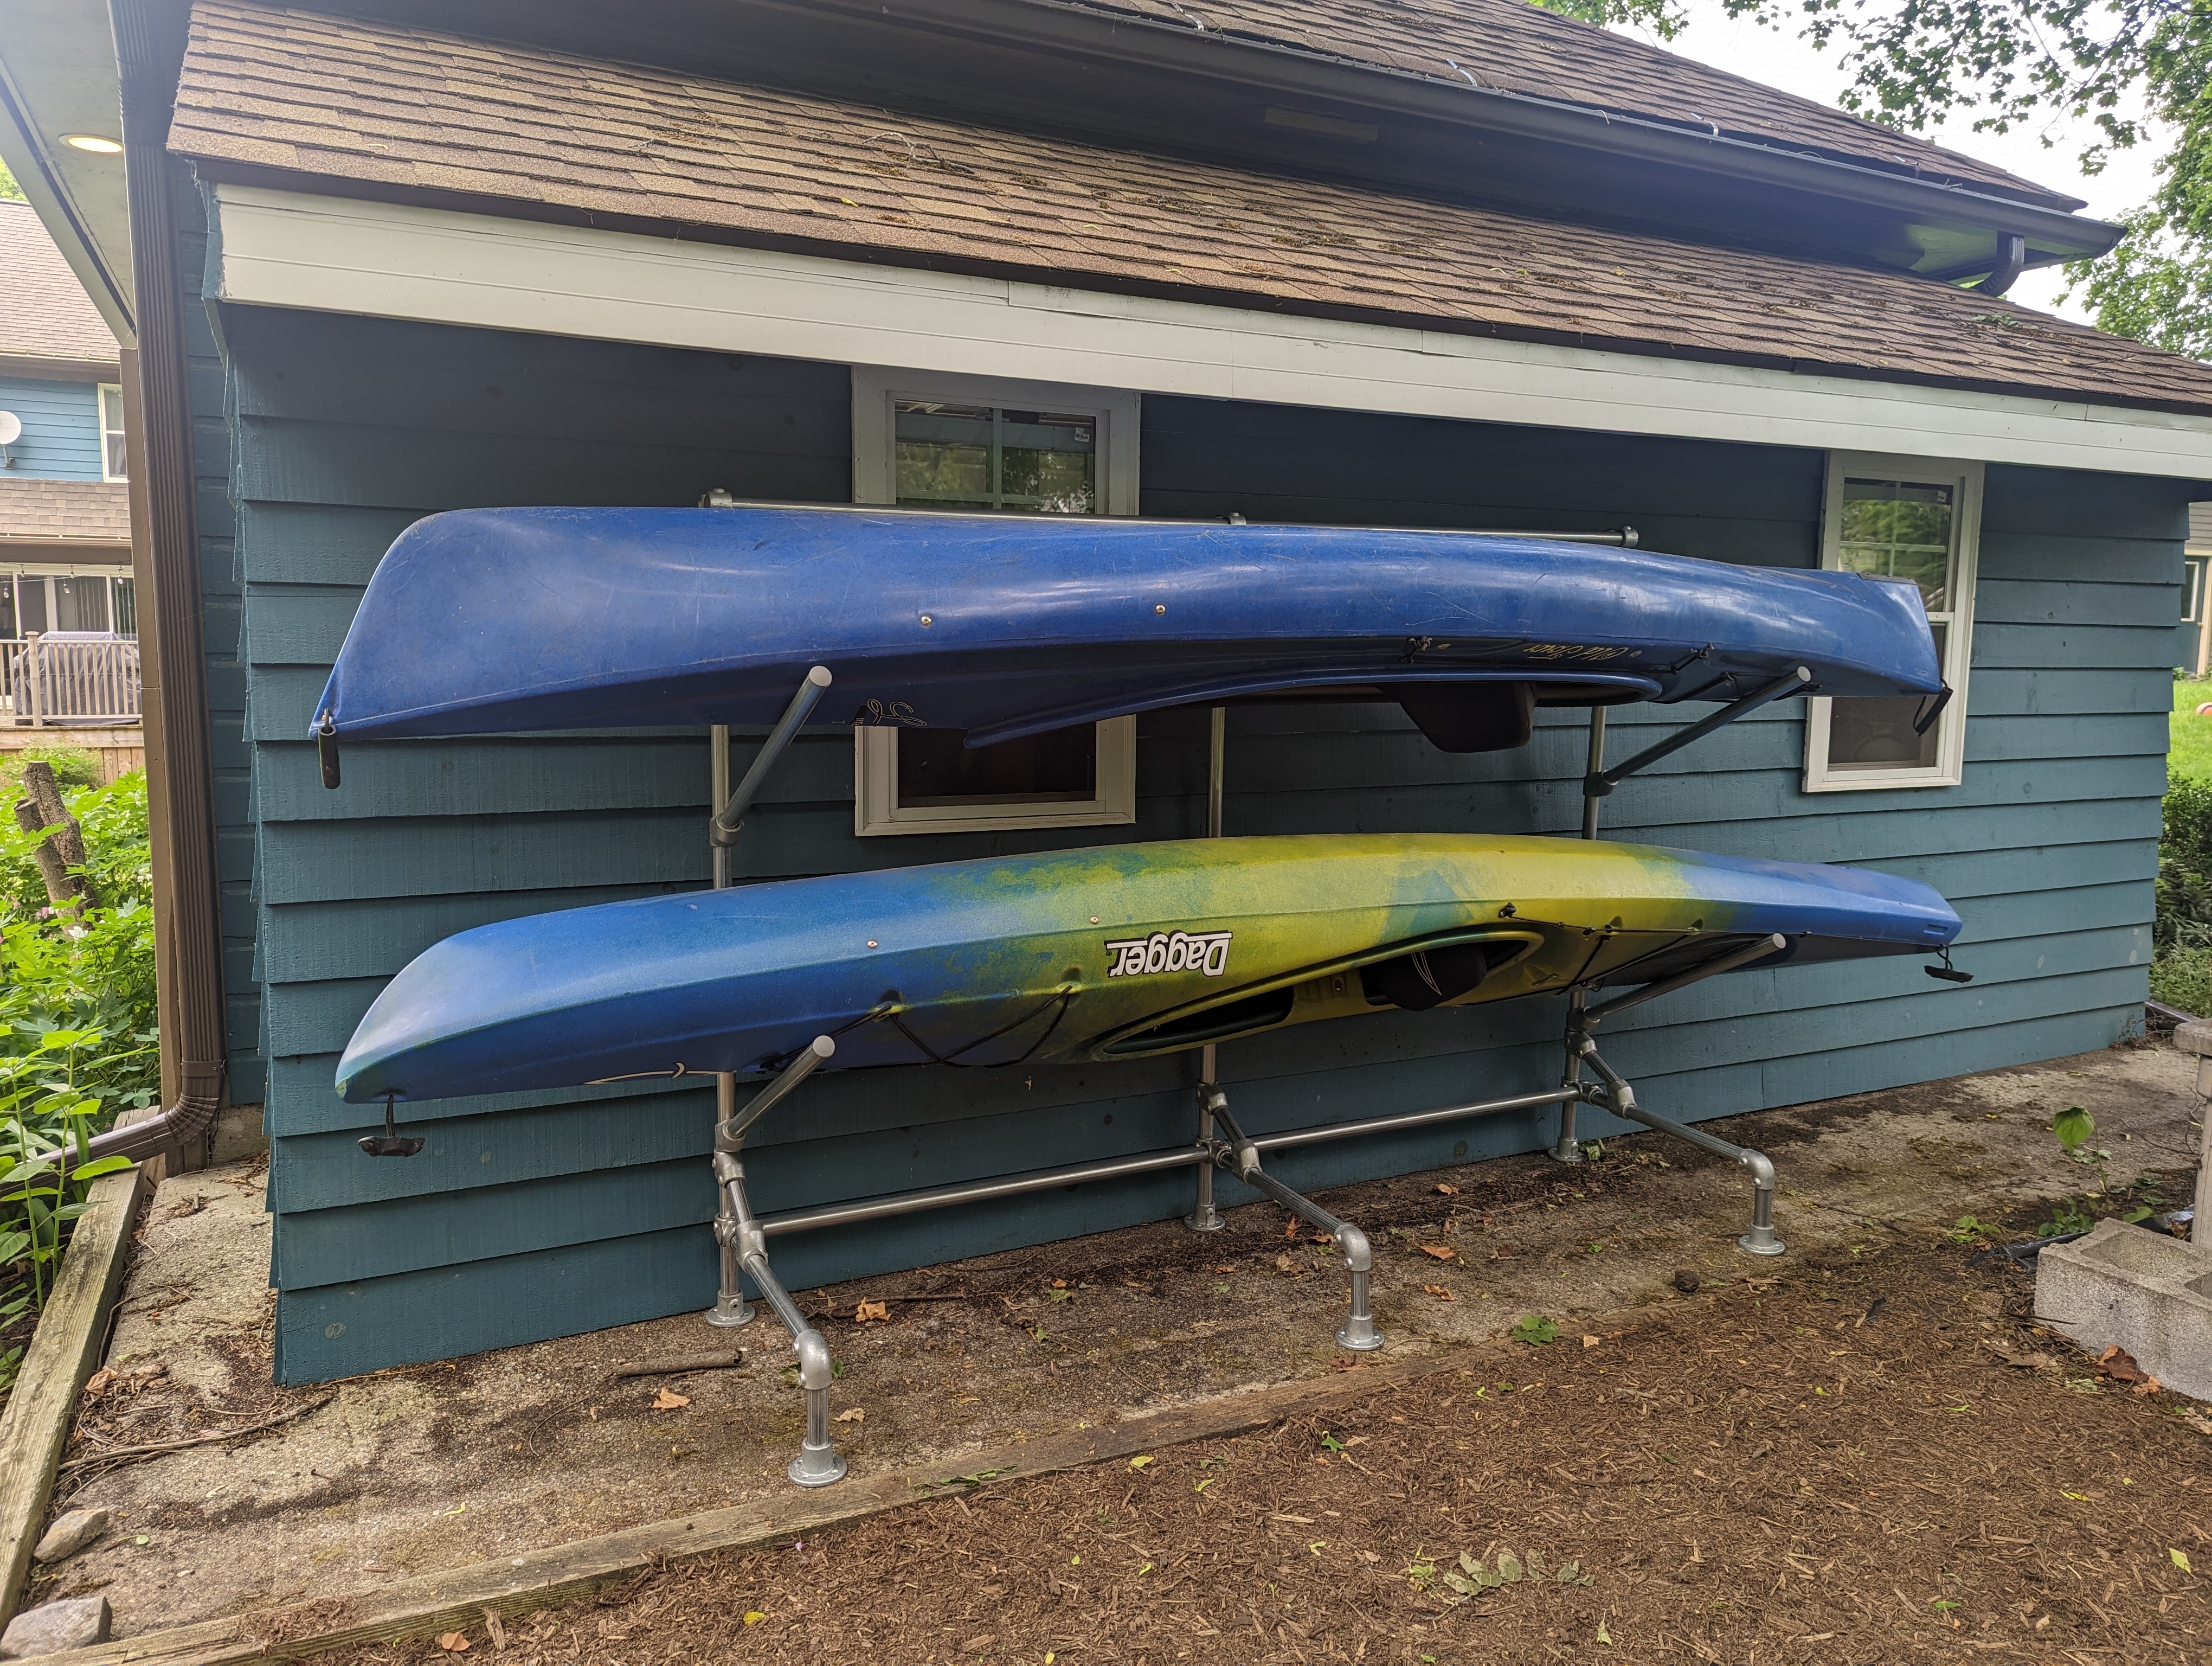
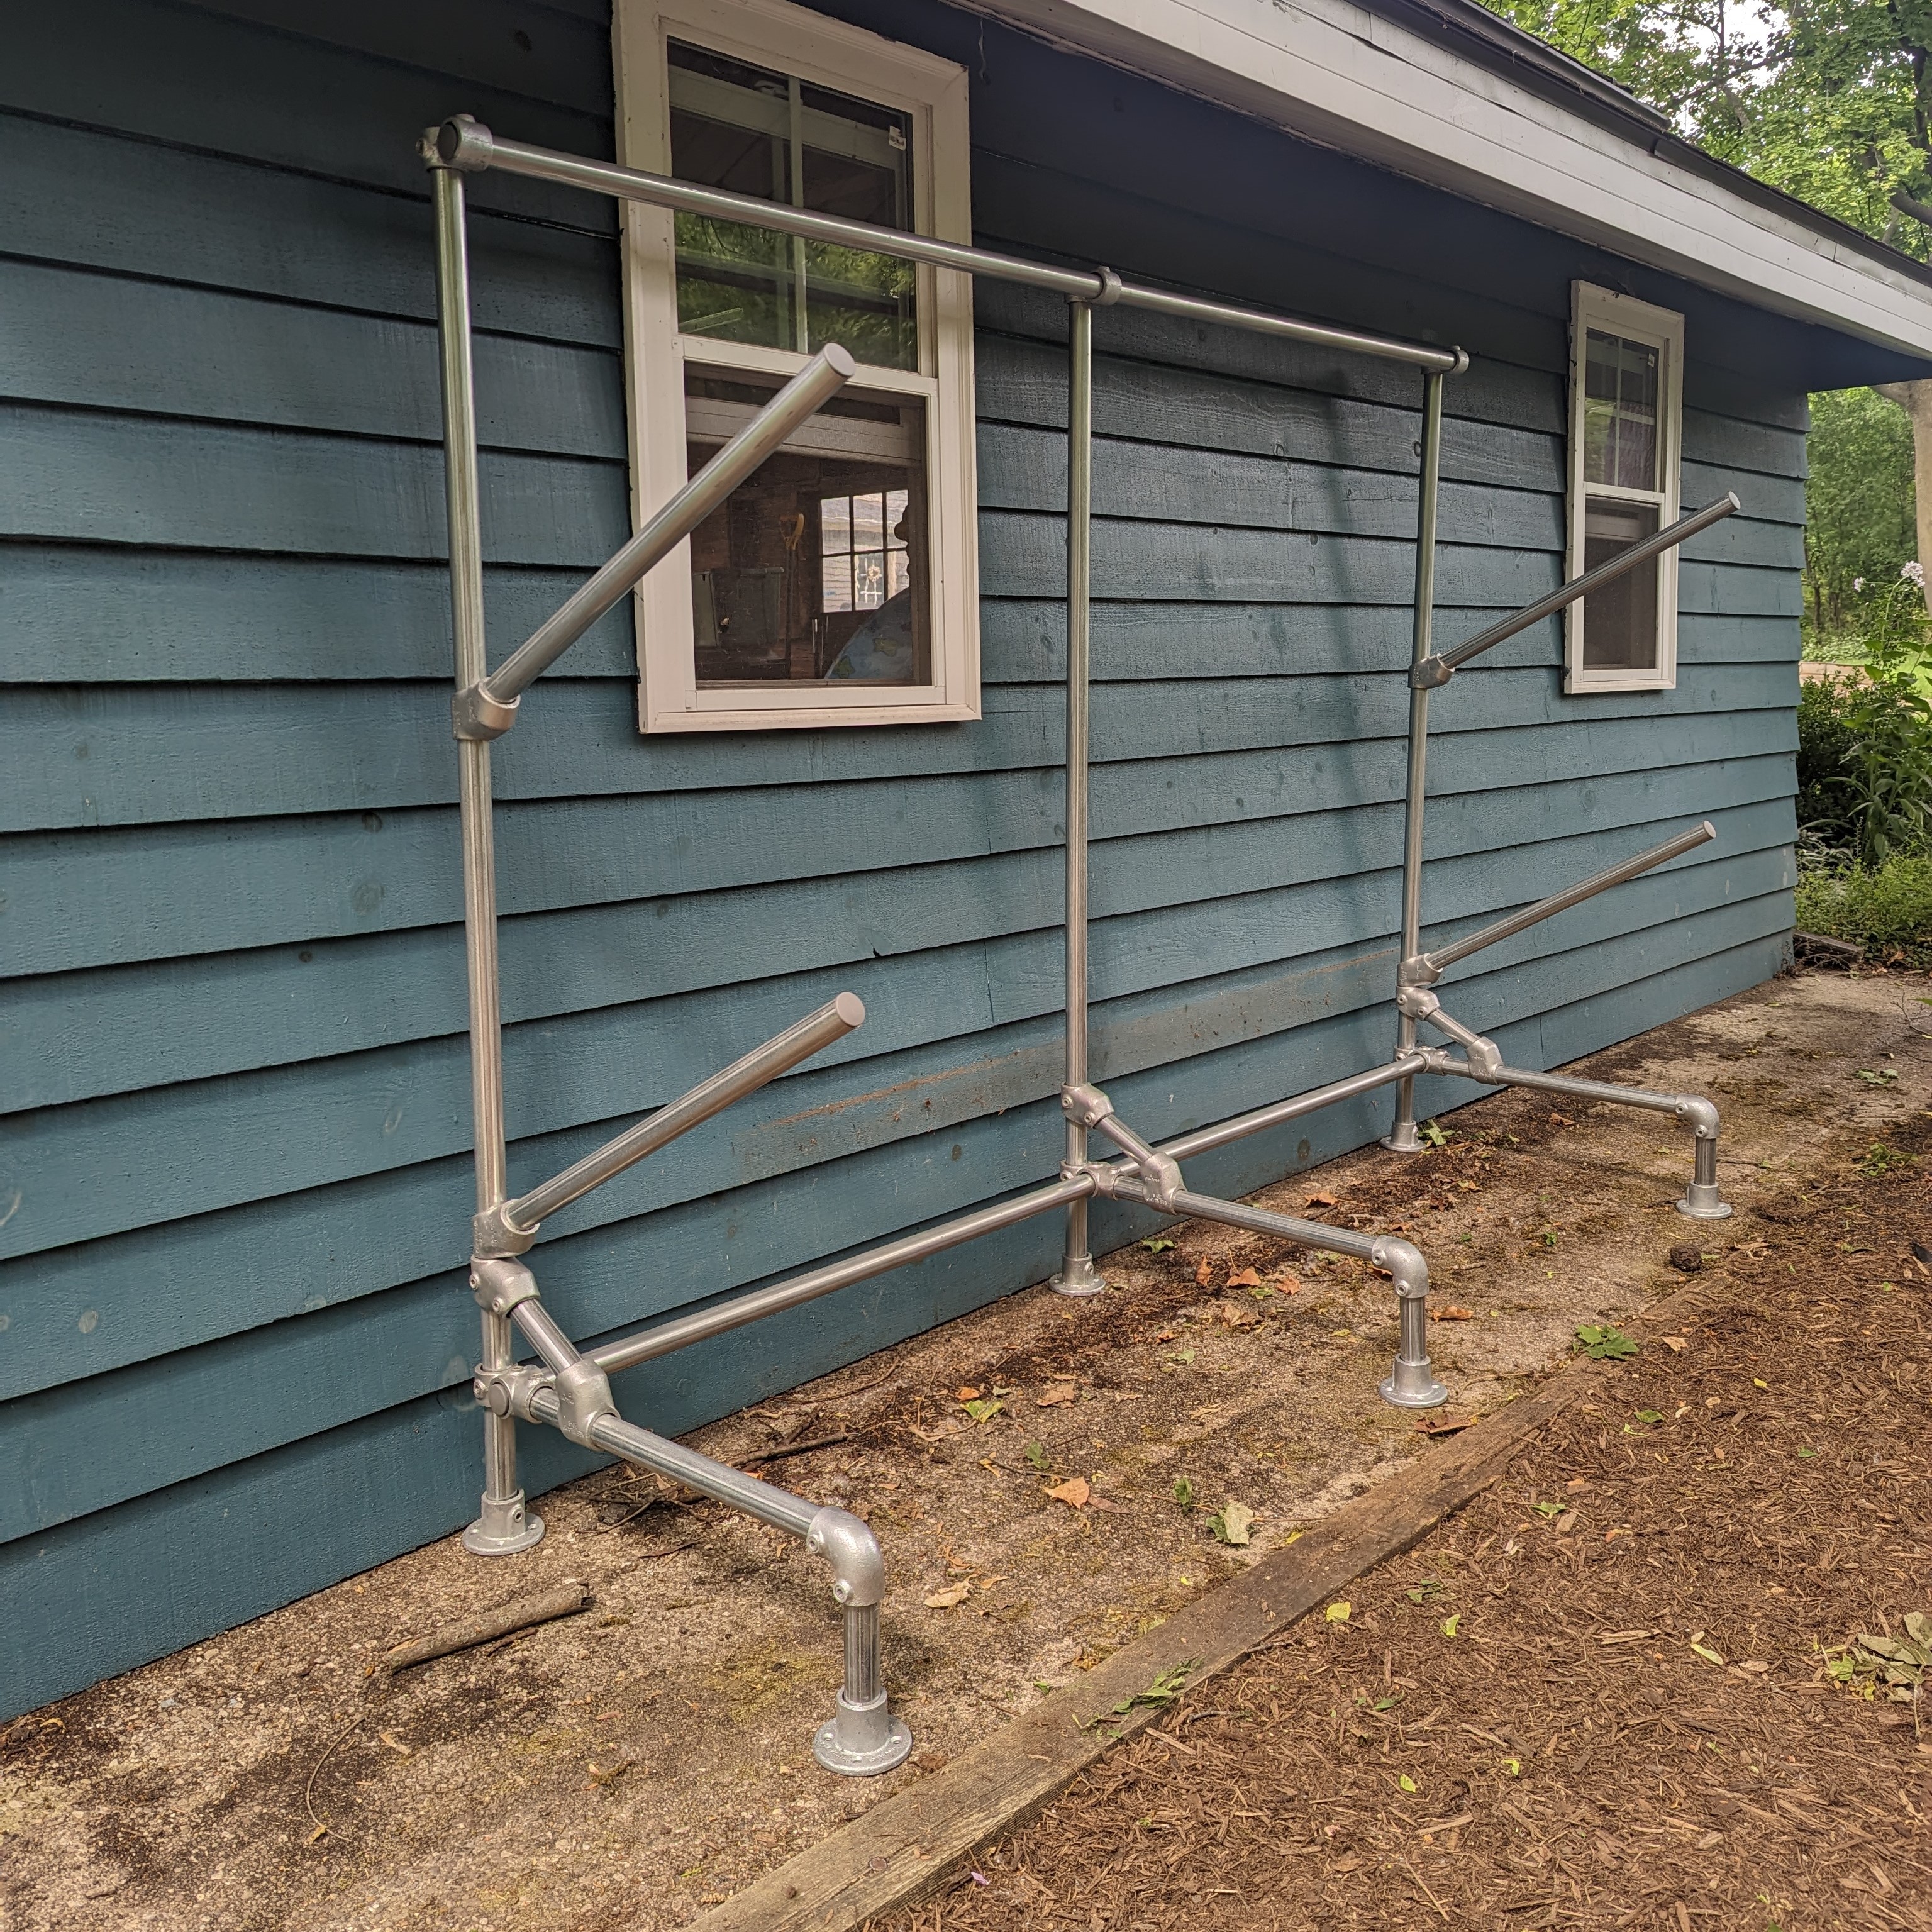
Now down to the design. Understanding my true limitations in dimensions, I was able to come up with a vertical racking system with outrigger arms at a slight pitch to store my kayaks. The pitch of the arms was paramount as I did not want to have to strap my kayaks down. With this pitch, gravity keeps my kayaks in place, not straps. That is one less thing to do each time I load and unload my kayaks.
I added angled braces at the base of the racking for two purposes. One was for creating more rigidity on the racking as a whole. The other was to add weight to the base. Knowing that this would be holding a lot of weight up above the base with little structure, I wanted to ensure there was no possibility of this rack tipping over. I could always mount the flanges to the concrete, however, I wanted to avoid that if possible.
With that design sorted out, it was time to get ordering. I drew up the entire configuration in Sketchup, measured my pipe lengths, and ordered everything cut to size. A few days later a couple of boxes showed up at my door and within an hour the entire kayak rack was built. It was easy, fast, and met all the criteria I needed.
If you have questions about this kayak rack, or about designing our own kayak rack, feel free to reach out. We have a team of project specialists (myself included) here to help walk you through your design. I’d recommend having dimensions at the ready and an idea of where this kayak rack will go. Our team will help with the rest!
