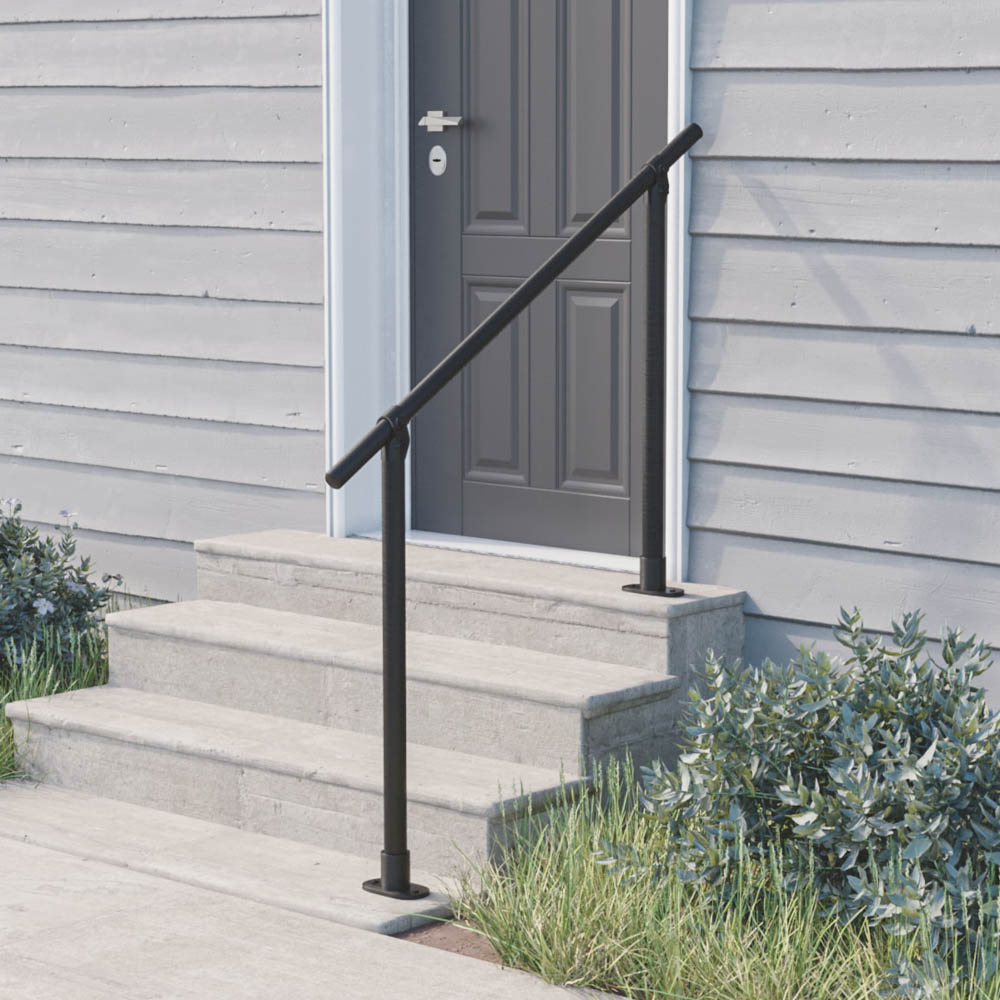
Adding Railing to a Stone Wall
Attaching a railing to a stone wall may seem like a daunting task but it's simpler than you may think. This is especially true when using Kee Access ADA Railing. The versatility and flexibility of Kee Access make it easy to add a railing to an irregular surface like a curved stone wall.
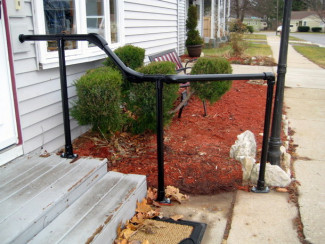
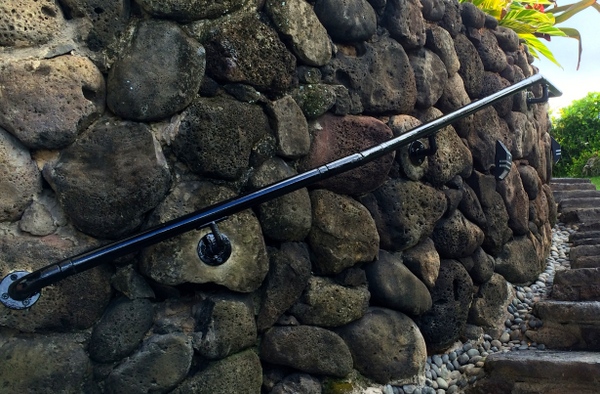
Bob came to us for a solution to this exact problem. He was looking for a railing solution that could be easily mounted to a curved stone wall. It was too costly and problematic for Bob to build one piece of railing that would curve down 11 feet descending a stone stairway. After searching the web for a solution, Bob discovered Simplified Building. That's when we offered Bob a simple solution to his dilemma. Kee Access ADA Railing suited his purpose exactly. He was able to use adjustable elbows to create a railing that curved and fit to the contour of the winding rock wall that was accompanied by the stone stairs.
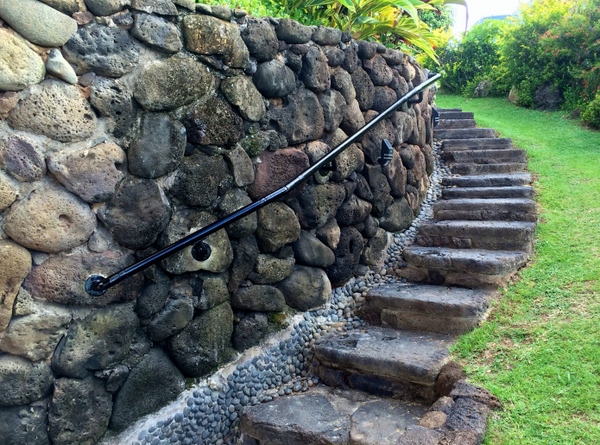
Bob appreciated the "flexibility" of the ADA fittings having allowed him to create the railing "on an irregular wall and stairs". Bob was also satisfied with the Kee Access ADA fittings because it provided "a much cheaper and more flexible solution".
If you're looking for a way to attach a railing to a stone wall just like Bob, here's how you can do it...
How to Add a Railing to a Stone Wall
When adding a railing to a stone wall, there are a few different types of anchors you can use to attach it. Among these include concrete anchors, sleeve anchors, and concrete screws. These types of anchors will require that you first drill a pilot hole. To do so, you will need to use a hammer drill. Also, depending on the type of anchor you use to attach the railing to the stone wall, you may need a hammer, drill, and/or screwdriver. Here's an overview of each type of anchor and how you can use them to attach a railing to a stone wall:
Concrete Screws
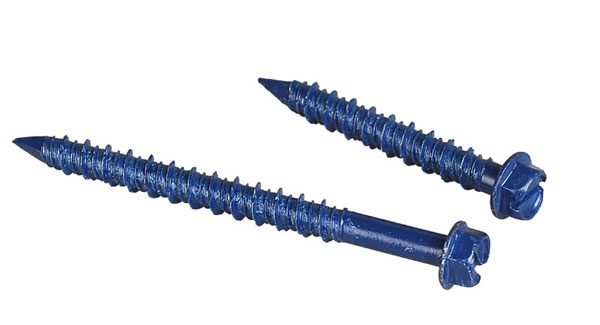
Image from Lizhan Hardware
First, survey your location and decide where you will want the supports for your railing to go. Make sure to a mark where the holes will go with a marker.
Next, you will need to drill a pilot hole. When making this hole, you will want to drill a pilot hole that is slightly smaller than the diameter of the concrete screw you are using. For example, a 3/16'' screw will need a 5/32" hole, and a 1/2" screw needs a 3/16" hole.
To determine the screw length you will need, add the thickness of the material to be fastened to a minimum of 1" and a maximum of 1.75". When you drill the hole, the depth can be set using the depth gauge on the hammer drill or by marking the drill bit with tape.
Once the pilot hole is drilled, you will want to clear any excess debris as this can prevent the anchor from being properly secured. So be sure to clear out any dust or debris made when you drilled out the holes. You can do this with a wire brush or even a Shop-Vac.
Now you can insert the screw through the object you are attaching (in this case the railing support) and begin to tighten it down to the surface. Make sure the screw does not turn too fast as it can cause the material to be stripped, causing the screw to turn endlessly. Also, ensure that you do not over-torque the screw.
One final note when using concrete screws is to make sure that you drill 1/2" deeper than the screw will penetrate. Deeper embedments in the stone wall will provide greater holding value and ensure that your railing will stay in place.
Concrete Anchors
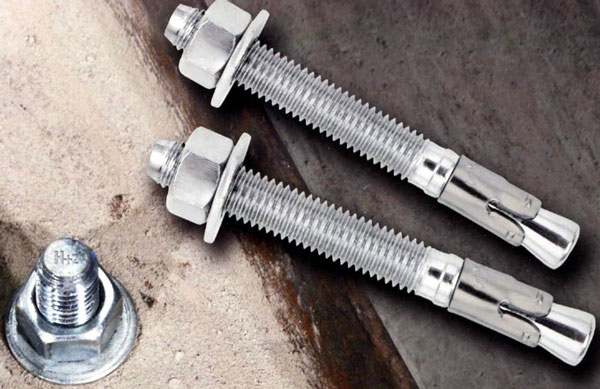
Image From Masonry Magazine
Using concrete anchors is very similar to using concrete screws, just with a few different steps. You will start out by marking your holes. Next, you will use the hammer drill to make holes in the stone wall for your concrete anchors. Again, clean the debris as this will ensure proper contact.
With the holes drilled and debris cleaned out, you can attach the supports using the concrete anchors. Line up the supports, insert the anchor through the holes on the support and into the holes you drilled, and pound the anchors in using a hammer. The anchor is tapered at the end so that a small metal collar allows it to catch into the material as it is set.
Once your concrete anchors are pounded in completely, you can attach the washer and nut. You can tighten it down with a wrench or ratchet when the nut is aligned. There will be an edge of the bolt that sticks out that you will want to trim off. You can do this with a hack saw. Rather than cutting it flush with the nut, an alternative, and recommended method, is to cut off just enough to be able to attach an acorn nut to anchor. This gives it a cleaner and smoother look.
Sleeve Anchors
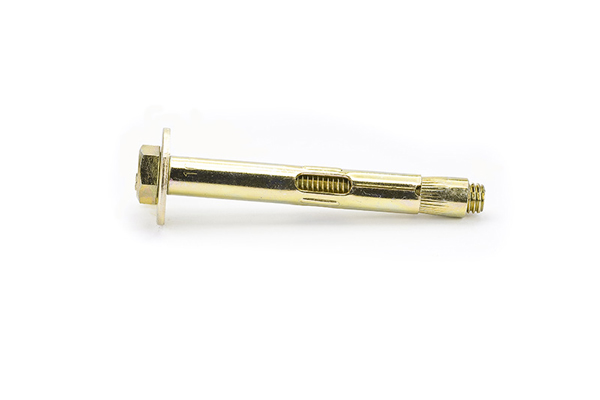
Image from Scrooz
Again just as with the other types of anchors, you will start by marking and drilling the holes for the railing support. Clean any debris made from drilling the holes. Now, slip the sleeve anchor through the railing support and into the hole you drilled. Hold the support securely to the wall and tighten down the sleeve anchor. Tighten the fastener until it is secure but avoid over-tightening the nut because the fastener may break or cause the stone around the fastener to crack.
One final note for all of these types of anchors, is to avoid drilling in too close to the edge of the stone wall as this will increase the chance the rock may crack leading to the railing giving way.
These are just a few of the different anchors you can use. There are even more yet but these are a few of the more popular methods and ones that we have used to great success. If you need help designing your project or putting it together, the staff here at Simplified Building is here to help. We offer free project and design assistance and are always just a phone call or email away.
Get Help From Our Design Team
Simple Rail™ Handrail Kits
Like this project? Now building a simple handrail is even easier! Constructed with Kee Klamp fittings, Simple Rail handrails are durable and easy to install. Simple Rail™ kits are great for home owners, business owners and landlords.
Browse Simple Rail Kits