DIY Clothing Rack for Closet in Master Bedroom
Moving into a new house is always exciting. But sometimes moving requires you to adapt to your new environment, and in Michael's case, downsize the number of closets he had.
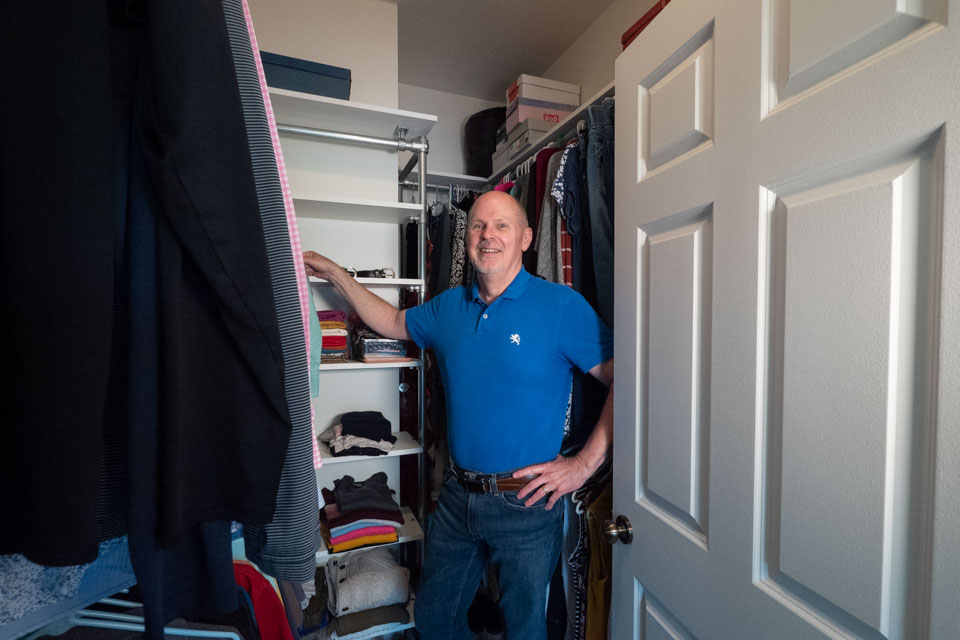
Michael and his wife went from a house in the city with four closets upstairs to a house in the suburbs with one moderate, uniquely shaped closet in their master bedroom.
At first glance, he and his wife were a bit concerned that they would have to store some of their clothes and extra shoes in a different part of the house because of the limited shelving and racks in their new closet.
This is a perfect use case for building your own DIY clothing rack with Kee Klamp and pipe, and that is exactly what Michael did.
Custom Clothing Rack Design
Michael was familiar with Kee Klamp pipe fittings after using them to build a beautiful handrail on his back porch at his previous home.
The fittings would provide him with the strength that he needed to hold all their heavier winter coats and dresses while allowing him to precision fit the clothing rack to the non-standard shape of his closet.
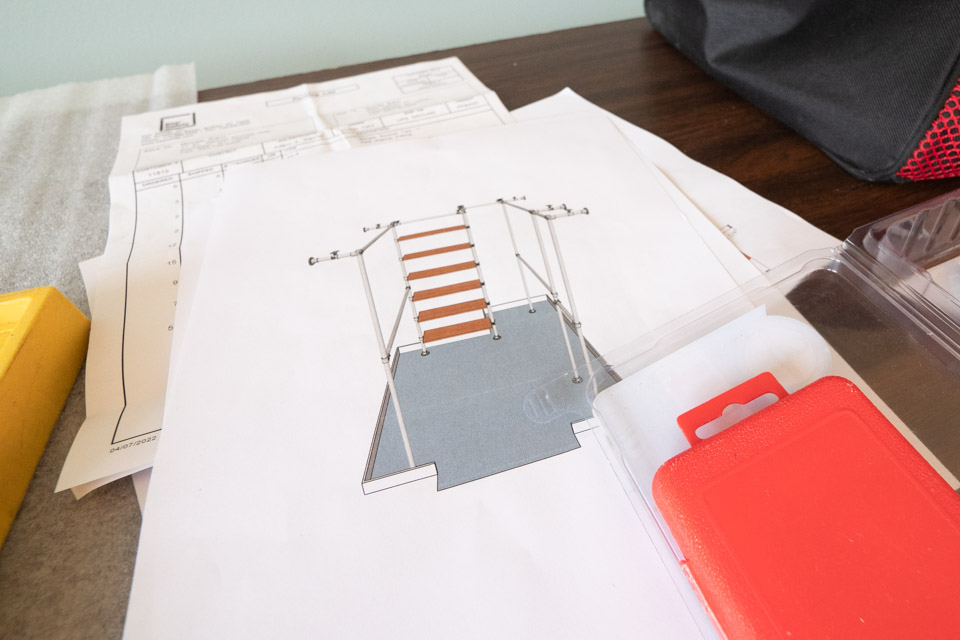
With a copy of Sketchup in hand, Michael started designing his DIY clothing rack.
Below are some of the key design elements that Michael incorporated into his closet design.
Heavy-Duty Clothing Rack
Michael needed something heavy-duty that will hold up under the weight of many dresses, coats, etc. To meet these criteria he chose to use our size 6 Kee Klamps and size 6 gator tube. Size 6 tube is also the perfect match for clothes hangers as the head of the hanger fits perfectly over that size of tube.
Modular Shelving on a Clothing Rack
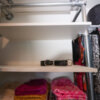
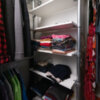
Michael’s wife also asked for a set of shelves to place her shoes on, and Michael was able to accommodate 6 shelves along a narrow gap at the end of one of the walls.
This also benefited from another Kee Klamp attribute, modularity. The 1MH50-6 - Male Single Horizontal Swivel Socket Member that Michael used to connect his shelves to the uprights allow him to move the shelves up and down at any time with a simple allen-key.
Height-Adjustable Clothing Rail
Like the shelves, Michael used 10-6s on some of the clothing rails so that he can adjust the height of the rail to hang clothing that varies in height based on the season.
Tips Before Building a DIY Clothing Rail
Because this wasn’t Michael’s first time building with pipe and fittings, he already had a head start. But for those of you who may be considering building your first project with pipe and fittings, here are some tips to keep in mind.
Take Inventory of Your Fittings
We always do our best to make sure that everything you need arrives on time, but sometimes things do happen in transit and a fitting can go missing.
So, before you start assembling your clothing rack, count all the fittings that you have been sent to make sure you have everything you need. It can be frustrating and a pain to get halfway through a project only to find out you’re missing that last, critical piece.
Gather the Right Tools
One of the benefits of using Kee Klamp fittings is that they don’t require expensive tools or metalworking expertise. But, having a few basic tools will make your project a bit easier. We recommend purchasing the following:
- Ratcheting hex key wrench set
- Pipe cutter (for last-minute adjustments)
- Drill (if you’re wall-mounting your clothing rack)
- Vacuum (for cleaning up any drywall dust)
Wall Mounting Options
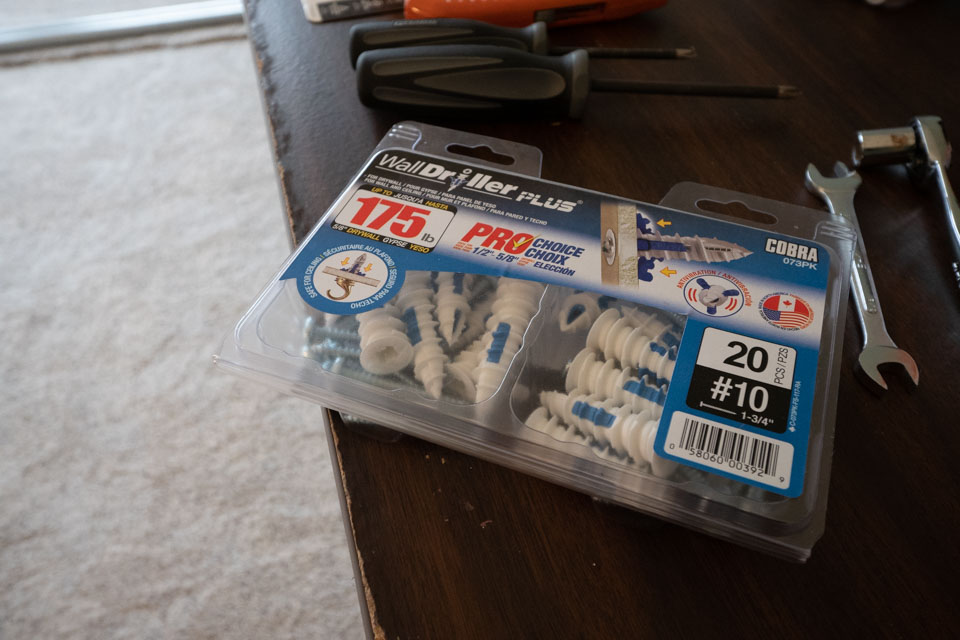
If you want to wall-mount your clothing rack, as Michael did, we recommend using drywall anchors. These can be acquired for relatively little money from your favorite big box store or Amazon.
Process of Building a Clothing Rack for a Bedroom
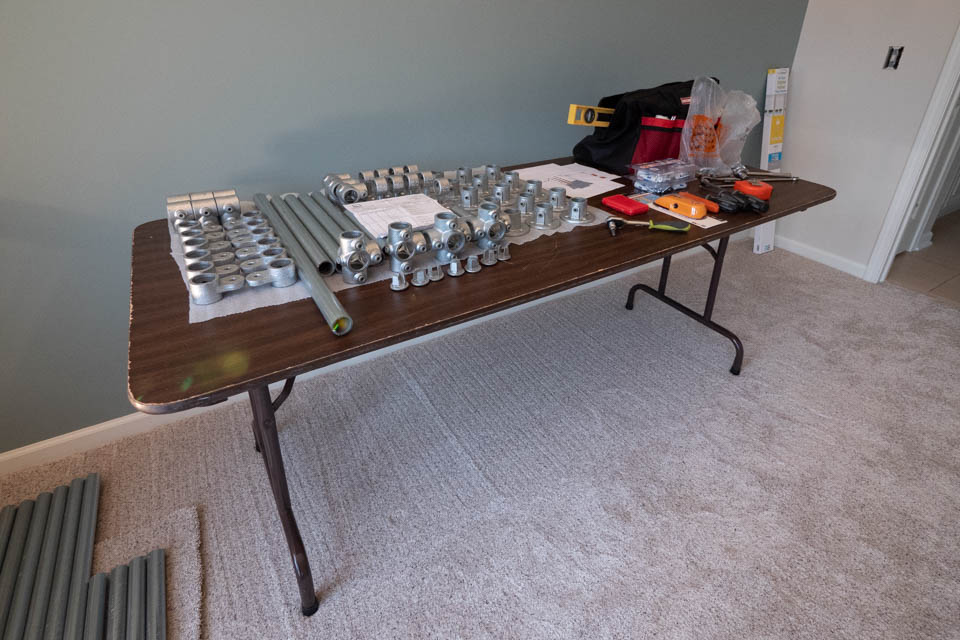
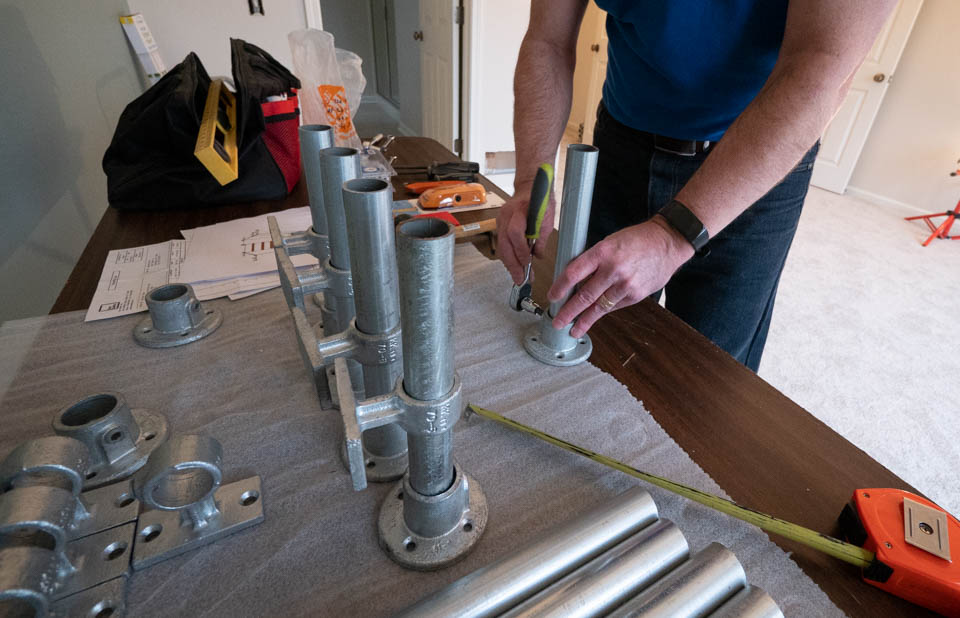
Michael started by laying out all his fittings, pipe, and tools on a worktable. He had everything he needed and was able to jump into the project without any issues.
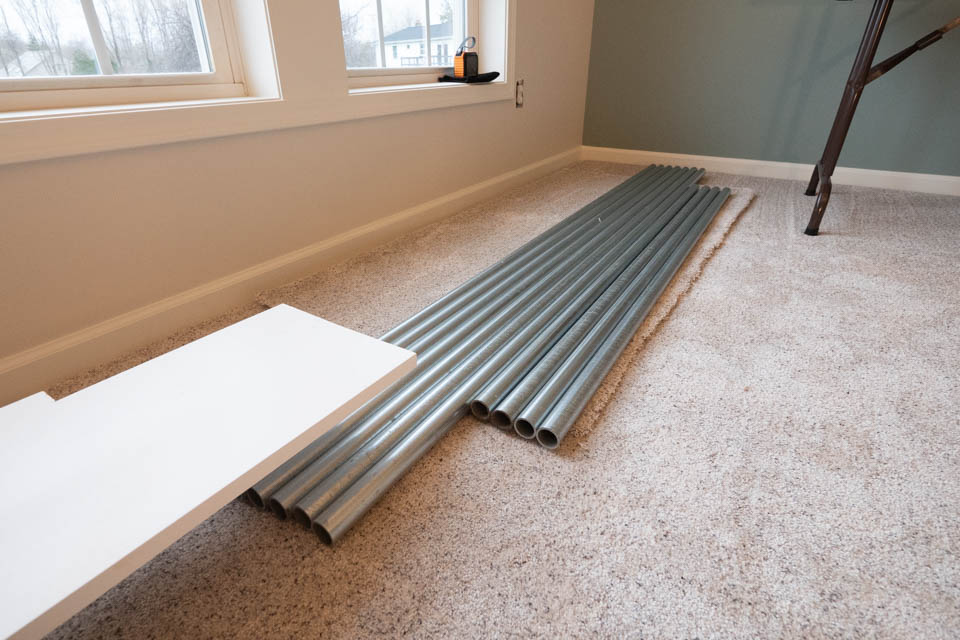
Staging the Clothing Rail Pipes
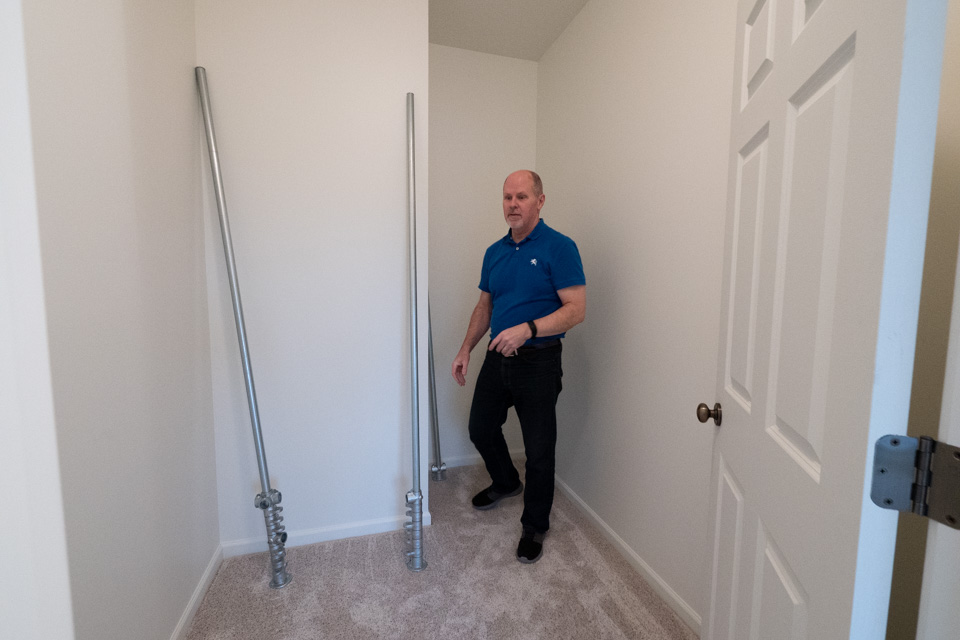
Before he began drilling and mounting the wall flanges, Michael laid out all his pipe in roughly the same way they would be in the final configuration.
This gave him the ability to visually inspect the length of his pipes relative to his actual closet.
Sometimes room dimensions vary slightly, or a wall may not be plumb, so trimming may be required. But don’t worry, final adjustments aren’t too difficult if you have the basic tools we outlined above.
Building an Upright Jig
Michael put together one of his upright assemblies to use as a jig to ensure his wall flanges were all at the same height. Using the jig is important because any spots on your floor that are not level may require you to place your wall flange a bit higher or lower than you may expect.
He went along the wall and marked where he wanted each of his wall flanges and then moved on to drilling the holes and installing the drywall anchors.
Mounting Wall Flanges
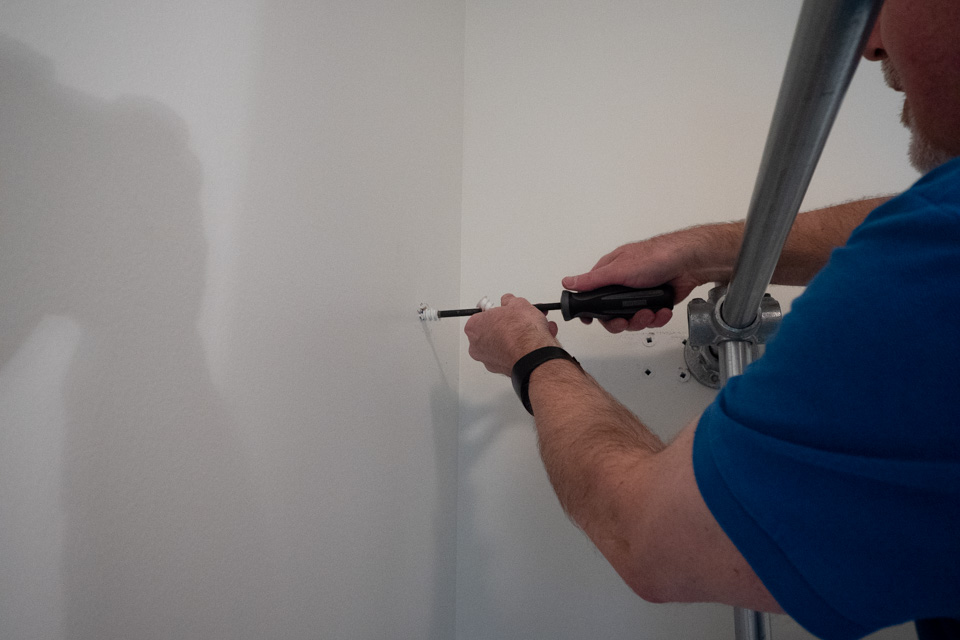
Mounting wall flanges is simple but is a bit time-consuming. It took Michael roughly 1 hour to drill all his holes and install his wall anchors. A vacuum comes in handy when mounting drywall anchors to capture any excess dust that is created.
Assembling All the Horizontal Bars
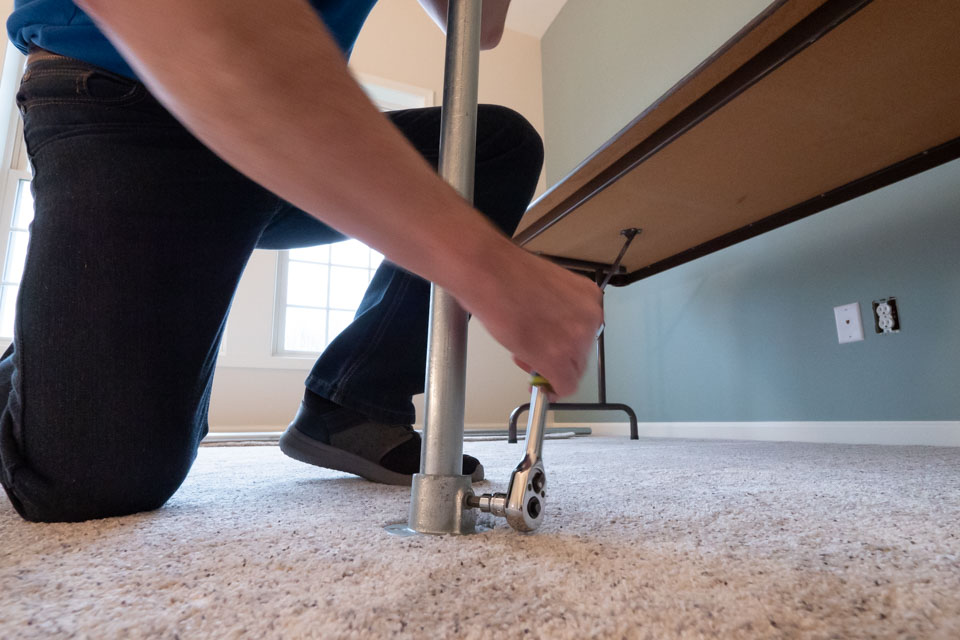
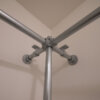
Taking an assembly line approach helps when dealing with horizontal supports. Michael chose to assemble all of his horizontal supports on his work table and used his first support as a guide for the placement of the 70-6 rail support.
Assembling All of the Uprights
Michael then built all of his uprights and attached them to his horizontal supports. He found it best to attach the horizontal support to the wall flanges first, then to attach the uprights to the horizontal supports. This helps account for any variances in the floor to flange height that we talked about earlier.
Installing the Shelves
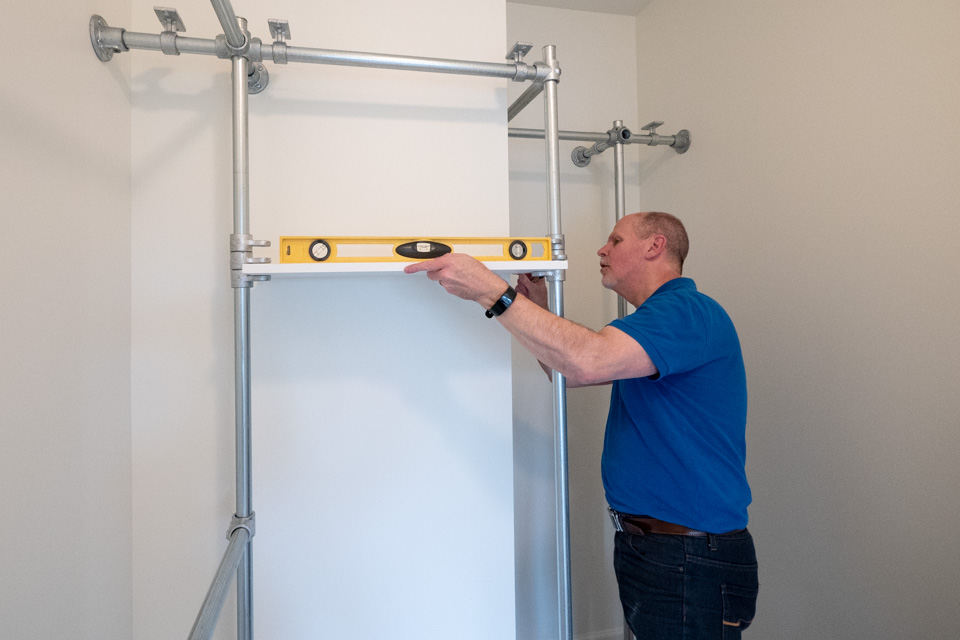
Installing shelves takes a bit of time and patience. Michael used a tape measurer to set the height of his shelves and then used his level to make sure that each of his MH50 eyelet fittings was in the right place.
All Pipe and Fittings Installed
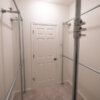

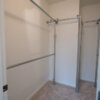
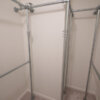
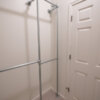
The Final Clothing Racks in the Closet
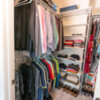

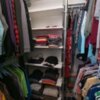

Michael and his wife were very happy with how their project turned out. He said that if he was to do it all over again he wouldn't change a thing. We love to see all the unique designs and applications that our customers have for our products. Thank you to Michael for sharing his design and giving us all the details to share!
Need help designing your clothing rack?
We have a dedicated team of project specialists that are here to help you design and build your DIY clothing rack. If you have any questions or want to get started on your own, talk to us today.


