Residential Handrail - Upright and Wall Mount
A handrail may be required in a variety of settings. In today's insurance market, more and more insurers are cracking down and making people install handrails on their front steps. This creates a need for railings to be retro fitted into areas that might not have originally been designed to accommodate a handrail. This project deals with one of those scenarios.
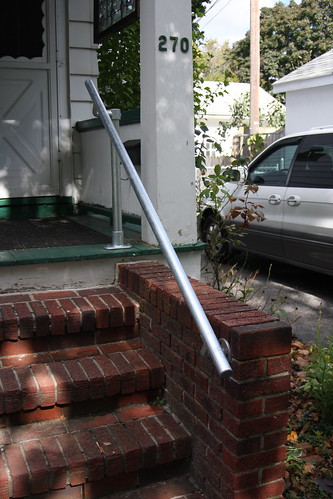
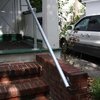
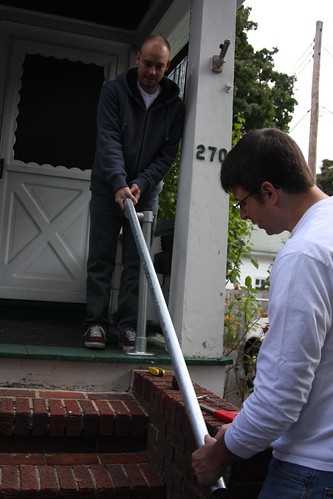
The Situation
The way the brick steps were built was not meant to accommodate a handrail. To address this we came up with a plan to use one upright and wall mount the other bracket to the bricks.

Measuring
Measurements can be general when you are installing a handrail of this nature. You want to leave a little bit of extra length when ordering your pipe. You can cut it down when you get it on site with a hack saw. Better to have pipe that's too long than too short!
After we took our initial measurements we ordered the parts. When the parts arrived before doing the installation we did a "dry fit" just to make sure that everything was working and looking the way that we expected. Once we were satisfied with the "dry fit" we got to work on the actual install.
Trickiest Part
The trickiest part of this project was mounting the bracket to the bricks at the correct angle. Because we did not want to redo this step, we left it till last. Thanks to the Kee Klamp fittings, almost everything else is adjustable.
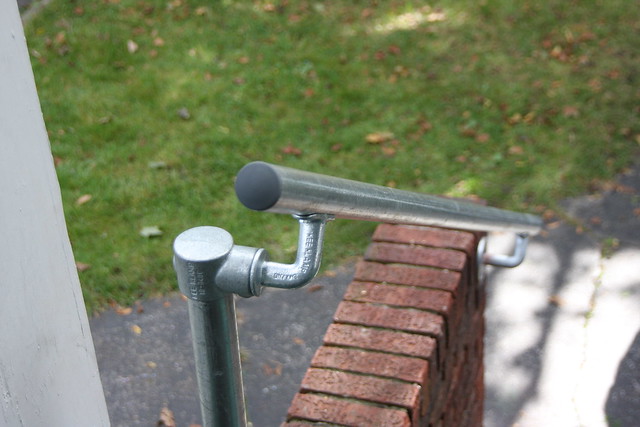
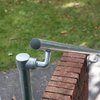
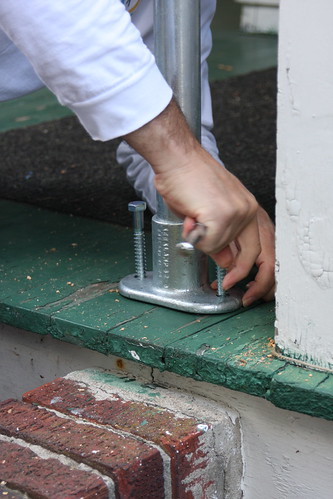
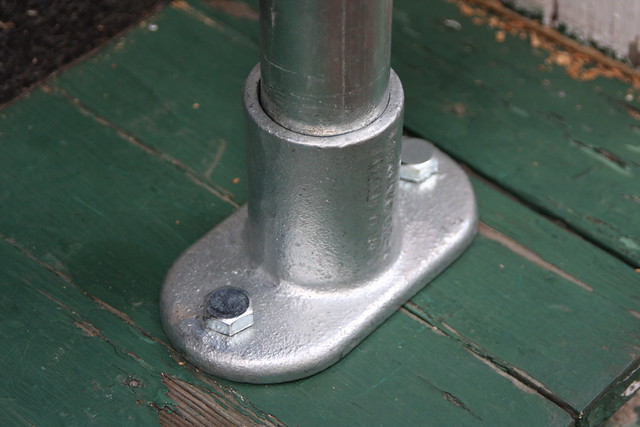
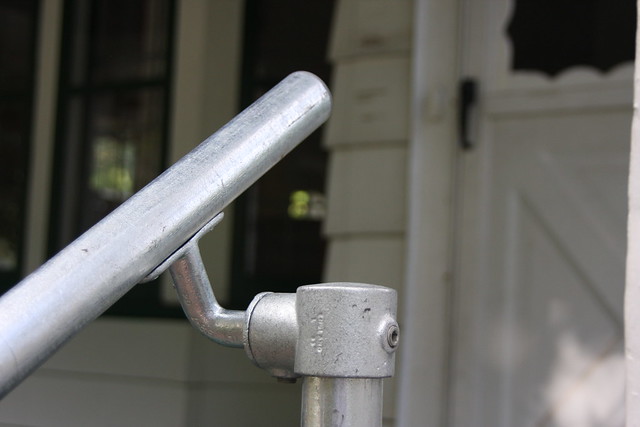
Building the Upright
Attaching the upright was rather simple. We found a good spot that kept the railing in line with the brick wall (you will determine this in the "dry fit") and then screwed down the base with lag screws. Once the lag screws were in we simply attached the upright pipe (securing the set screws) and the top railing brackets. For this project we used a 10-840C Handrail Socket (a capped fitting for a nice finished look) and a 518-7 Handrail Bracket.
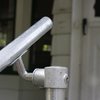
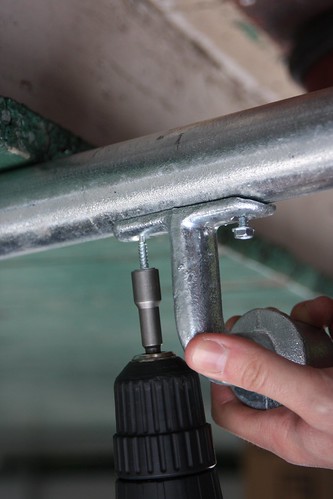
Mount the Pipe and Fix The Angle
The pipe railing needs to be screwed to the 518 Bracket with some self drilling screws. We screwed that section of the railing on, then attached the 518 to the 10-840C. This angle is adjustable. It will be fixed by tightening a set screw. We now dry fitted the brick mounted wall bracket again and then fixed the angle at the top of the railing.
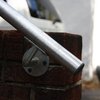
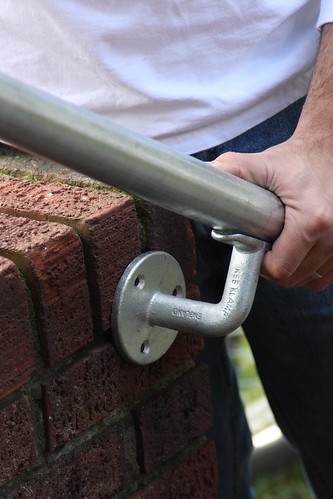
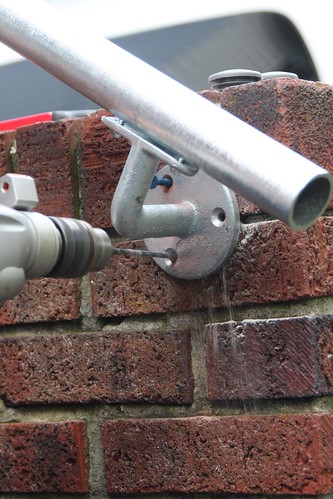
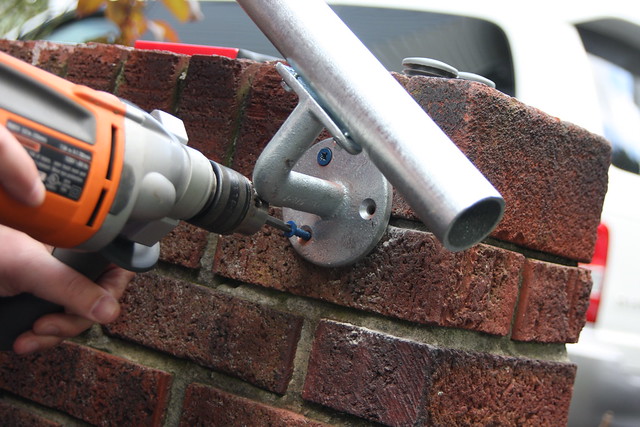
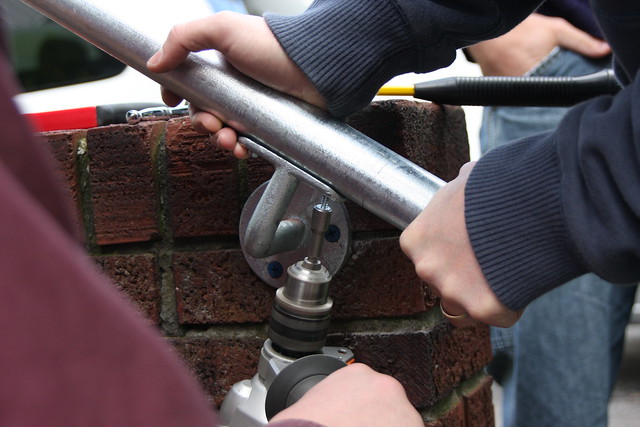
Mark & Drill the Wall Bracket, and Attach the Railing
Now that the angle was fixed, we put the brick wall bracket (a 570-7 - Wall Mounted Handrail Bracket) in place and marked the three holes. Using a hammer drill we drilled the appropriate holes. After the holes were drilled we attached the wall mounted handrail bracket to the wall with the appropriate masonry screws. The railing was then screwed into the bracket using the same self drilling screws that were used to attach the top bracket.
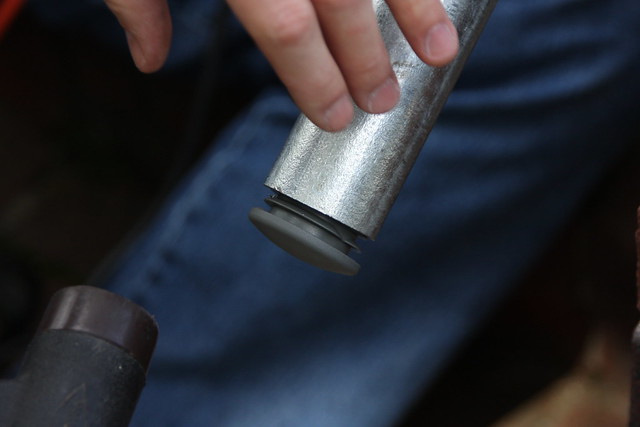
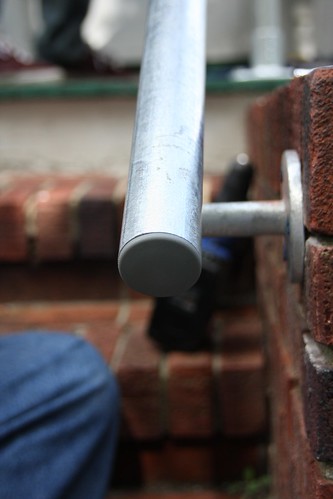
Finishing Touches
Finally we placed some caps into the end of the handrail pipe to give it a nice finished look. Overall the railing looks great. It's galvanized materials will last for years and years without rust. If desired you could have your parts powder coated before hand or you could paint them after you install them (be sure to pay attention to the special process for painting galvanized surfaces).