DIY Rustic Bathroom Vanity Built with Pipe & Kee Klamp
When you go the DIY route, you can often build something that is exactly what you want and save a lot of money in the process. That's what Anton did when he built this amazing DIY bathroom vanity that incorporates a modern, rustic vibe. The frame is built entirely using Kee Klamp fittings and pipe while other elements (like the drawers) were incorporated from Ikea products.
In this post, we'll cover the details of Anton's bathroom vanity, the fittings used to build the vanity frame, and where to use each fitting. Let's get to it:
Anton's Bathroom Vanity Project Details

Like I mentioned above, the vanity frame is built entirely using Kee Klamp fittings and pipe. However, to complete the look, Anton spray painted the frame with a coat of primer then finishing it with Rustoleum Tremclad spray paint in a satin black finish. This paint provides added rust protection, although since the fittings and pipe are galvanized, it's not completely necessary to protect against rust (the galvanized finish protects the fittings and pipe from rust and corrosion).
This is especially important in a moist, wet environment like a bathroom. Using these galvanized fittings and pipe will ensure Anton won't have to make any repairs to the unit in the future due to rust.
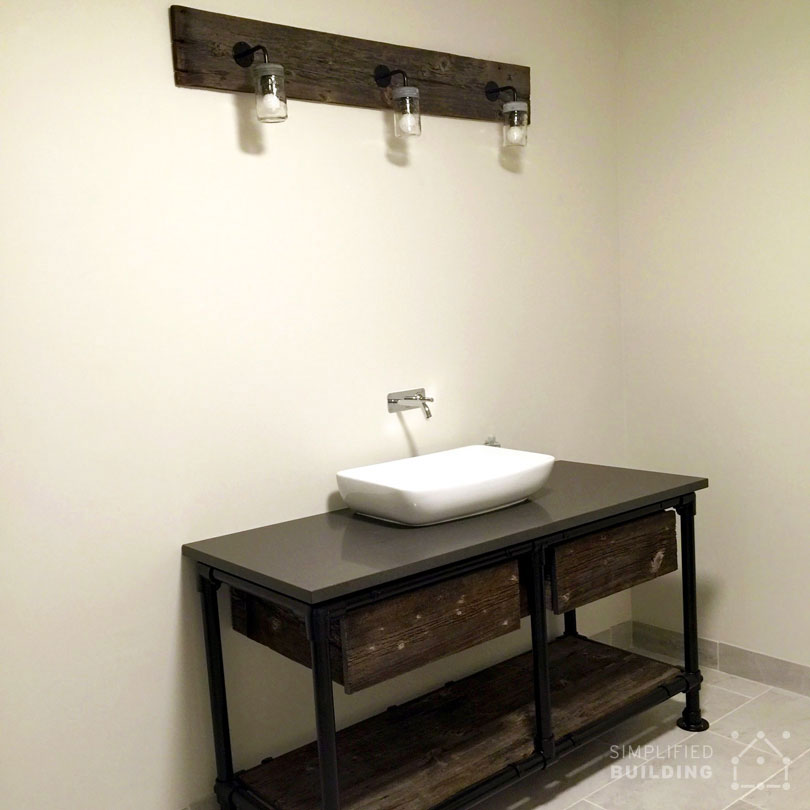
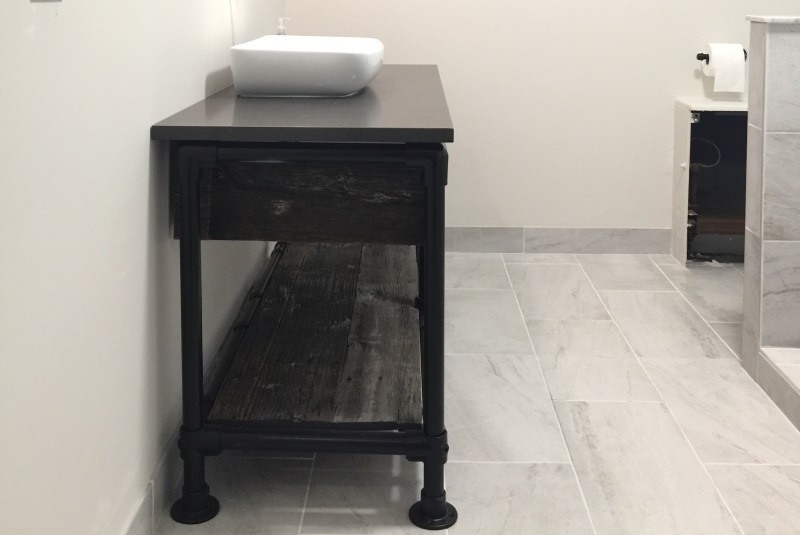
The vanity is 72" long, 24" deep, and 36" high. It features a table top constructed from cement colored Quartz that is attached to the frame using silicone at each corner. The vanity drawers were purchased from Ikea and incorporate a slow-close feature to prevent the drawers from slamming.
The drawers and lower shelf are attached to the frame using saddle clamps and both feature reclaimed barn boards to complete the look.
Now, let's take a look at the fittings used in the vanity frame...
Fittings Used to Build the Bathroom Vanity Frame
Below, you'll find all the fittings you will need to assemble the vanity frame. However, the frame design can always be modified to be shorter, taller, longer, etc. based on the length of pipe you order. If you're looking for an even simpler approach, I'd recommend checking out our table frame kits. While not specifically designed to be used as a bathroom vanity, you may find one of our kits will work for that purpose. Lastly, we do offer free design assistance should you decide to go the custom route.
Here's what you'll need:


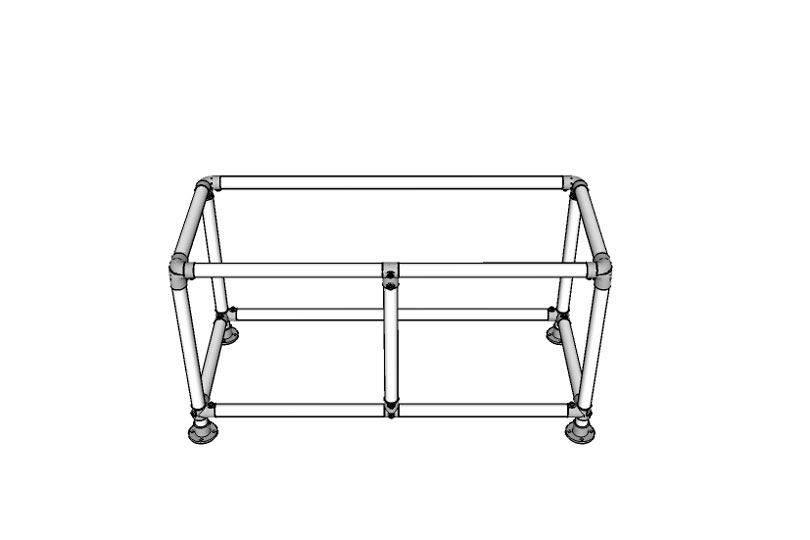
Where to Use Each Fitting
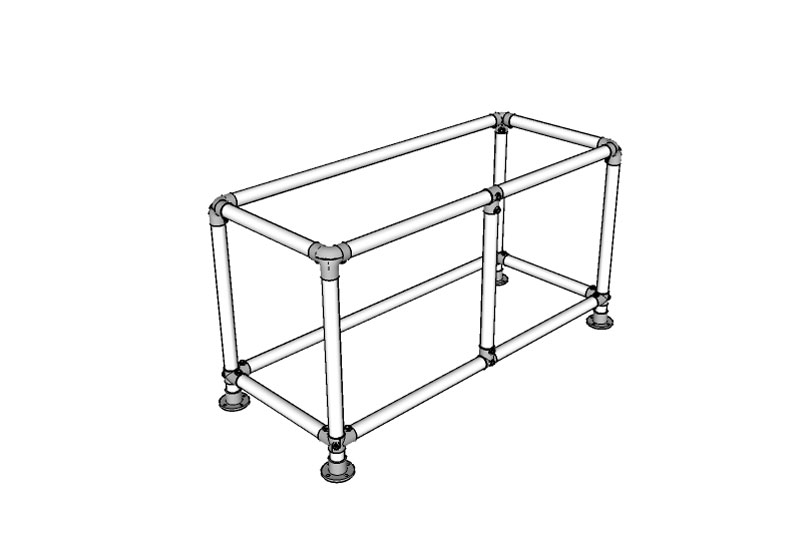
Finally, let's look at where each fitting is used. To help showcase how each fitting is used, we've put together a Sketchup drawing of Anton's vanity and included the diagrams below. The image directly below is interactive. Hover over the "+" signs to view the fitting used at that point.
Need Help with Your Bathroom Vanity?
We hope you enjoyed Anton's project and that it motivates you to build your own bathroom vanity! If you need any help with your project, please don't hesitate to reach out to our team at projects@simplifiedbuilding.com or head over to our free design assistance page. Lastly, if you want to receive updates on future projects like this one, be sure to signup to our email newsletter.
