Easy Steps for Installing a Simple Handrail
If you know anything about Pittsburgh, you know that there are lots of hills. With hills comes stairs.
My brother recently moved from PA to NY. At his old house, he had an old rusted out threaded railing in his back yard. This railing needed to be replaced so that he could better sell his house. Having no experience in railings, he reached out to me for help.
 We installed the railing in just a couple hours! Here's how:
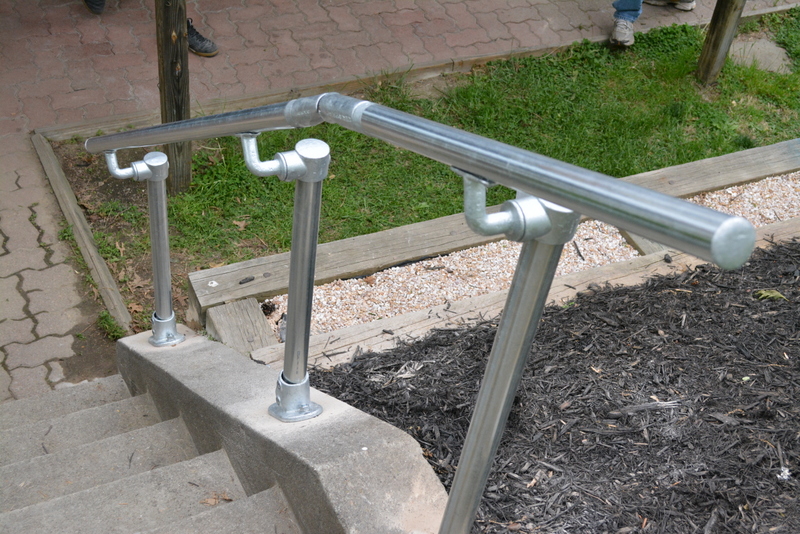
For the railing, we chose a customized version of the Surface 518 Simple Rail Kit. This kit is easy to install, and has a smooth, clean finish to it.
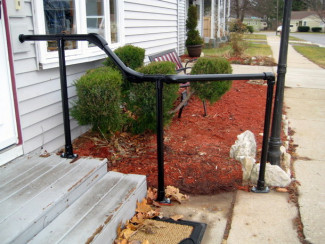
As you can see, his stairs were odd. We needed to mount the uprights on the sloped portion next to the steps, so we swapped out the 62-8's for 63-8's. The 63's allowed me to adjust the uprights to be plumb, even on the slope, as they are adjustable from 45-60 degrees!
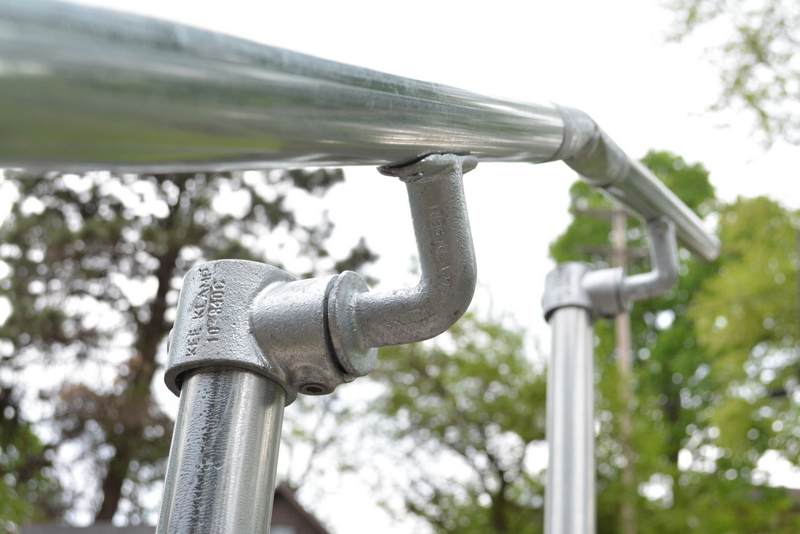
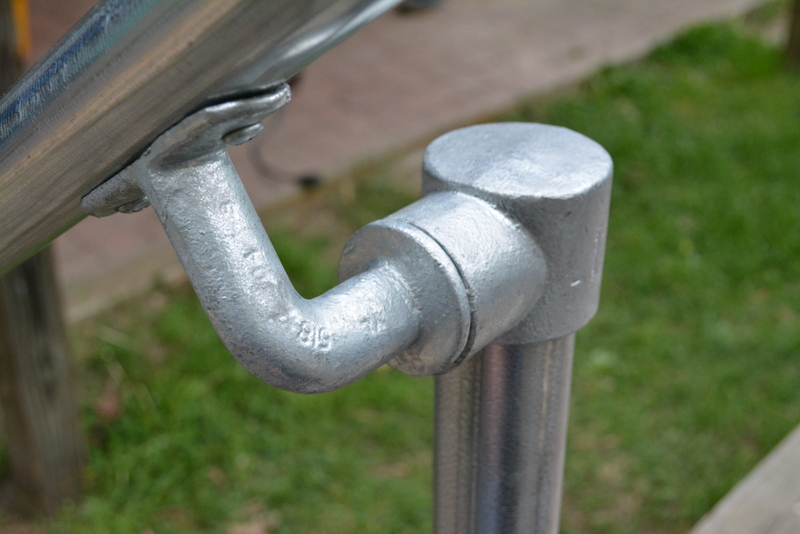
We also needed to make a slight transition in the rail near the top. For that we added a 554-7 with internal couplings. I picked the 554 because it's adjustable. Also, it allowed me to make the transition while keeping the grab rail smooth.
Here is a complete list of parts we used:
Time for the Install!
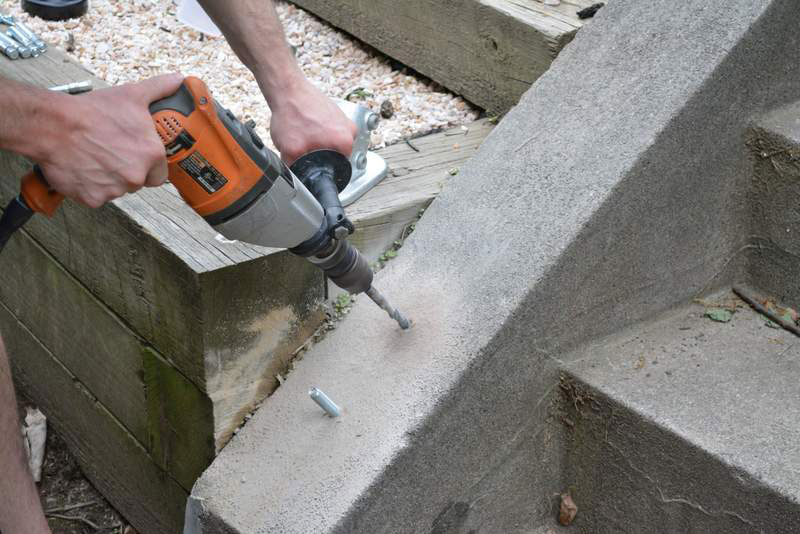
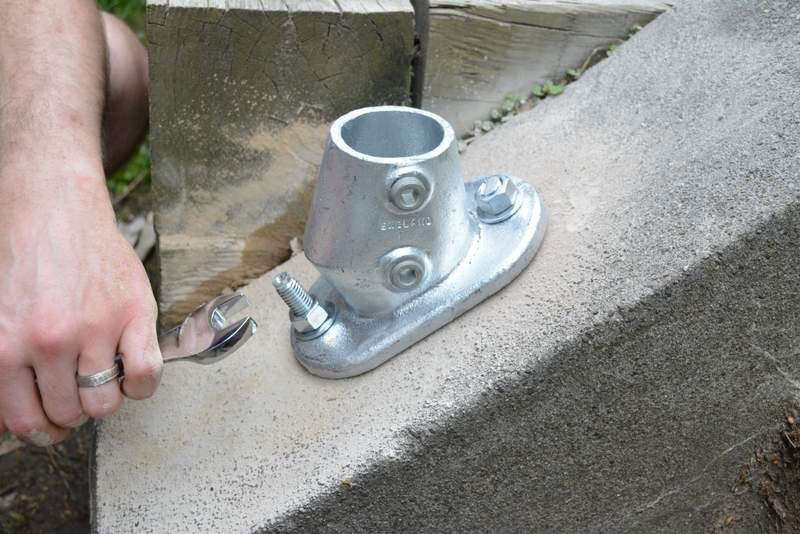
STEP #1: I spaced out the flanges equally on the steps. Next, I marked where the holes needed to be drilled for mounting.
STEP #2:
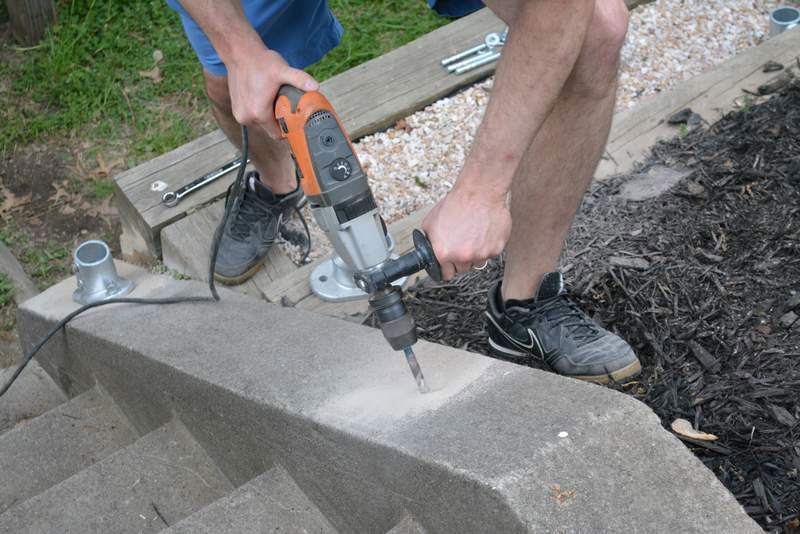
I drilled out the holes for the first flange. Then, I tapped in the anchor bolts into the holes.
 x
x
STEP #3:
I slid the flange over top the anchors. Taking the crescent wrench, I tightened down the nut to expand the anchor and secure the flange. Using my Battery Powered Dewalt Portable Band Saw, I chopped off the remaining threads.
STEP #4:
I repeated this process for each flange.
STEP #5
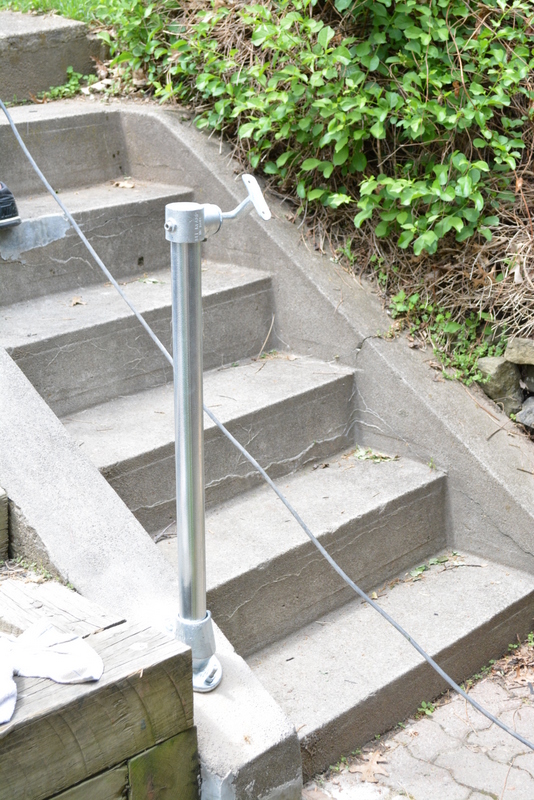
I assembled the uprights and inserted them into the flanges. To ensure my uprights were plumb, I held a level flush on the pipe while tightening the set screws.
STEP #6:
I held up my grab rail on the assembled uprights. From there, I was able to mark where I wanted to cut the pipe. Next, I cut the rail to the correct length.
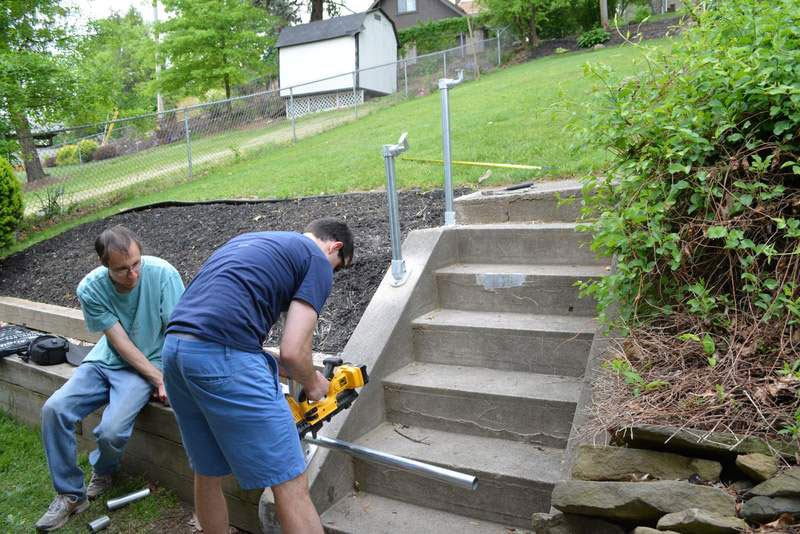
Note: I ordered this pipe longer than I needed because I was never able to measure the stairs out myself. To easily cut this pipe, I again used my Dewalt Portable Band Saw.
STEP #7:
Using self-tapping screws, I fastened the rail to the brackets on the uprights. I finished the rail off by tapping in the end caps.
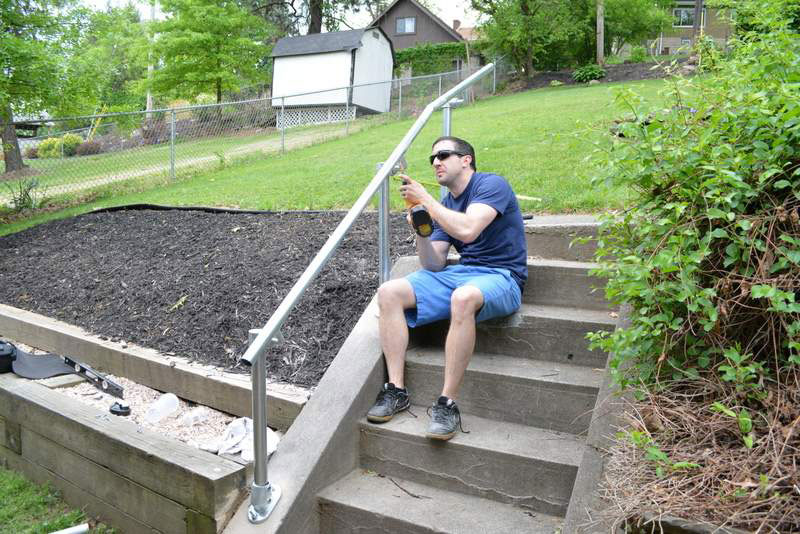
There you have it! The rail turned out great and was really simple to install. Also, this thing is solid. The future home owner at this house will feel safe and secure when going up and down these stairs for many years to come.
Do you have an old rust railing that needs replacing or an odd set of stairs that are not safe? Check out our Simple Rail Kits or reach out to us directly! Email projects@simplifiedbuilding.com and we will find a solution for you.
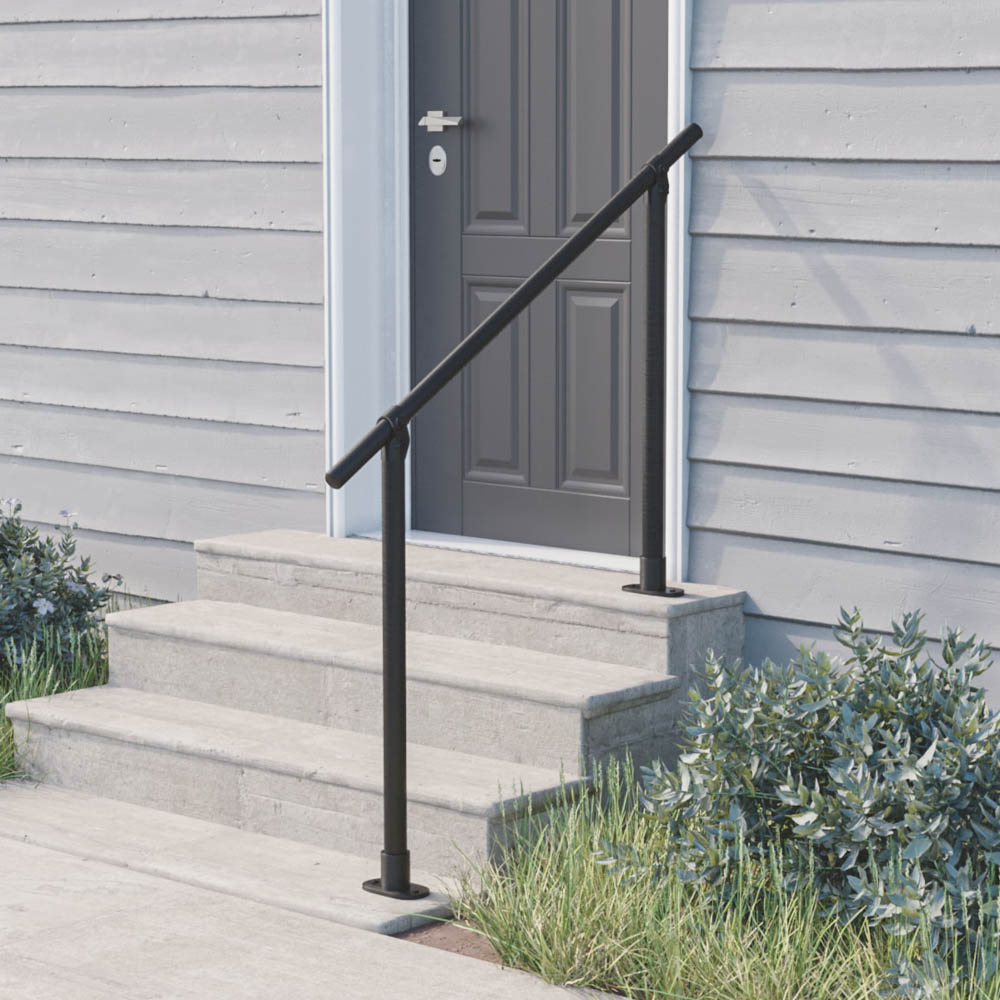
Simple Rail™ Handrail Kits
Like this project? Now building a simple handrail is even easier! Constructed with Kee Klamp fittings, Simple Rail handrails are durable and easy to install. Simple Rail™ kits are great for home owners, business owners and landlords.
Browse Simple Rail Kits