JavaScript seems to be disabled in your browser. You must have JavaScript enabled in your browser to utilize the functionality of this website.
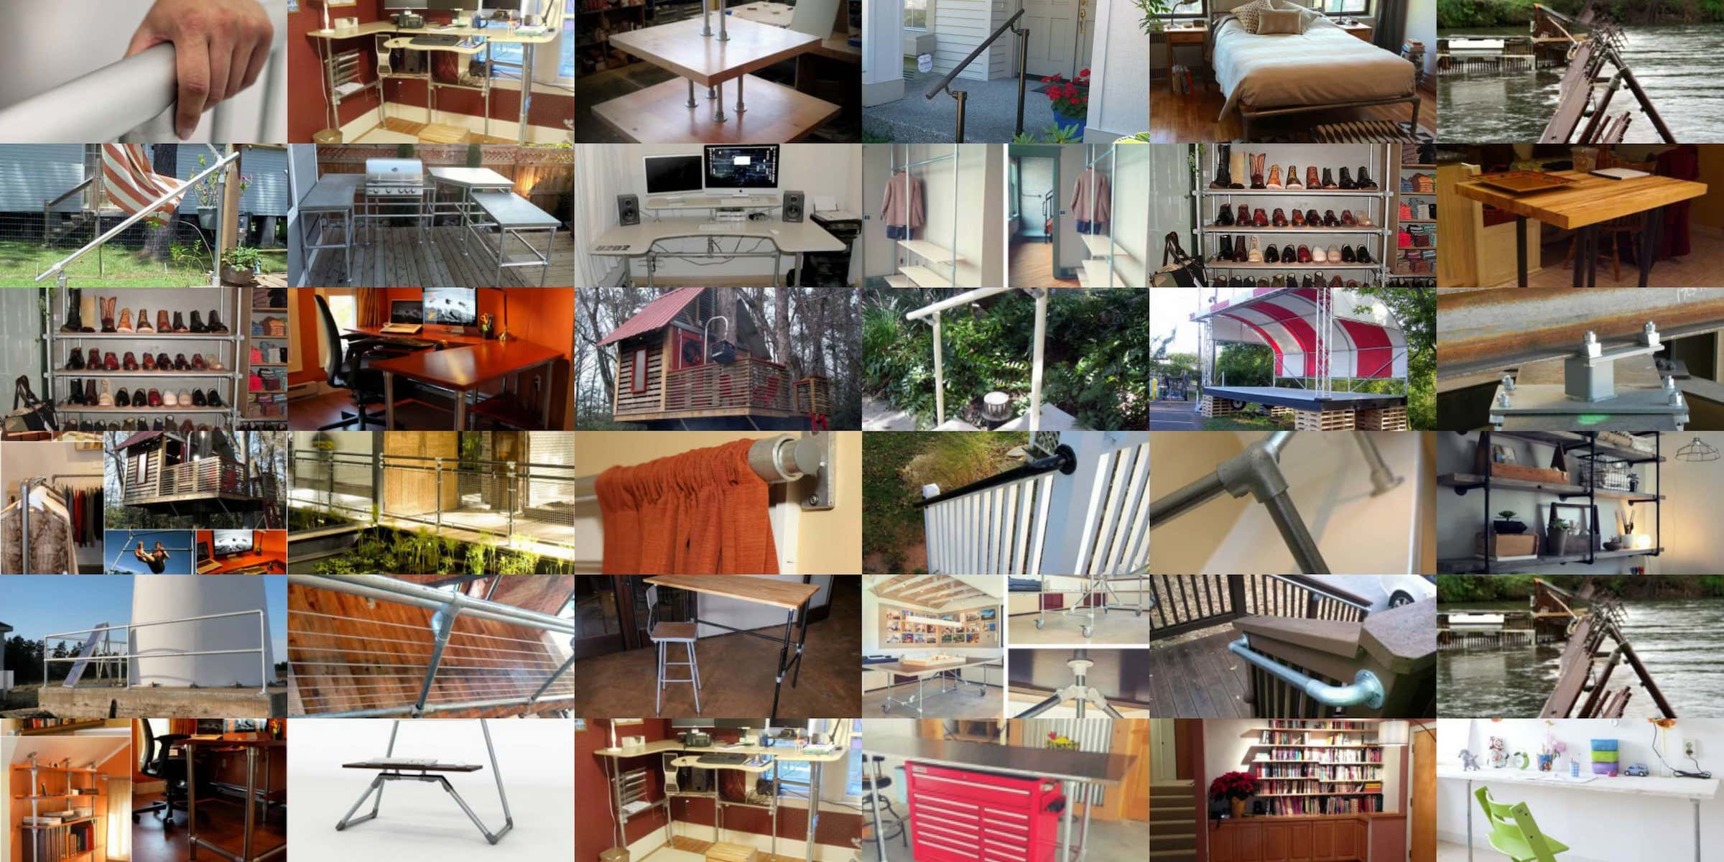
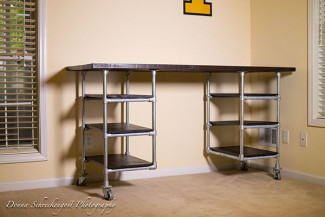
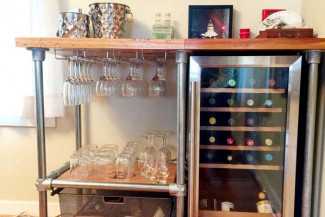
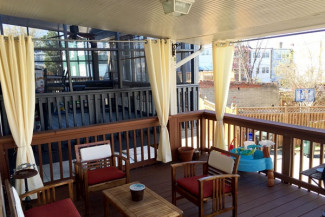
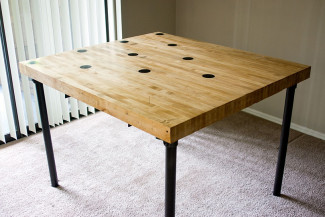
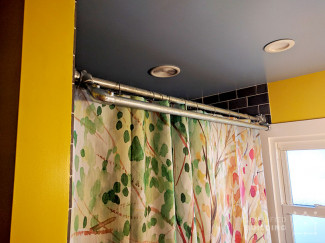
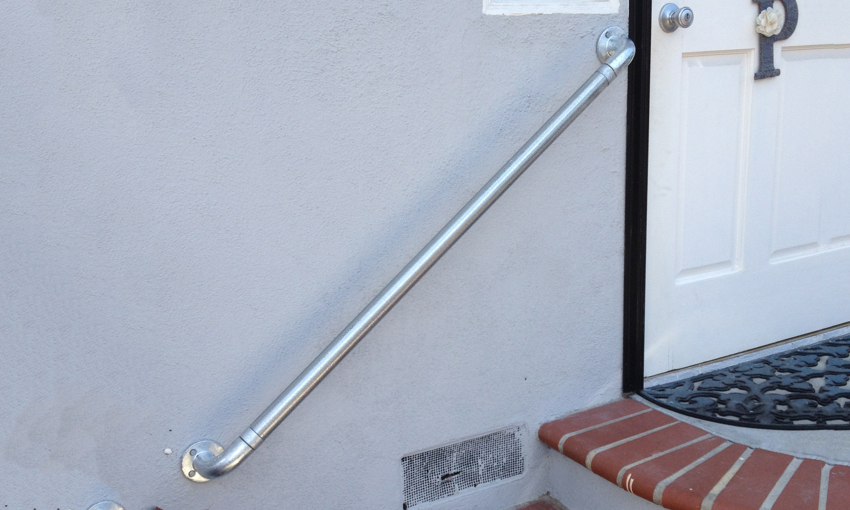
We've helped customers build unique shelves, loft beds, ADA railings, and more.
Option available in footer.